Family High Five

We like the Family Finger song. We sing it, we watch it on YouTube, and its fun! 

“father finger, father finger, where are you?  here I am, here I am, how do you do?”

Since I am teaching Josh about our family, I decided to make a Family High Five!

Items required:

  1. Photos- I made a collage of our photos and printed them out. 
  2. Paper Plate and Pen- I then drew a hand on a paper plate with 5 fingers
  3. Scissors  – cut out the photos and the hand from the paper plate
  4. Glue -to paste the photos
  5. Popsicle stick – to support the hand   


The most important part is getting your child involved in making this project. So after cutting out everything, it was Joshua’s job to paste the family photos on each finger.

   
 I took this opportunity to familiarize Joshua with the spelling of his surname. So I wrote SOLON on the hand and let him spell it out. This teaches him that we are the SOLON Family. 

Of course this is more fun when we start singing… “Daddy Finger, daddy finger, where are you?… Here I am, here I am, how do you do?”

  
This Family High Five is easy to make and fun to do! You should try it at home!  ðŸ˜ŠðŸ˜Š

Advertisement

Colored Ice! 

Thinking of painting in a different style, I tried to follow other moms who use food coloring and water. The new idea is to put them in a ice cube tray and freeze them!

  
I placed Popsicle sticks a little early, so my ice cube tray looks like this. It still was as good because it still was able to pull out the colored ice cube. My son was excited with his new medium for art! 

  
What we used was a cartolina paper. I also recently ordered some tables and chairs from a dear designer friend, Rain Ramas. This is where Joshua can do his activities. I find it so important that Joshua will be able to reach and do things in his level and height.

  
Okay, my son started to talk about what he was doing and he has some application from our recent visit to Mind Museum. He said that he was making planet earth with the stars! A little bit of science input there. He is beginning to understand that we live in planet earth and that there is a sun and moon, with other stars and planets. The movie “Home” also made it clear that there is a big universe or space out there where the stars are, and that we live on planet earth. 

  
I am seriously amazed at my son’s growing knowledge and imagination. This was the first work he did on ice cube paint! It was so fun we ended up having to do another cartolina paper. But Joshua ended up letting our dog eat the remaining ice and he enjoyed eating this edible colored ice too!

  
This is really one fun, fun, fun activity for 2-3 year olds. But I say, even a 38 year old mom like me, enjoyed it too! 😄😄😄

Glittery Sensory Bottle

Thinking of ideas you can do with your toddler today?

Here is another fun and creative way of making something new with your bottled water container — A sensory bottle!

All you need are the following:

1. Small objects you can put in the bottle such as trinkets, buttons, dice, little foam

2. Glitters

3. Used plastic bottle with a cover

4. A sense of fun!


I coached Joshua in putting in the stuff. First, fill the bottle in half with water. Then I let my toddler put those little items in one by one. Then we pour in the blue glitters and continue putting more small items inside.


Once you have put enough fill the bottle with more water and close the tip with the bottle cover. Try putting upside down and downside up! See the items inside move from one end to another. The glitters under the light has that nice glittered touch!

It reminds me of those glittered ballpens I had in my grade school. I loved those water pens with glitters and little cute stuff floating back and forth!

Actually the one who enjoyed this the most after was my 7 month old Anna. Joshua continued with making a second bottle! It’s a great activity with wonderful creative sensory bottle!


A Toddler’s art from egg shells

When you cook hard boiled eggs, don’t throw away the egg shells right away. These shells can be inexpensive materials to your new art project with your toddler.

Set the egg shells in a container. Now using your finger or a spoon, begin to crush these egg shells into tiny broken pieces. You will then need the following materials:

  1. Paper plate
  2. Glue
  3. Paint
  4. Paint brush

This day, I decided to let Joshua make a happy face. So we took some glue and drew the eyes, nose and a smiling face. Next part is to drop the egg shells above the glue.


After placing the egg shells leave the plate for about 5-10 minutes. Wait for the glue to dry. Once dry, feel free to gently lift and tap the plate to let excess egg shells fall. From there, your child can now get ready to paint the egg shells!


We used home made paint. If you want to know how to make please check out my blog on Home Made Paint.

Again this activity helps those little fingers to control the muscles around the hand. You may also practice color identification and discuss the organs found on the face!  This is an easy and fun way to make use of those egg shells!

Finger Paint Time

Though I am lacking sleep and tired, I am exerting extra effort to do something fun and educational for my toddler, Joshua. I have seen myself concentrate more on my infant, Anna, and I do feel bad that I am not spending enough quality time with my son.

I went online to research how to make home made paint. I found a wonderful recipe from http://www.familyeducation.com. It’s a flour based home made paint that Joshua and I can use for a finger painting project.

Preparing the paint must be done one day before. It requires a bit of cooking, and color mixing and refrigeration.

IMG_1471

The next day after Joshua’s breakfast, we got the floor ready and the cartolina paper for our finger paint project. He was pretty excited to start experimenting on mommy’s home made paint!

IMG_1479

IMG_1473

We used different colors and swirled the paint on the cartolina with our fingers and with our hands. Joshua made circles and we stamped our hands on the paper. It was not long and our painting project was taking shape as an abstract piece of art!

IMG_1484

We capped our activity by washing off the paint off our hands in the inflatable swimming pool and went swimming. The paint was easy to remove from our hands. It was a great bonding and educational activity. And I am mighty proud of Joshua’s first finger painting.

Red, Black, and White

When I was younger, I loved Arts and Crafts. I liked to paint, use pastel colors, and imagine art work. But as you get older, you usually don’t work on those projects anymore, and you certainly get rusty. In fact, it kindda blinds your artistic eyes.

When I was preparing the baby room, it was my friend Amanda, who asked if I had made a crib mobile (hanging moving toys) for Joshua. I told her, “no”. It was because I was too lazy to make those hanging toys and it would again require for me to work with my hands and conceptualize what to make. Newborns are fascinated with red, black, and white colors since their eyesight are still developing. Amanda, suggested that I try making a mobile with those colors. What I did instead was buy a mobile with colors that were dominant on red, white and black. Like I said, I was too lazy make one, so I bought.

Just a week ago, another girlfriend of mine, Jill, came to see me and I showed her the baby room. She told me again that Joshua’s brain stimulation is increased if I put red, black, and white designs on the ceiling. She told me, it is easy because all I needed to do was buy cartolina paper and cut out designs and stick it on the ceiling. She was the second person who insisted I get into the red, black and white brain stimulation thingy.

This time around, I did not have an excuse… I now need to get my hands dirty and work on something artistic. So, I went to National Bookstore and bought the cartolina paper, paste, and double sided tape. When I got home I looked at the ceiling, and boy did the ceiling above his crib suddenly feel so long and wide. I felt overwhelmed with the project.

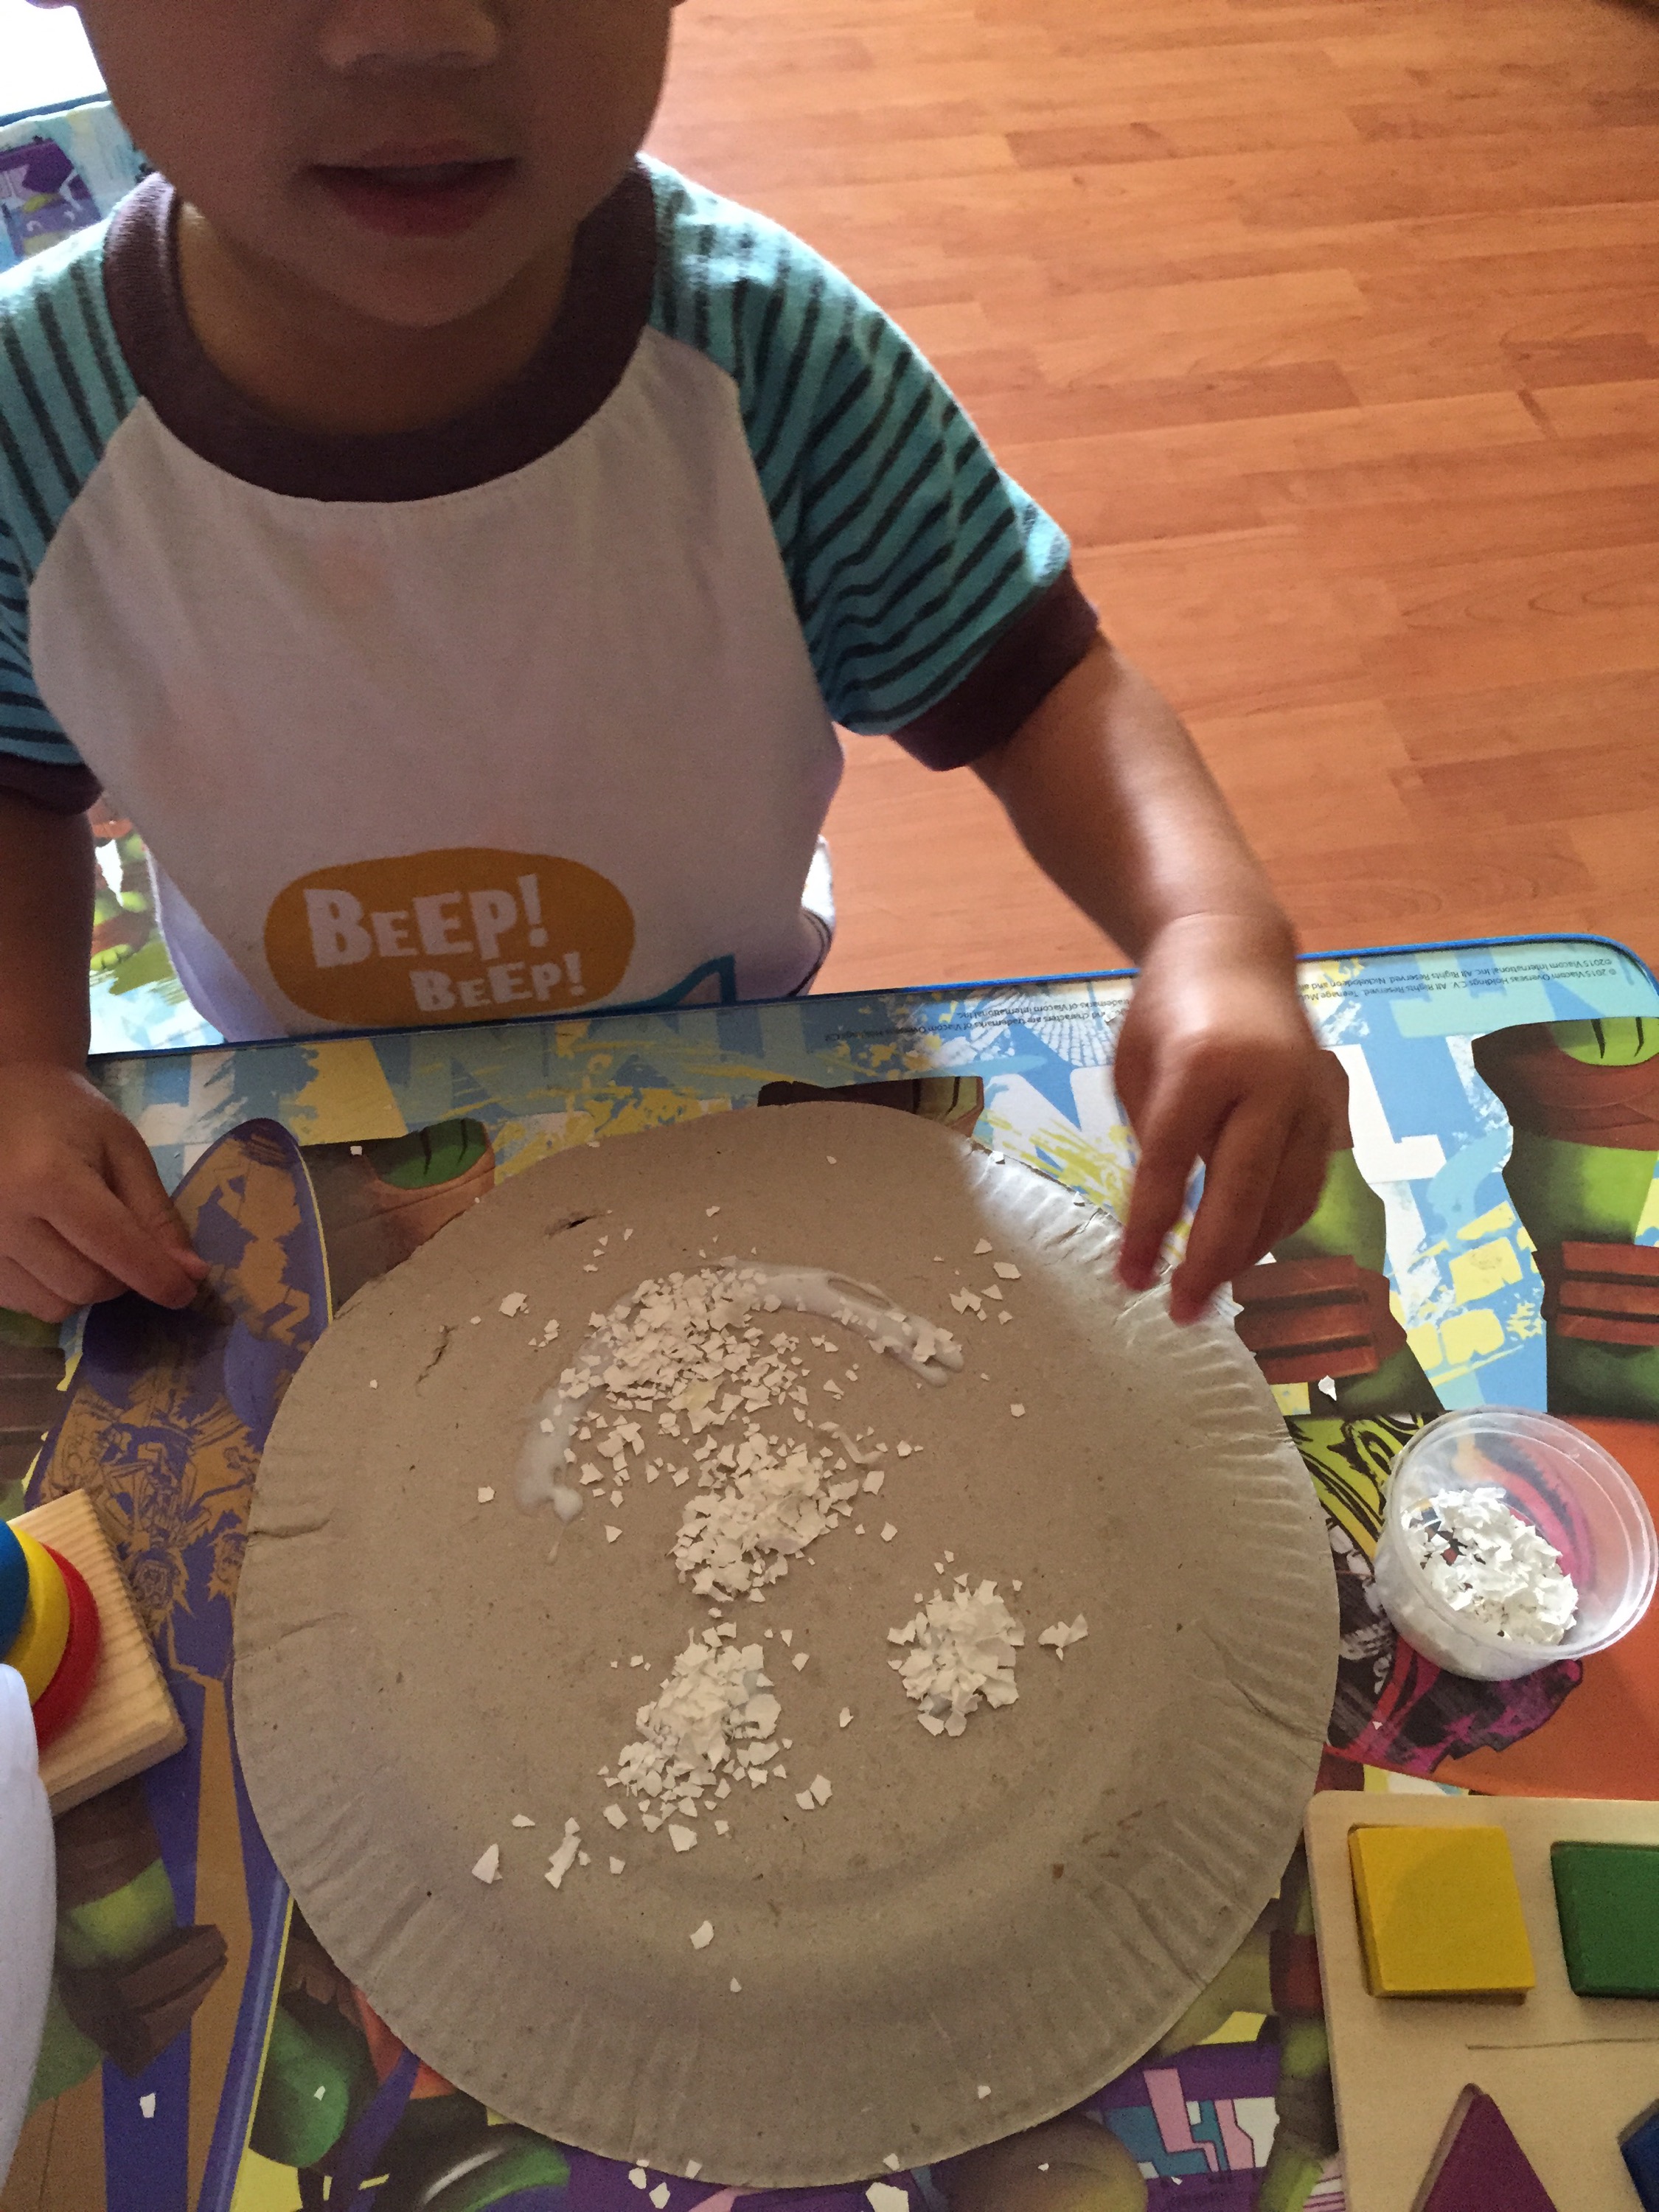
I began cutting circles, triangles, squares, rectangles. It was an exercise that was unlocking my childhood artistic eyes. Once you start, you can really get glued to it. The most difficult part was sticking the design on the ceiling. It made me wonder the geniuses of Michaelangelo and his counterparts when they were painting ceilings. I was getting disoriented a lot when I was putting the design on the ceiling.

20130210-225822.jpg

<a

Finally, I stuck the design up on the ceiling. Its not perfect, alright… but it is worth the shot. The most priceless scene I enjoy is seeing my little one staring interestingly on the artwork I have made. This makes me feel like an accomplished mommy artist. That is what matters most to me now… I can now say that it is true that mothers would go out of their comfort zone and do things that are good for their babe.
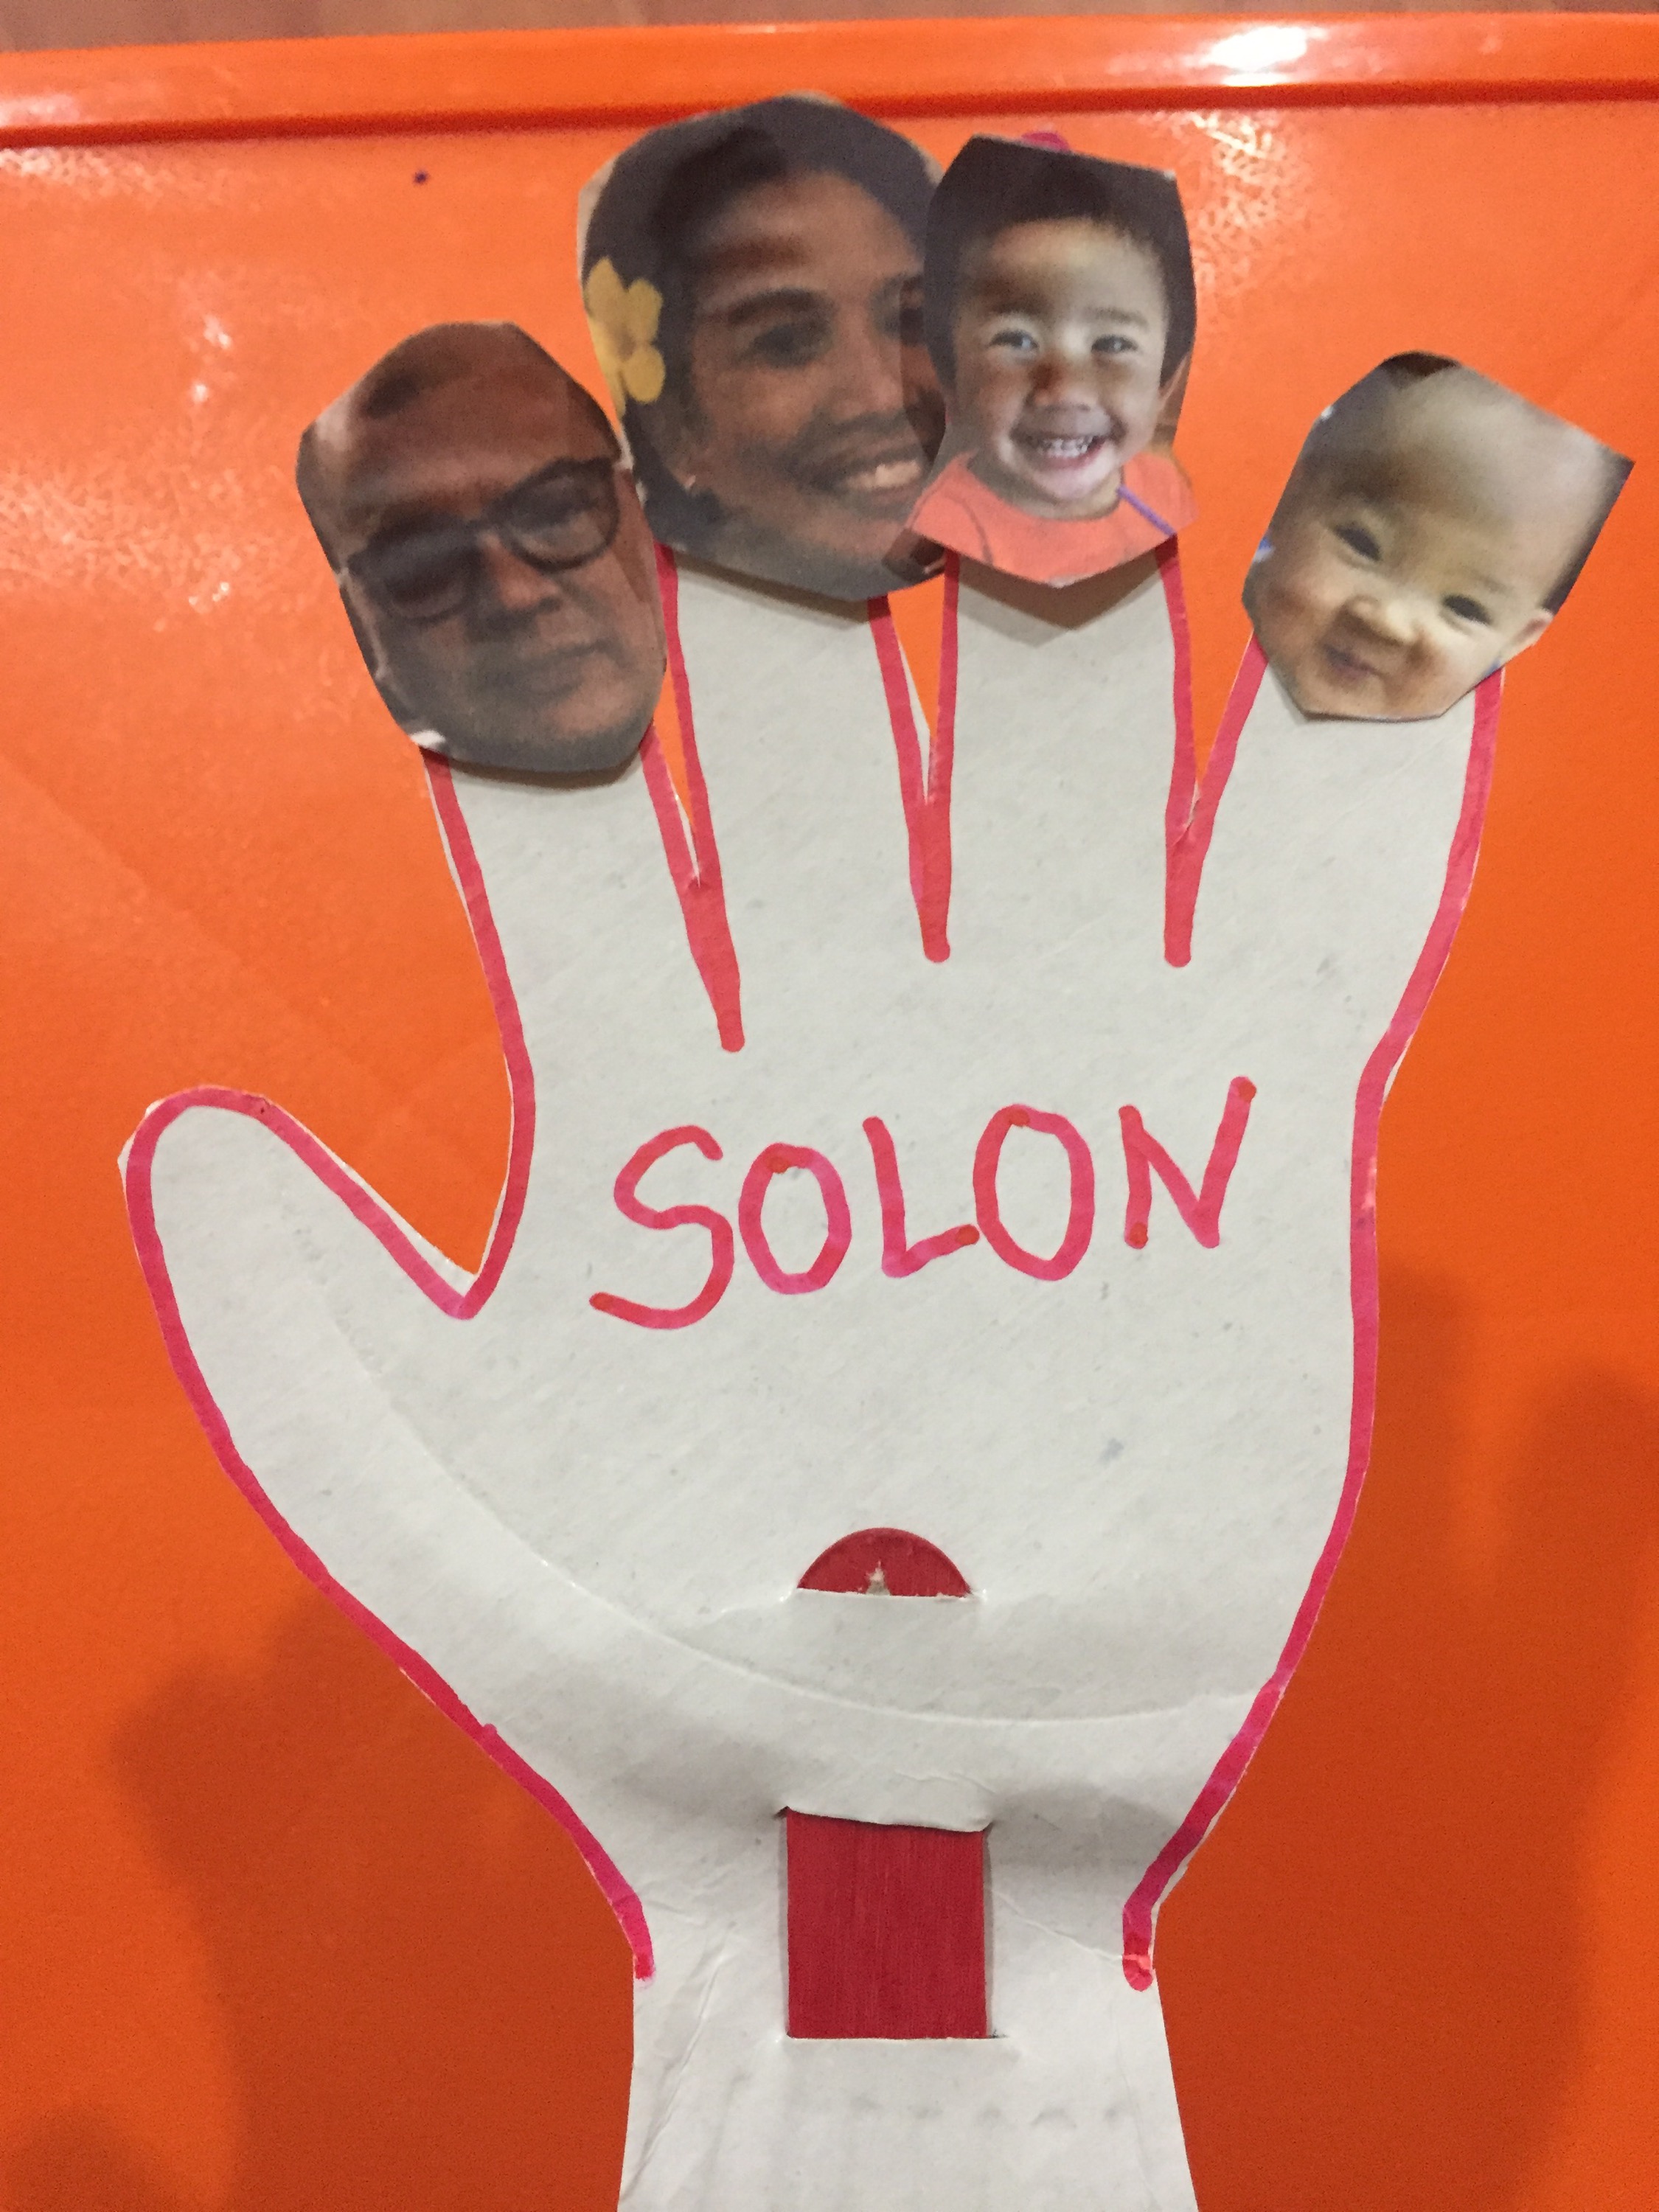
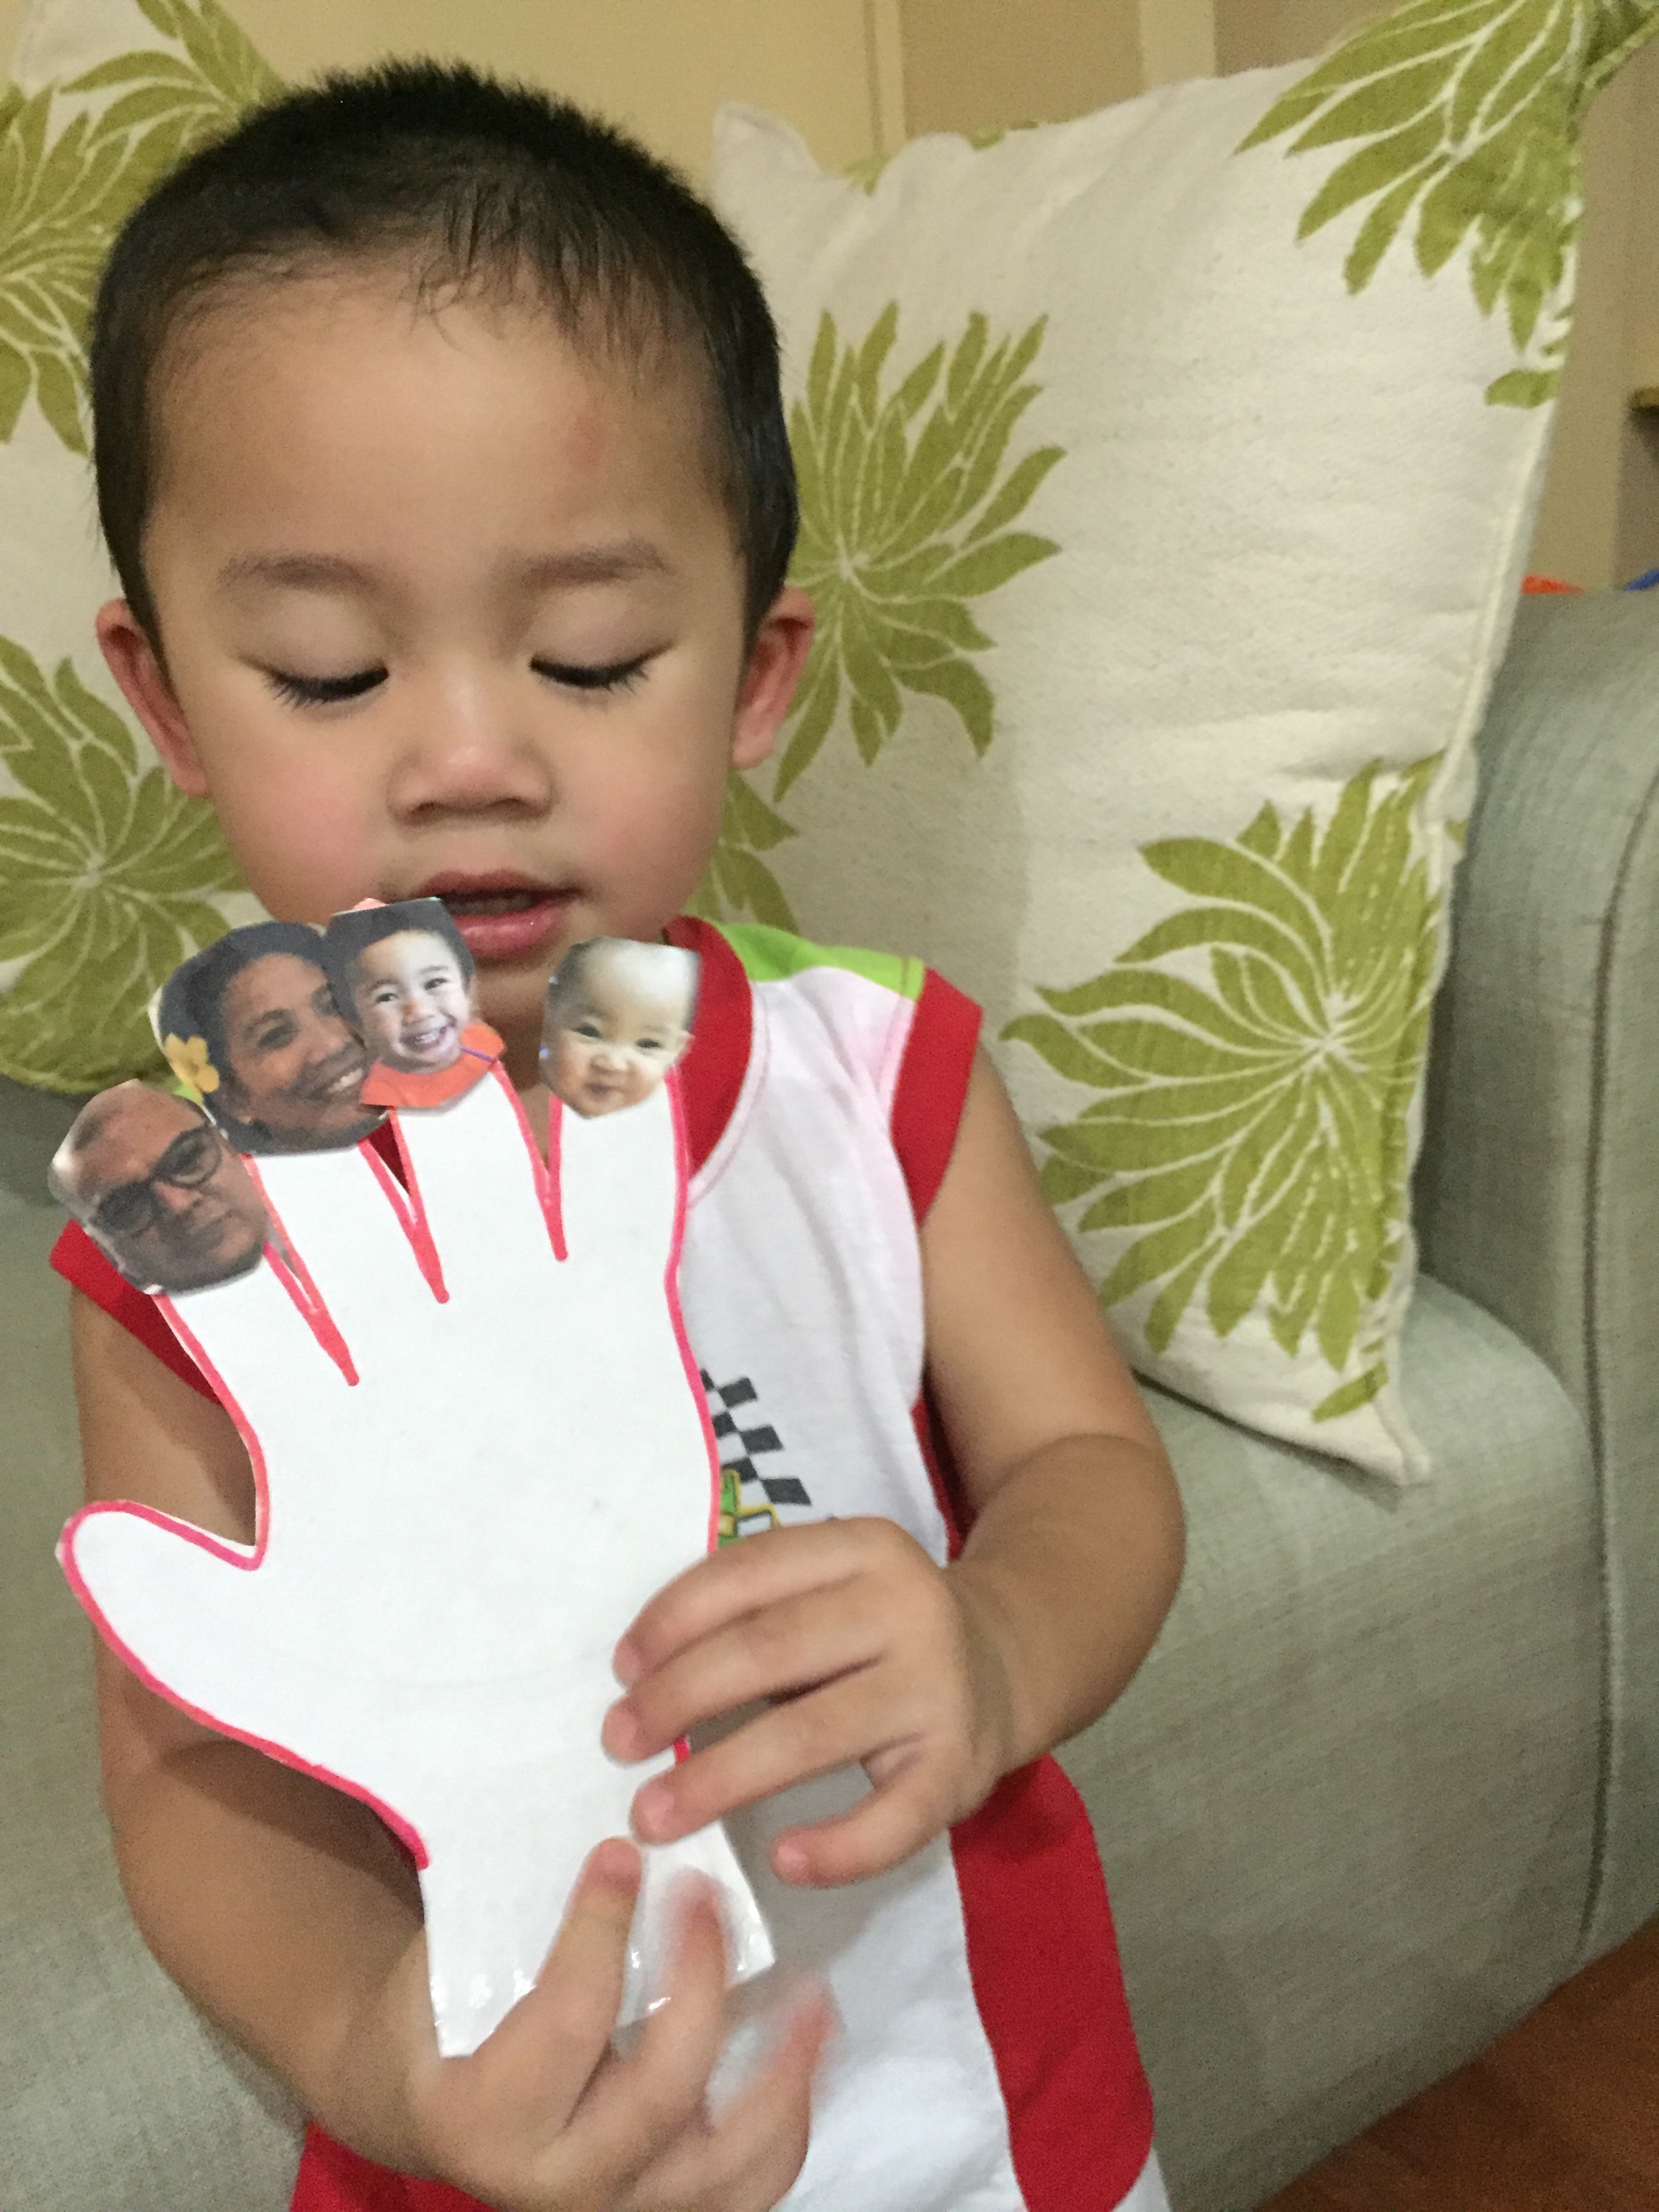
The stimulating ceiling