Playgroup – Cloud Clay

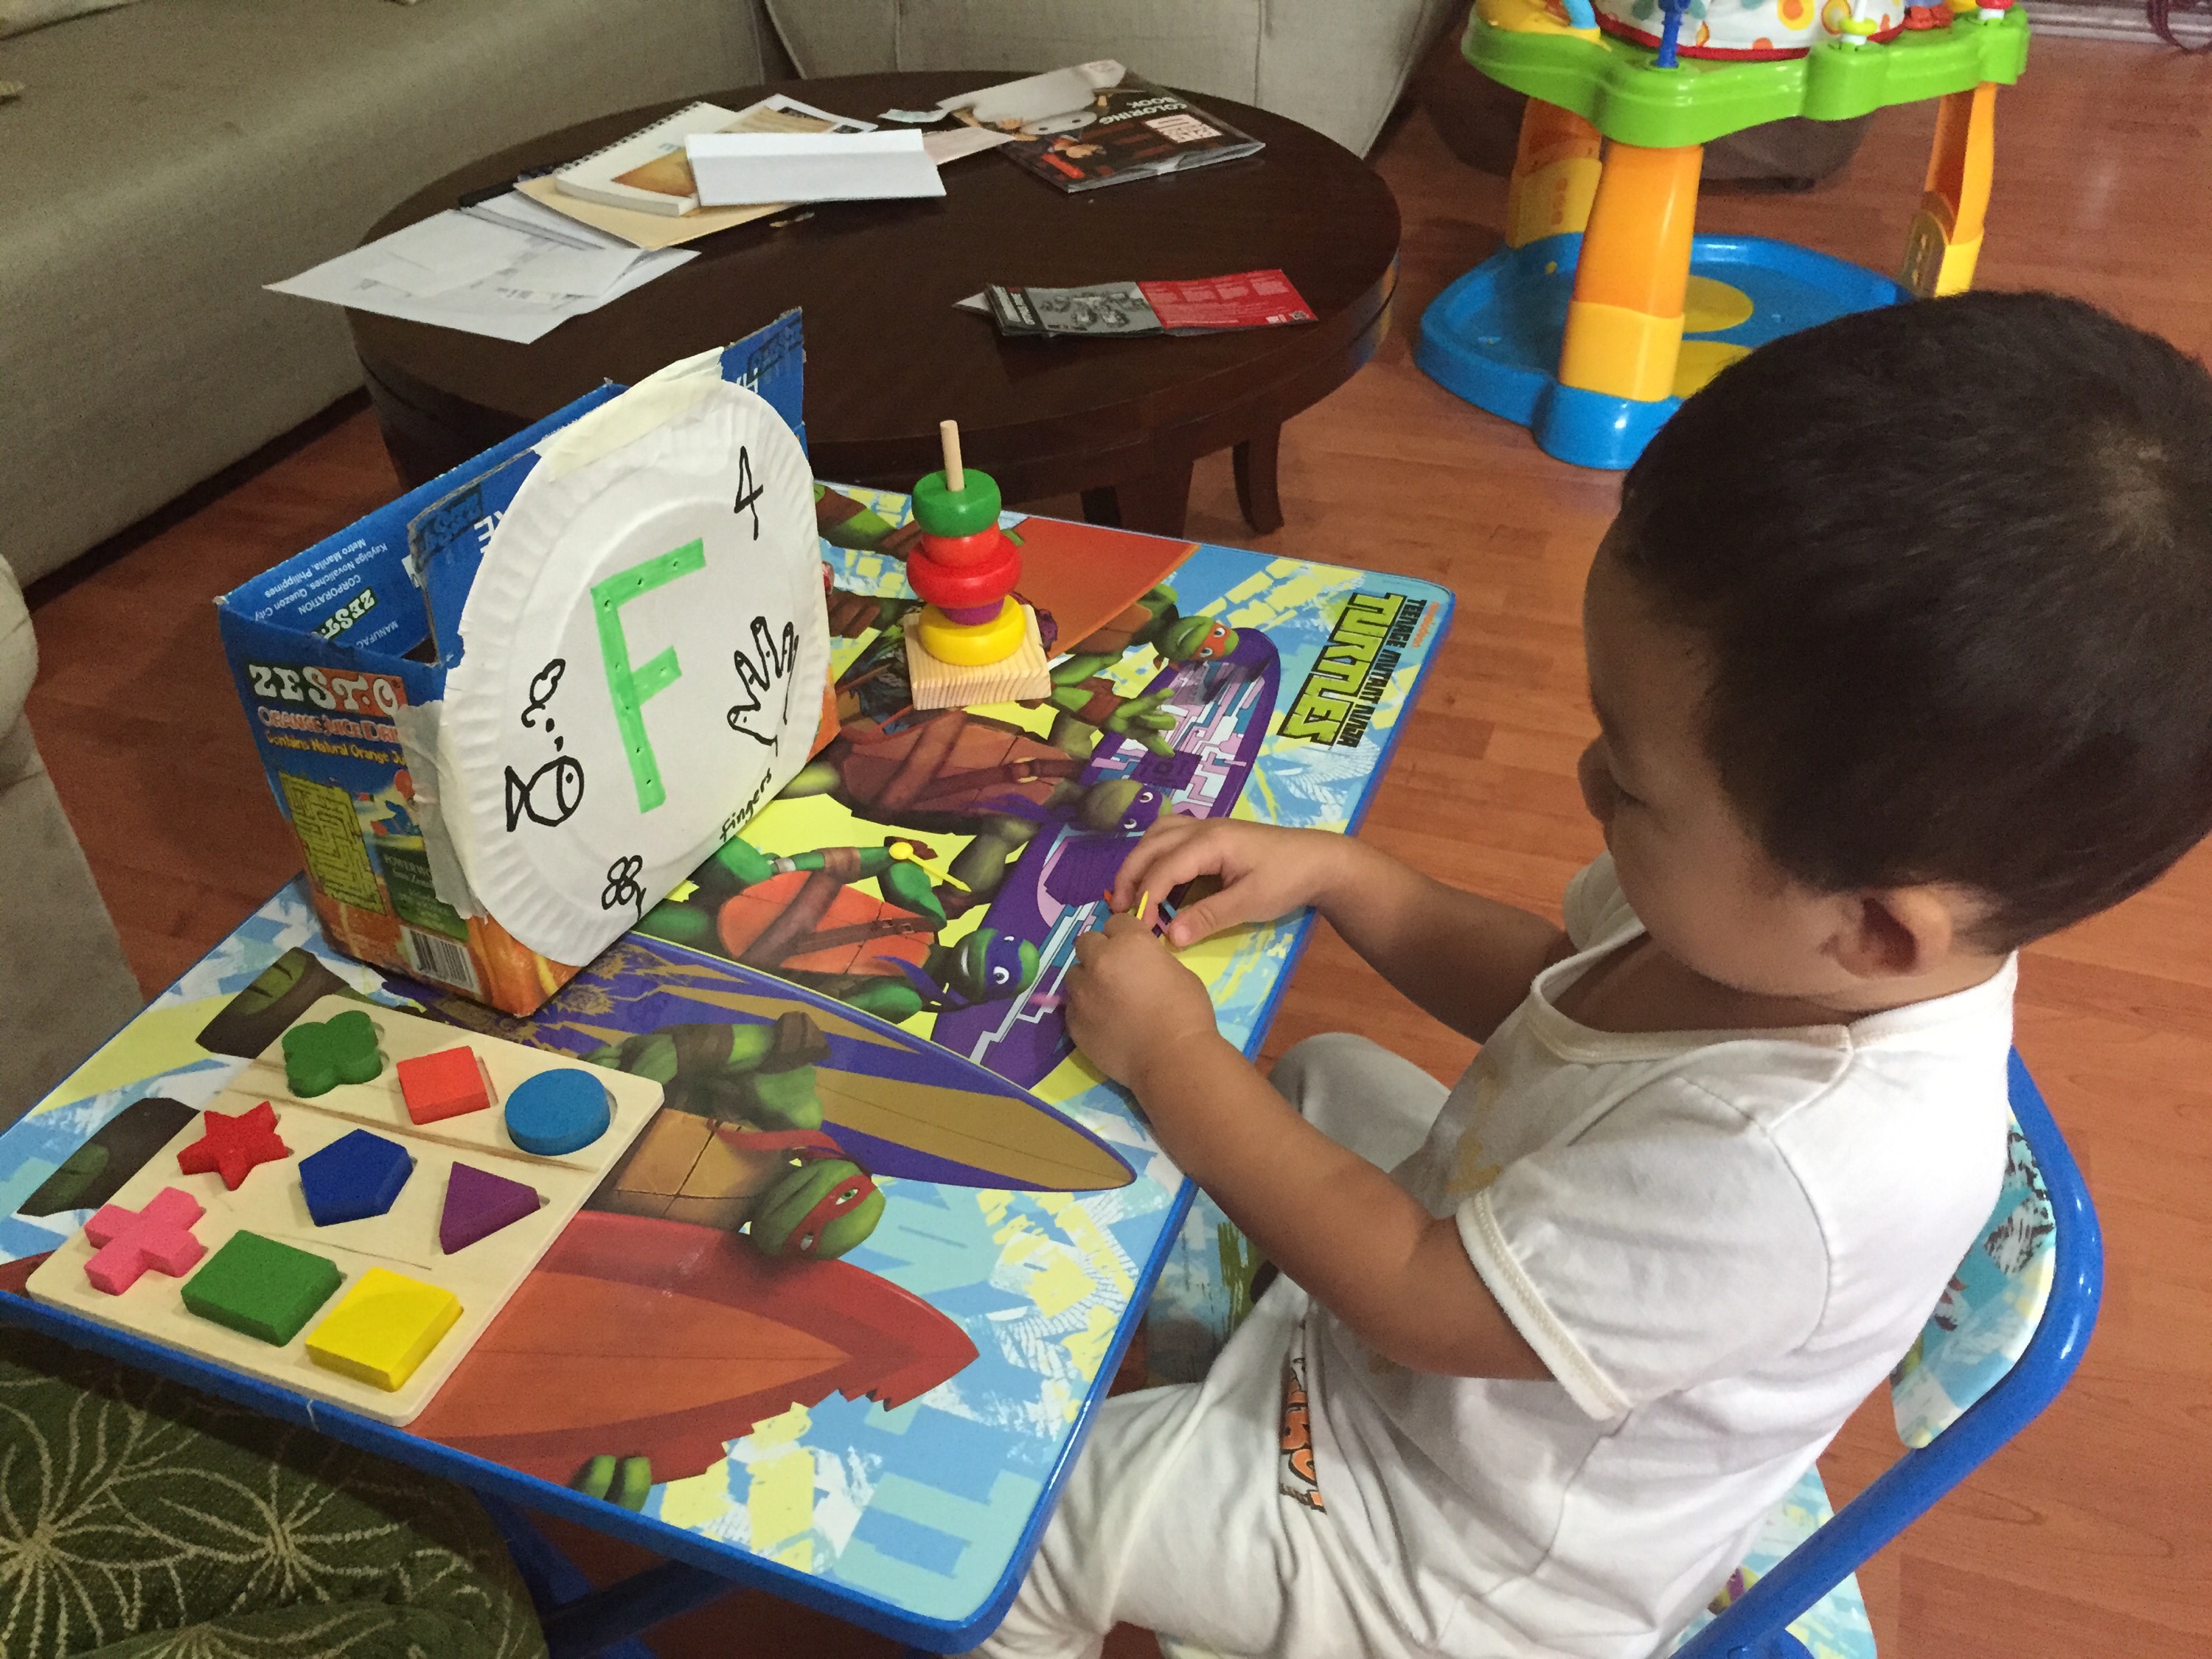
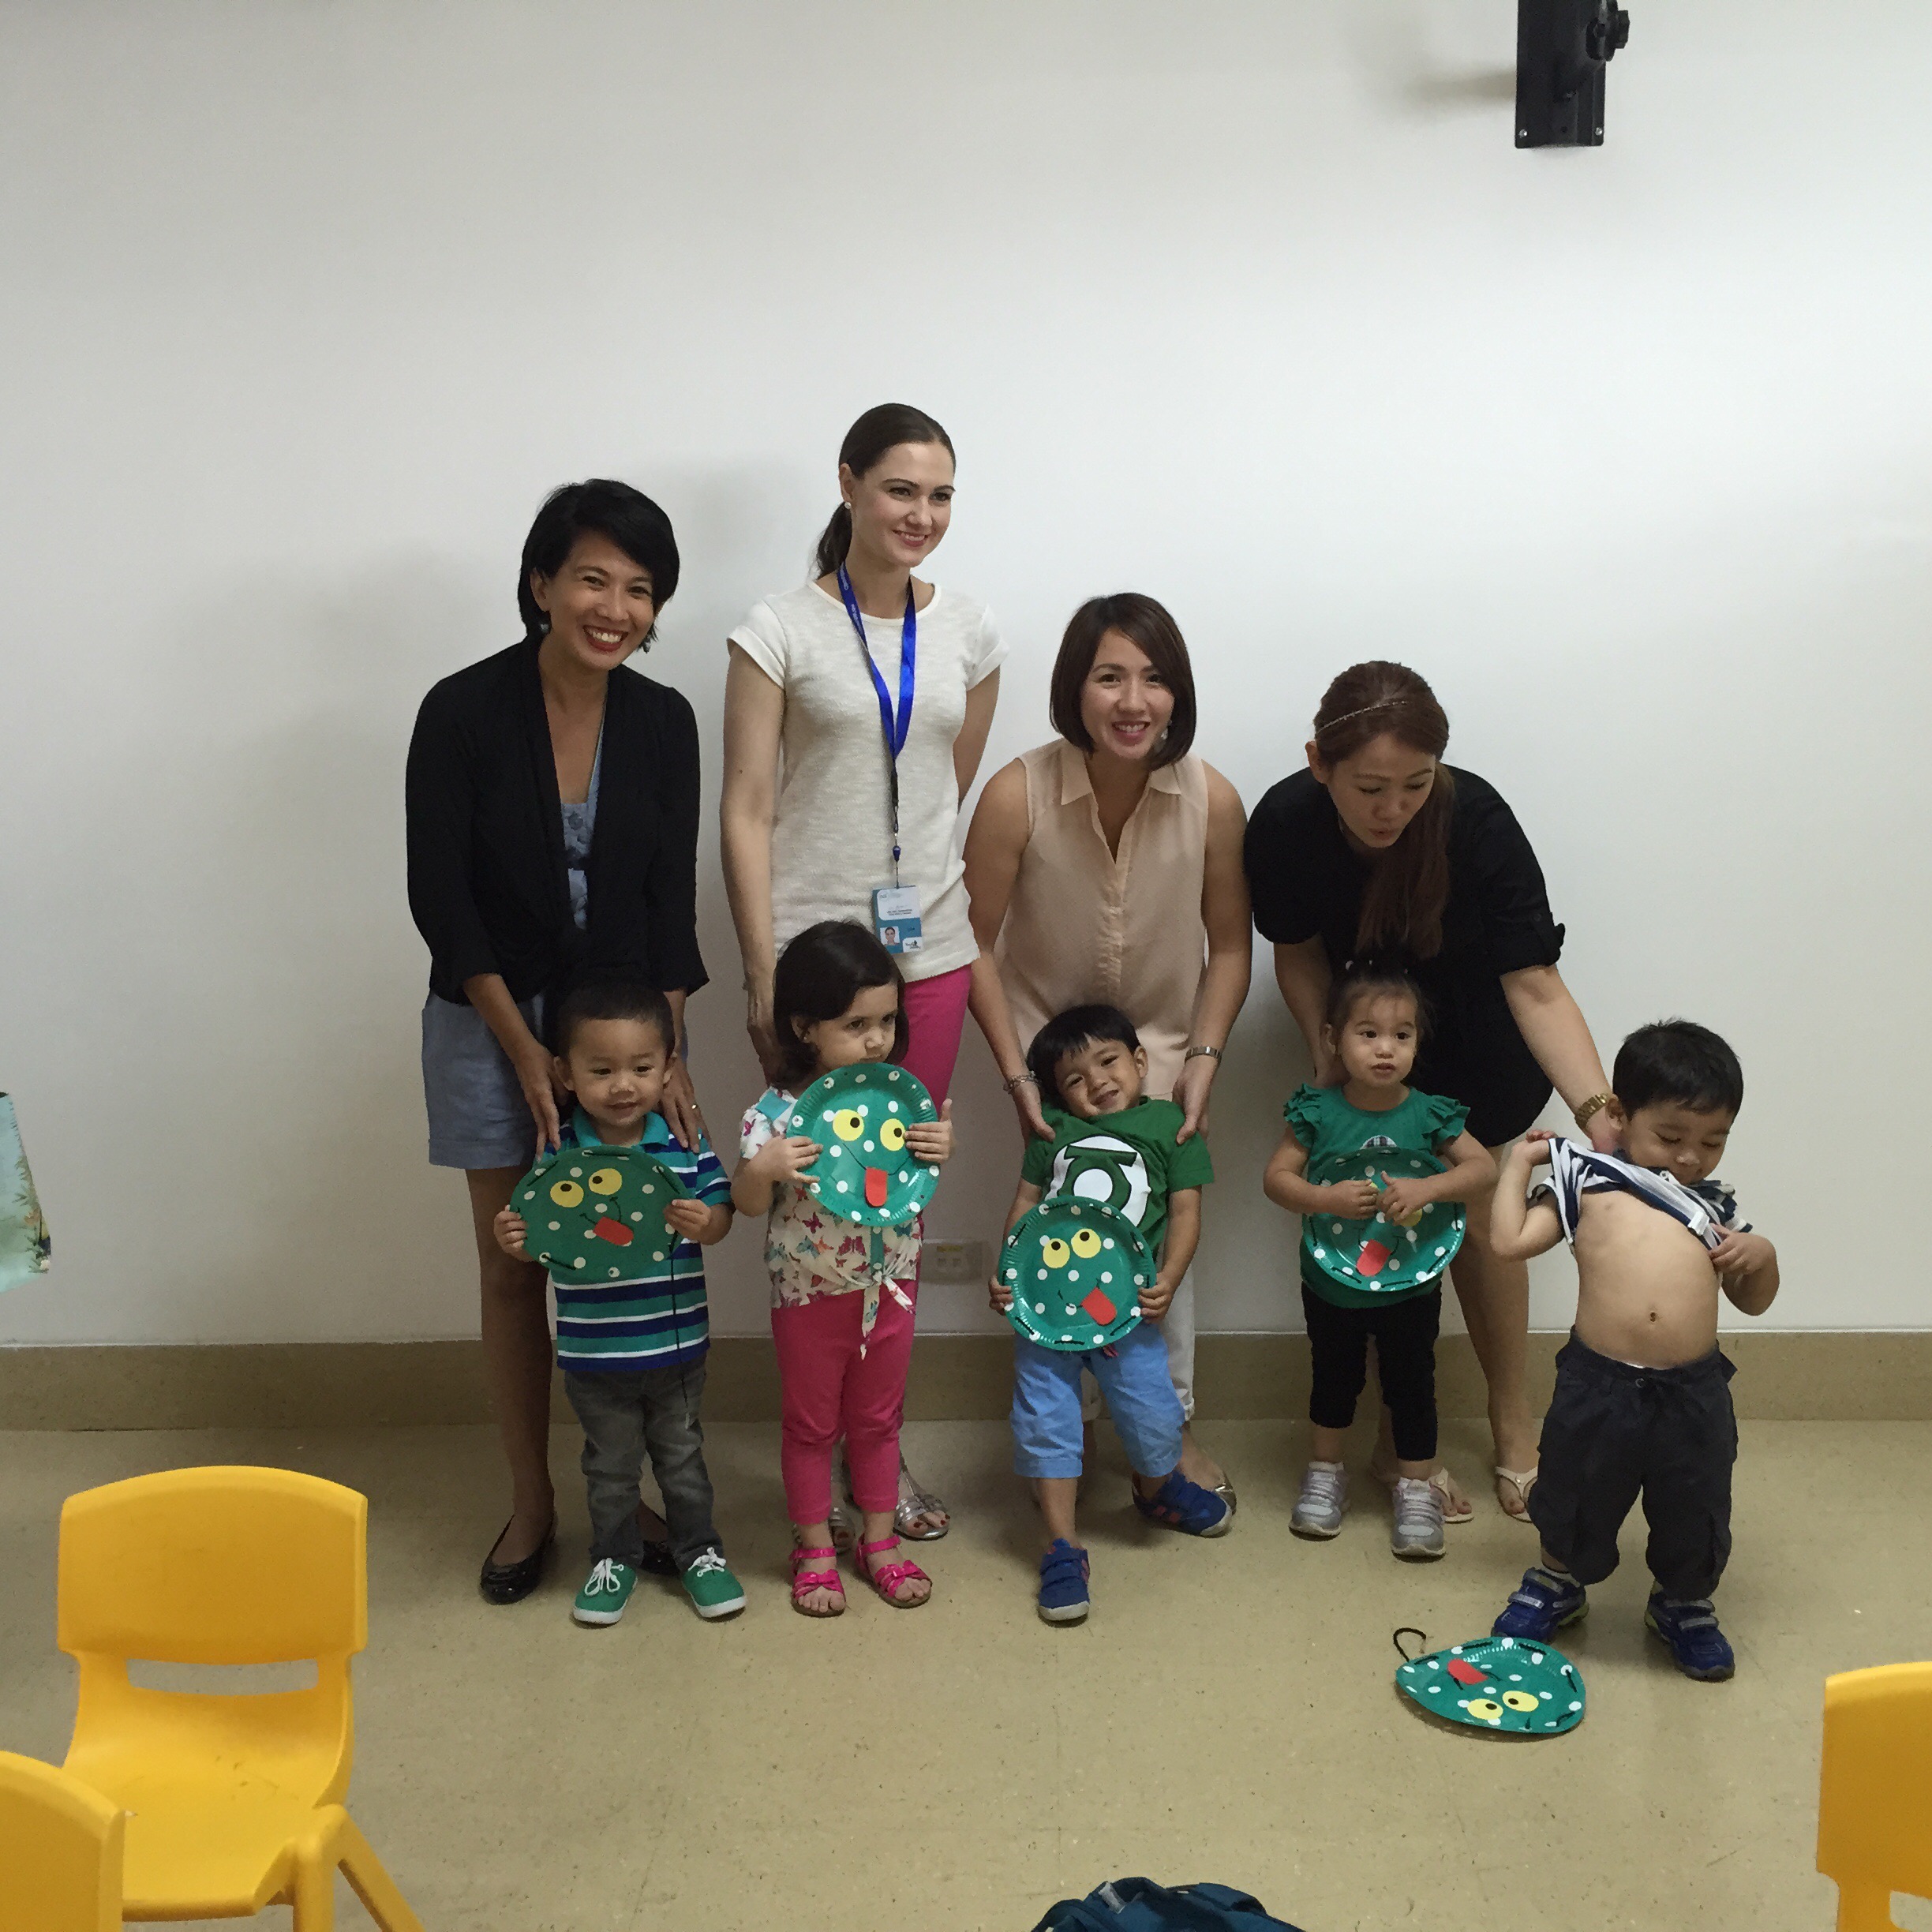
I have mommy friends who share the same sentiment about teaching our own child and then getting them to a play group on a weekly basis. So we meet up weekly and do activities that each mom takes turn to prepare. The idea is, Mommy is the teacher. What we do in playdates is to prepare fun, educational activities and sit with our own child and guide them as they explore.

Cloud Clay Play date

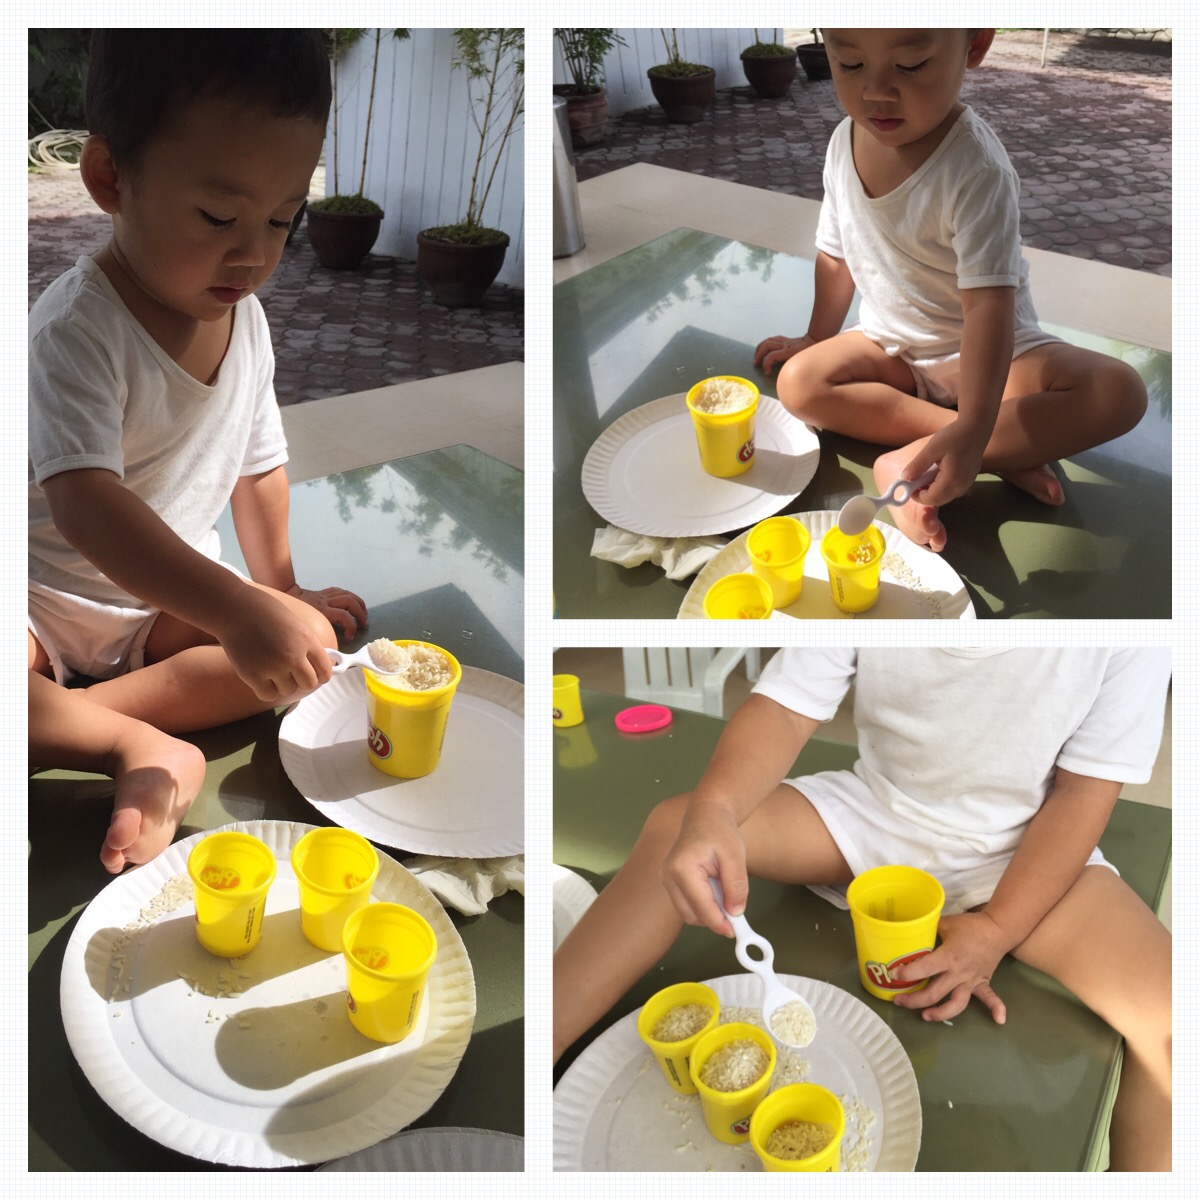
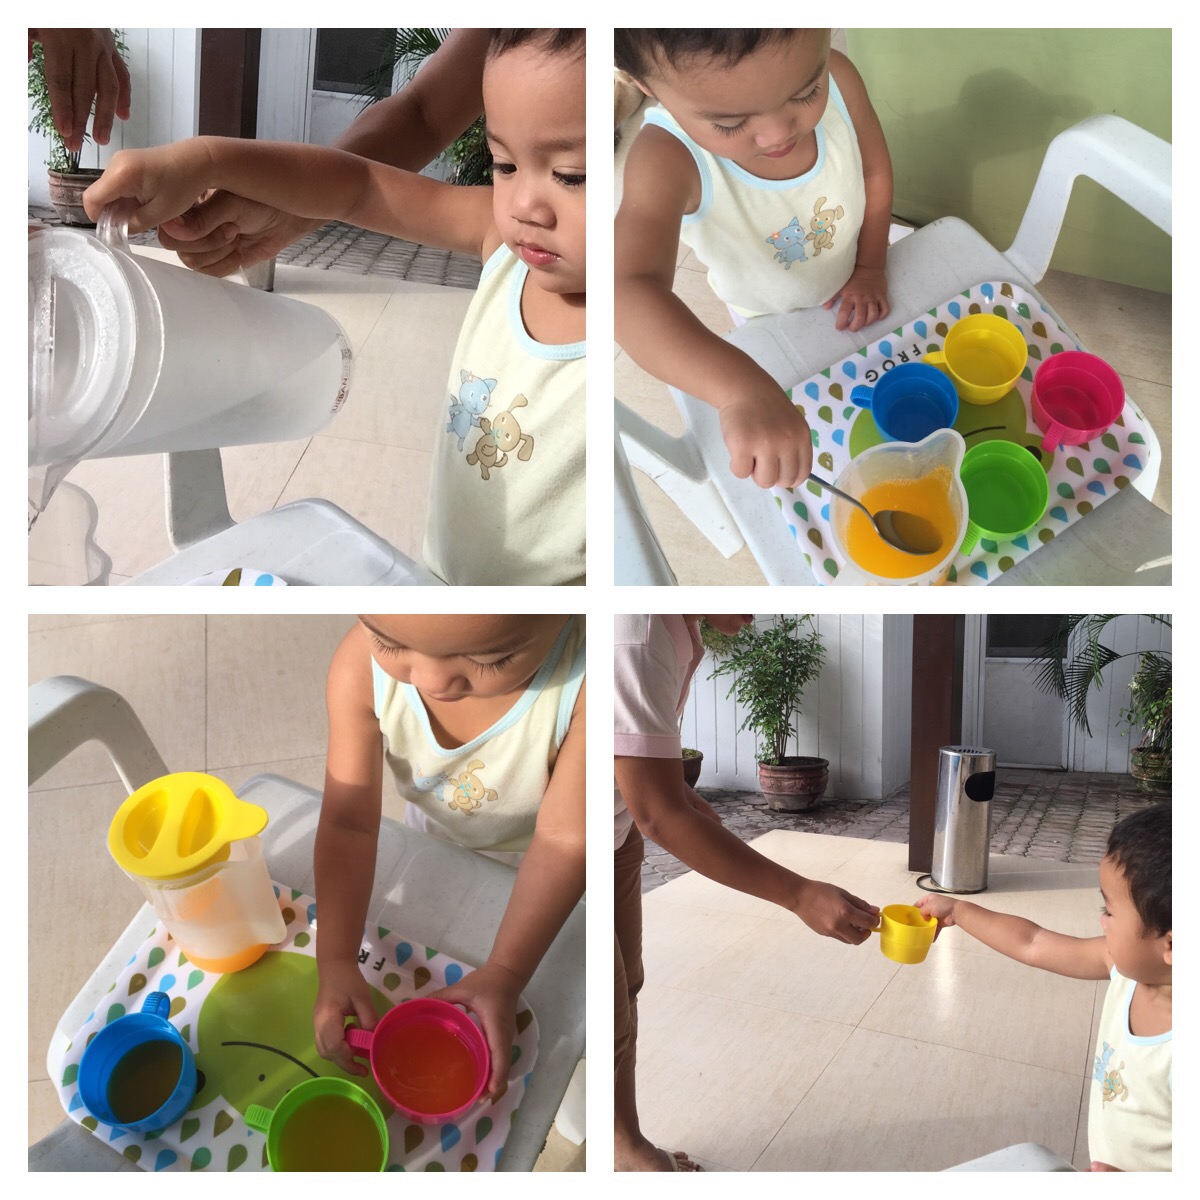
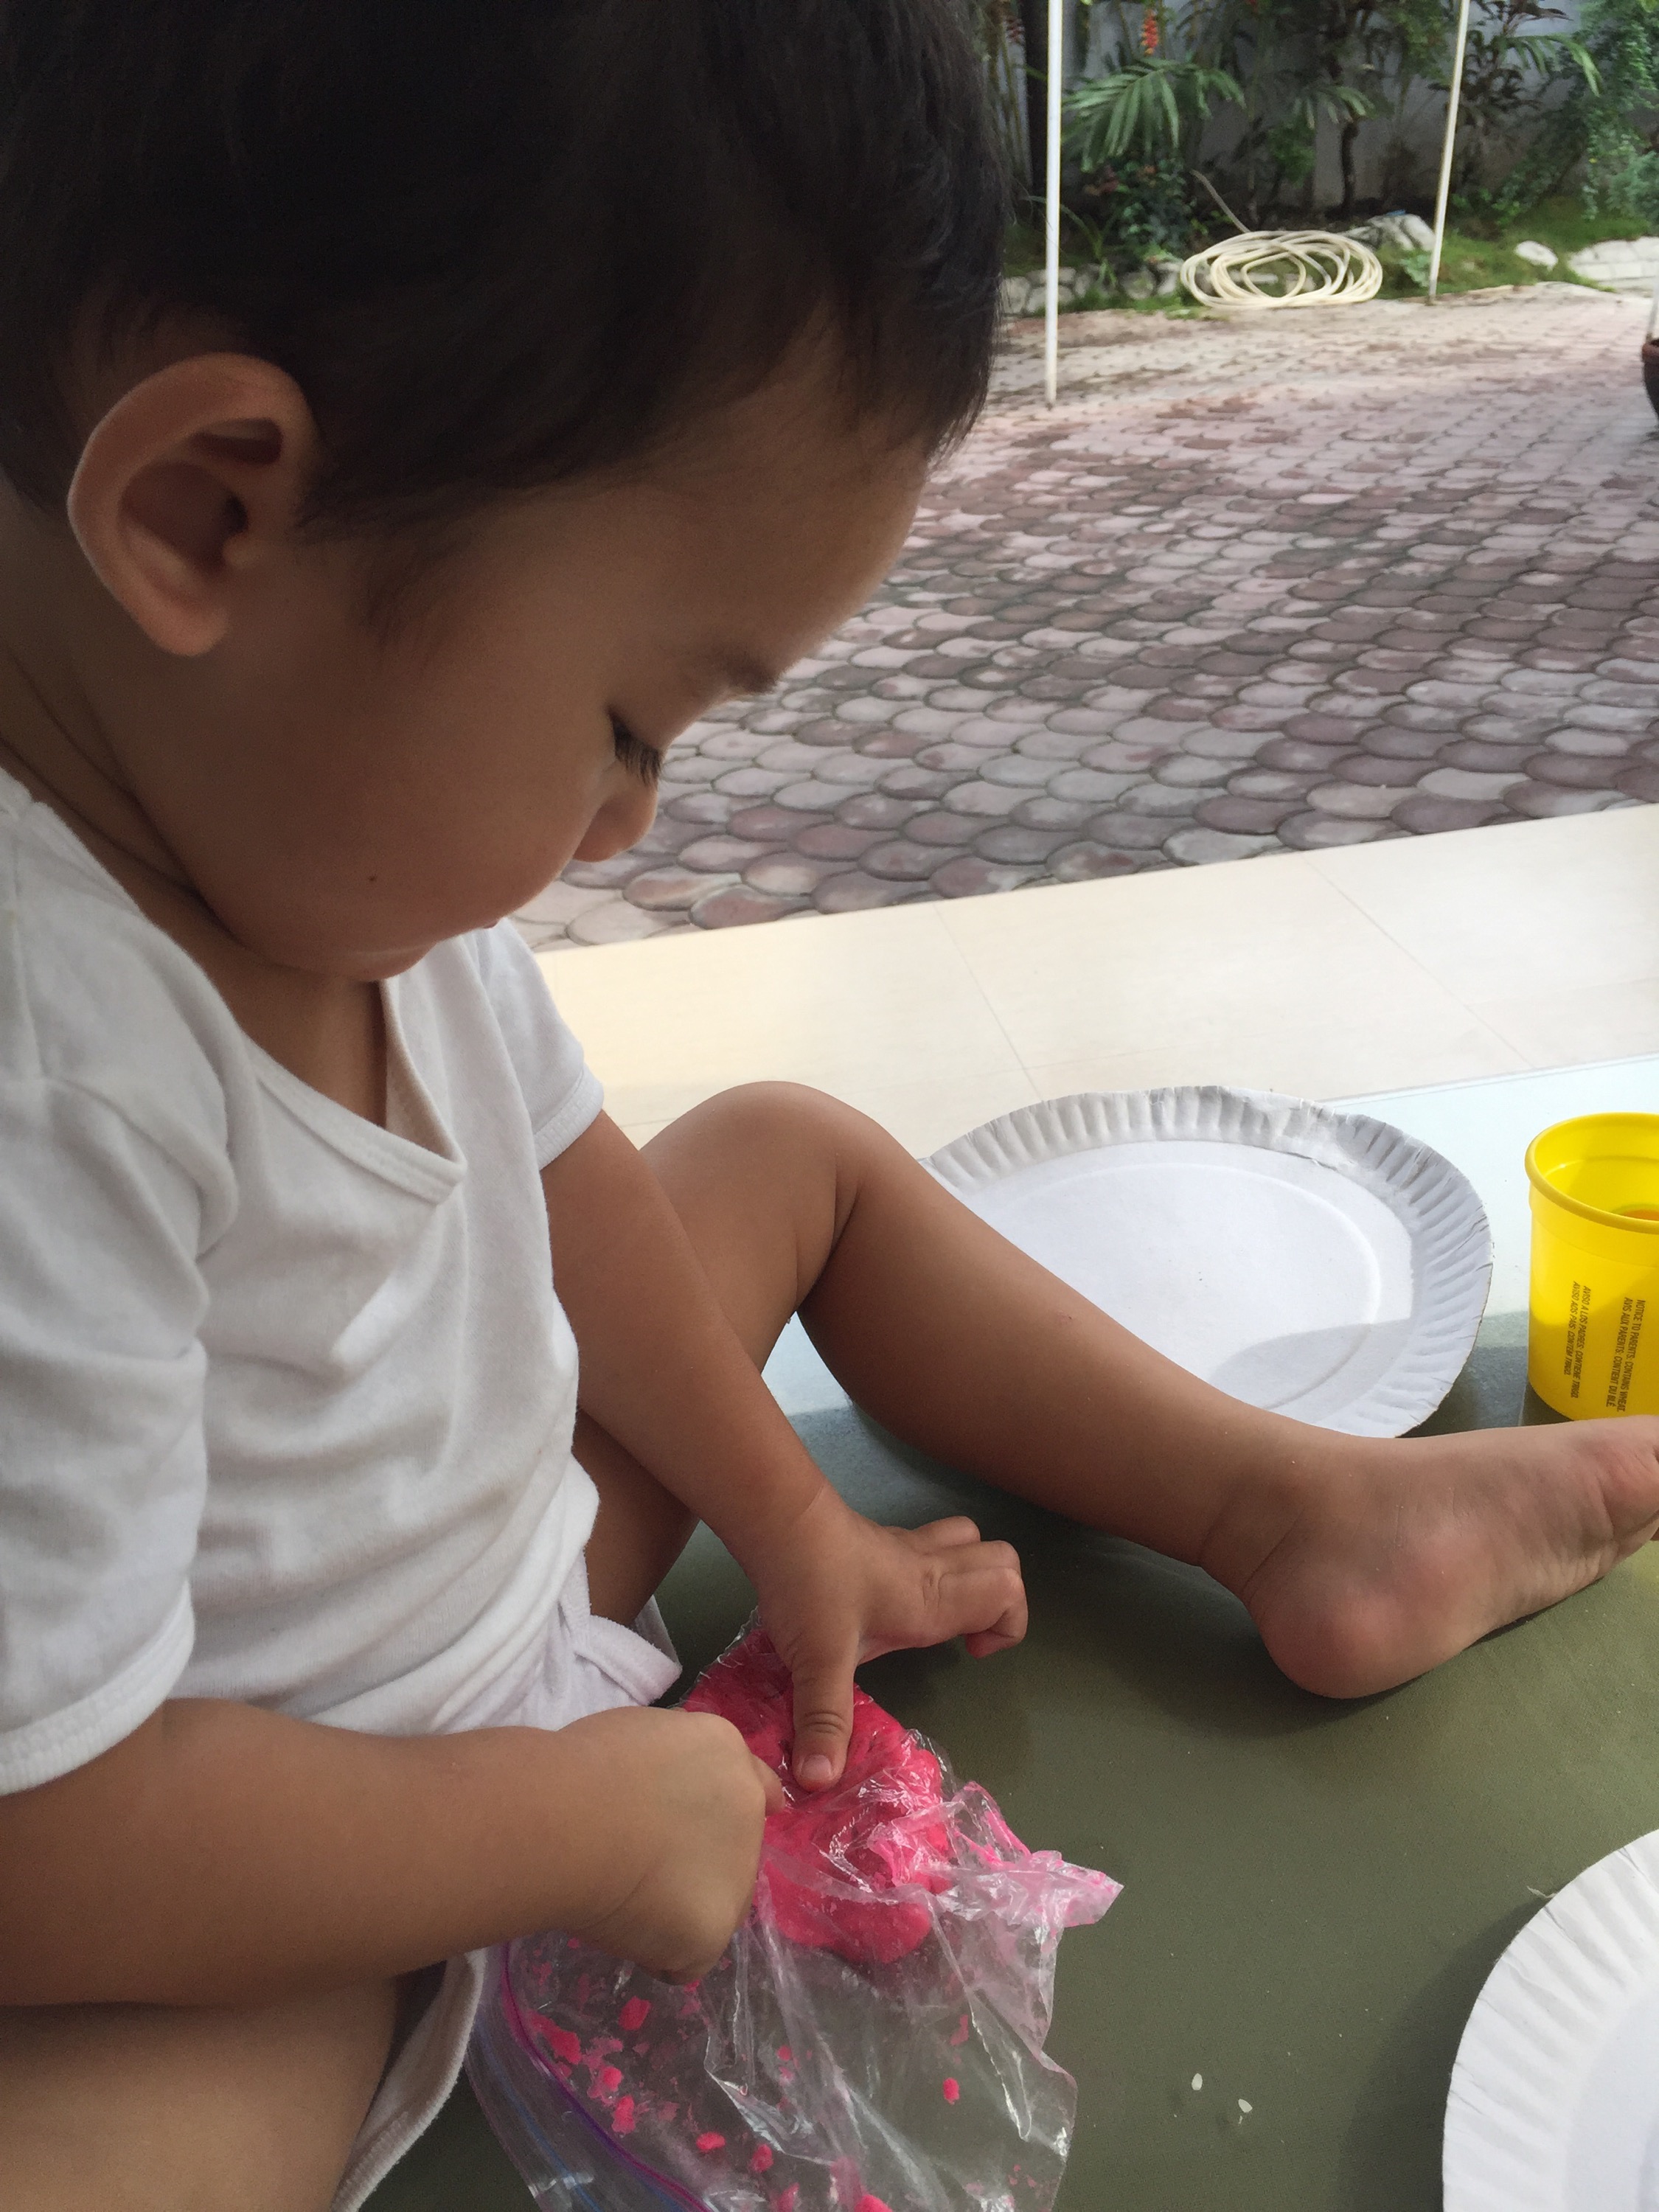
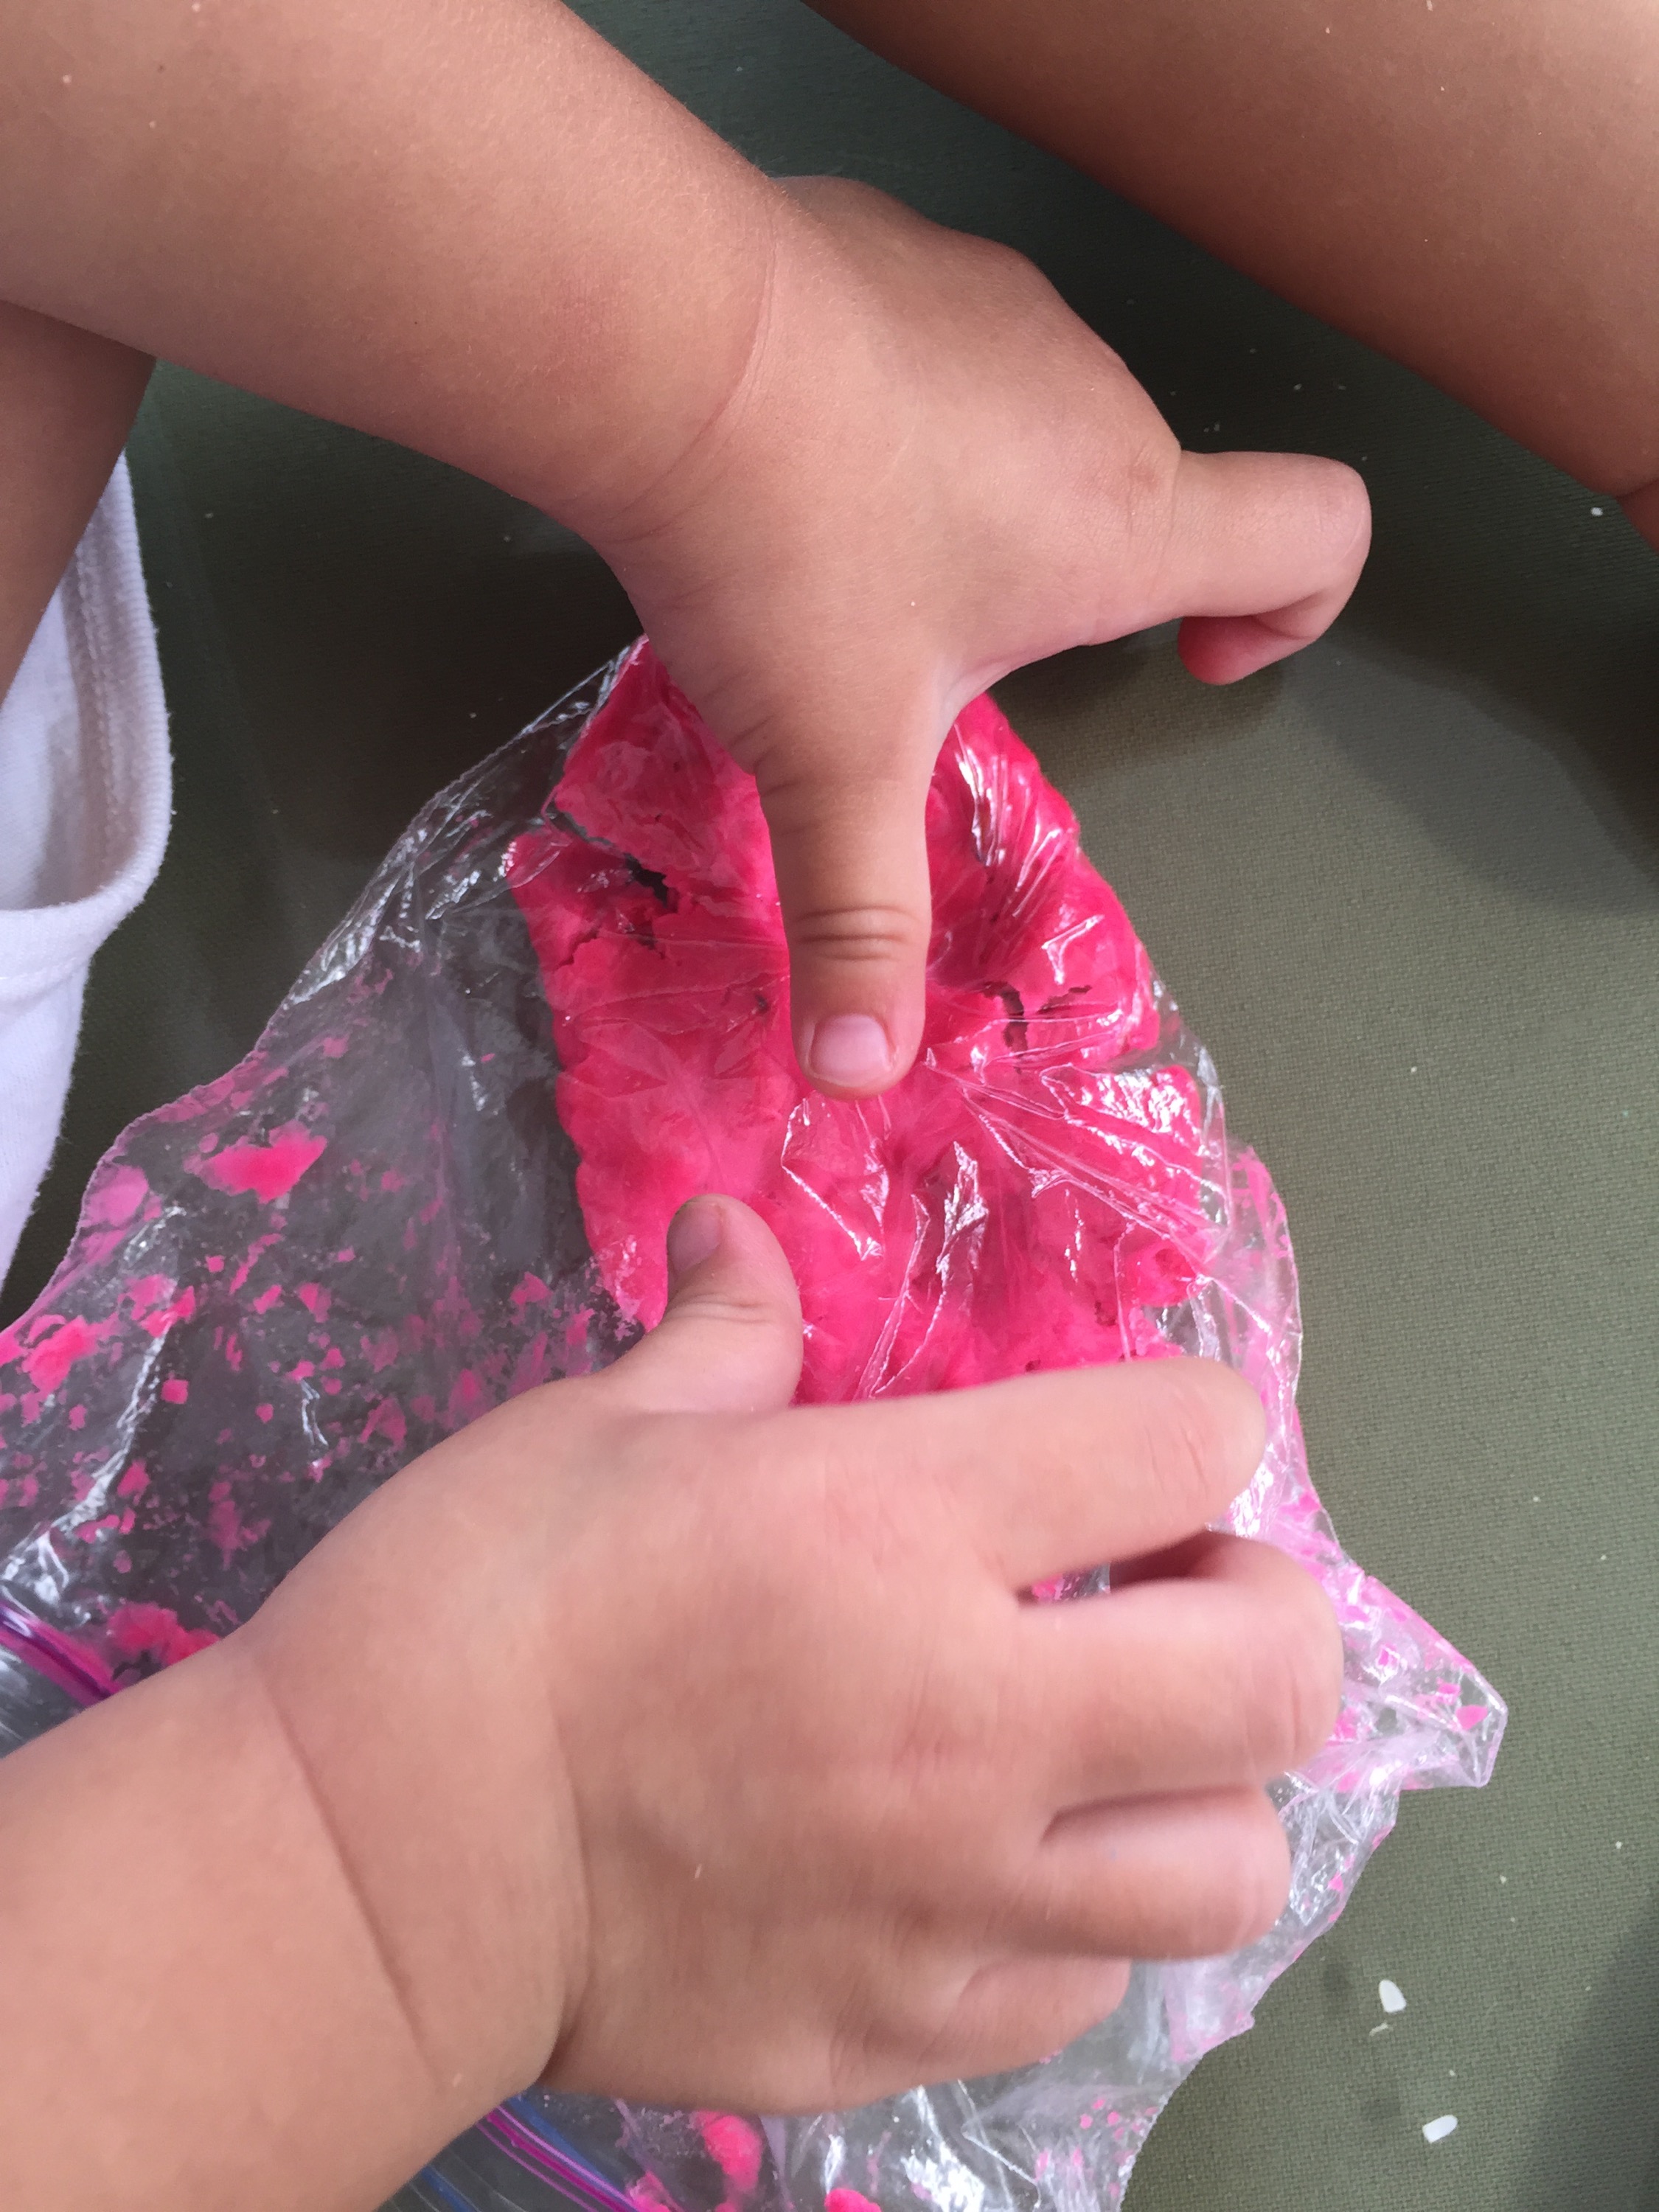
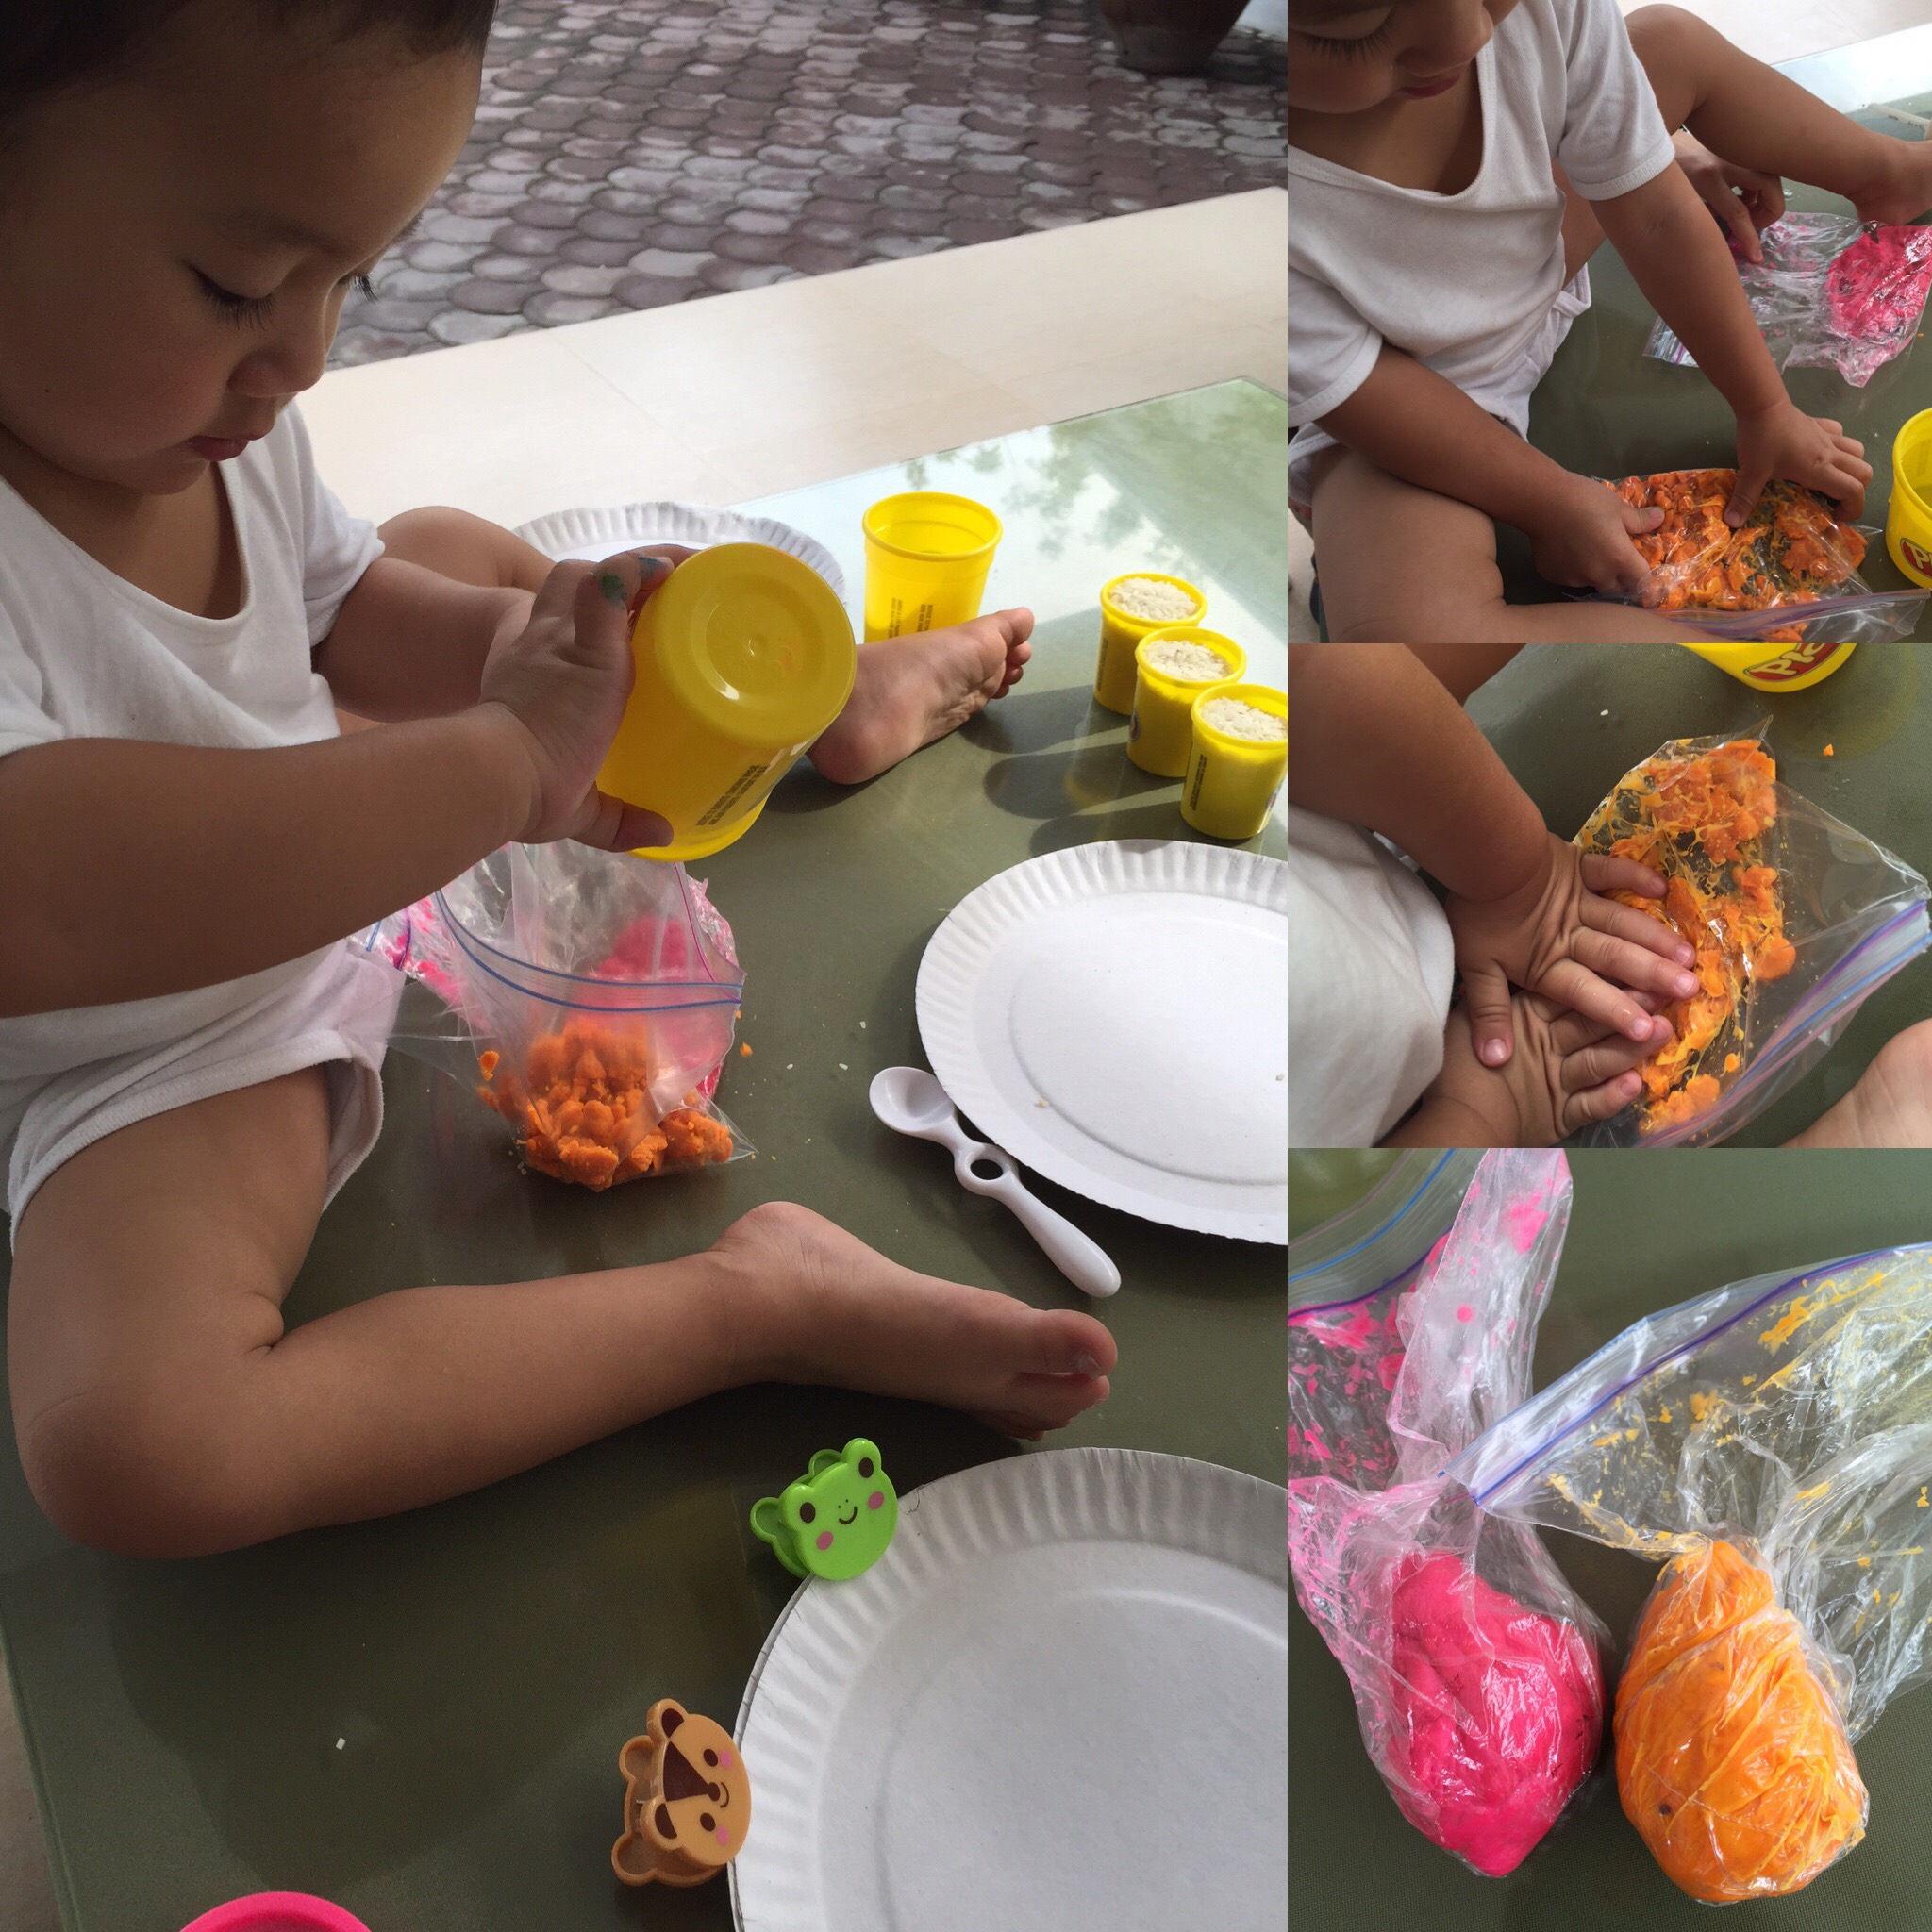
Mommy Cris prepared cloud clay. It is made of flour, water, and food coloring. All these she made at home. It is safe and edible for our kids. With measuring cups, spoons, and shape molders kids went crazy on this activity! 

  
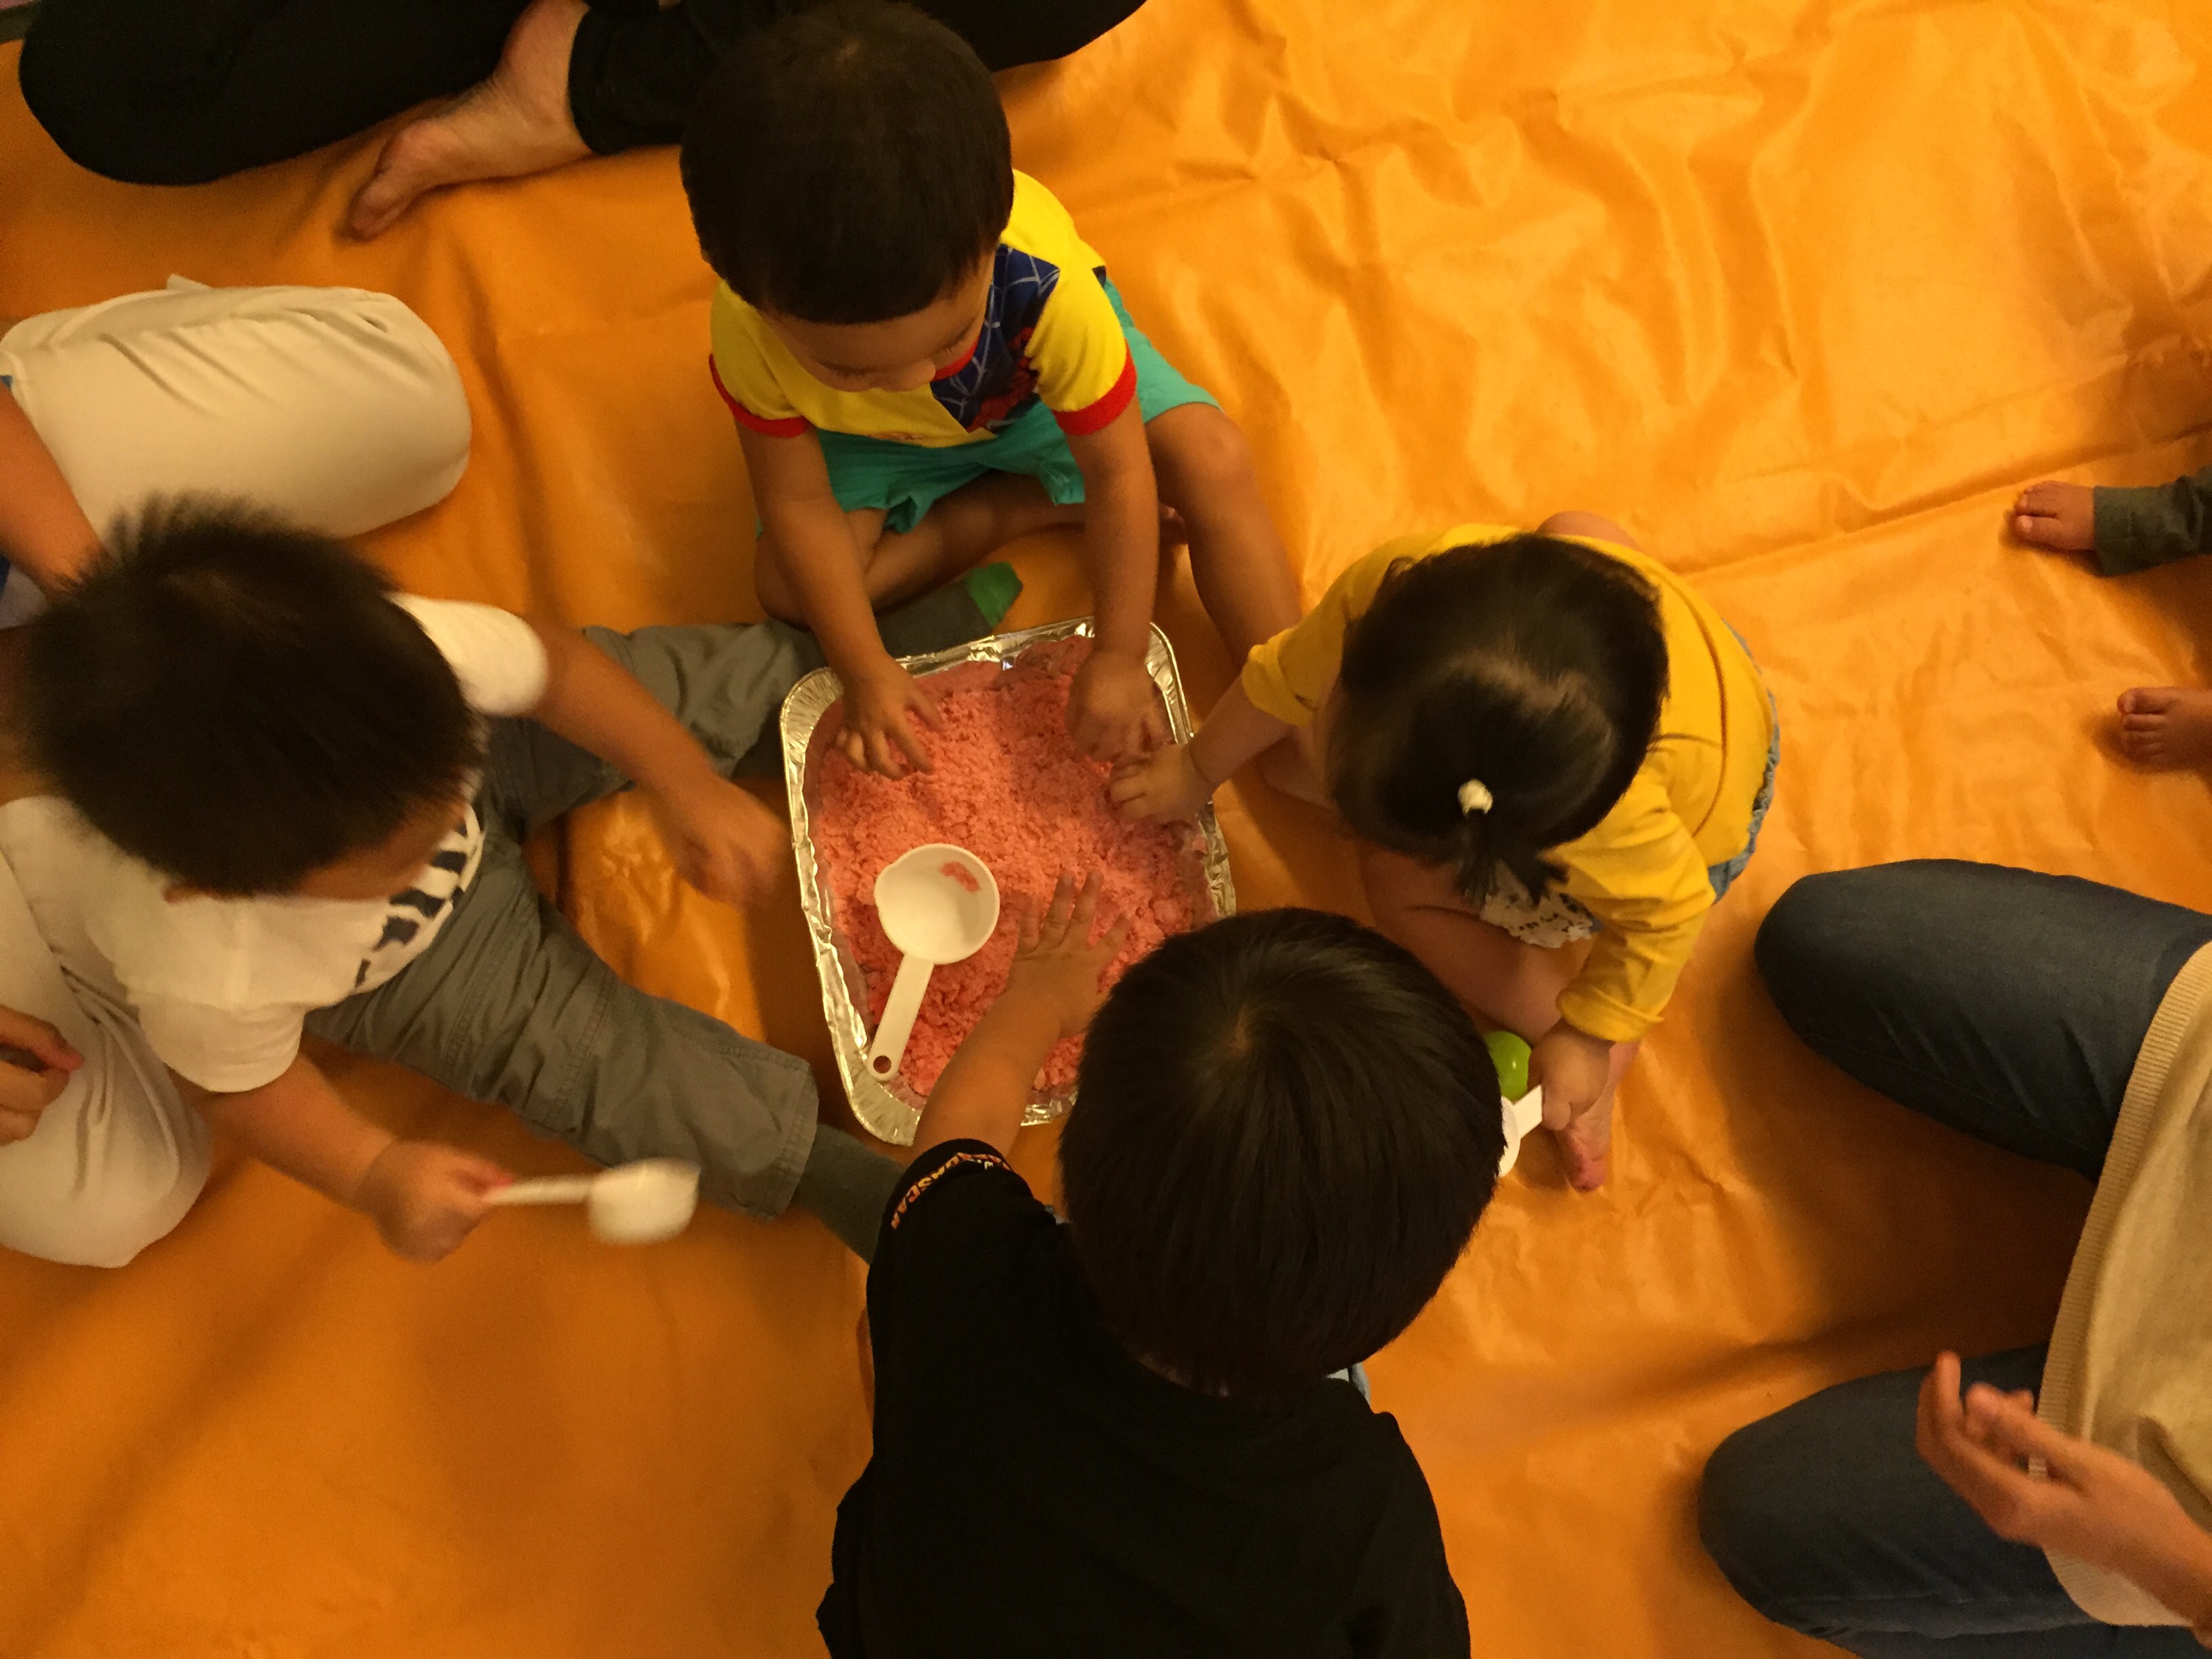
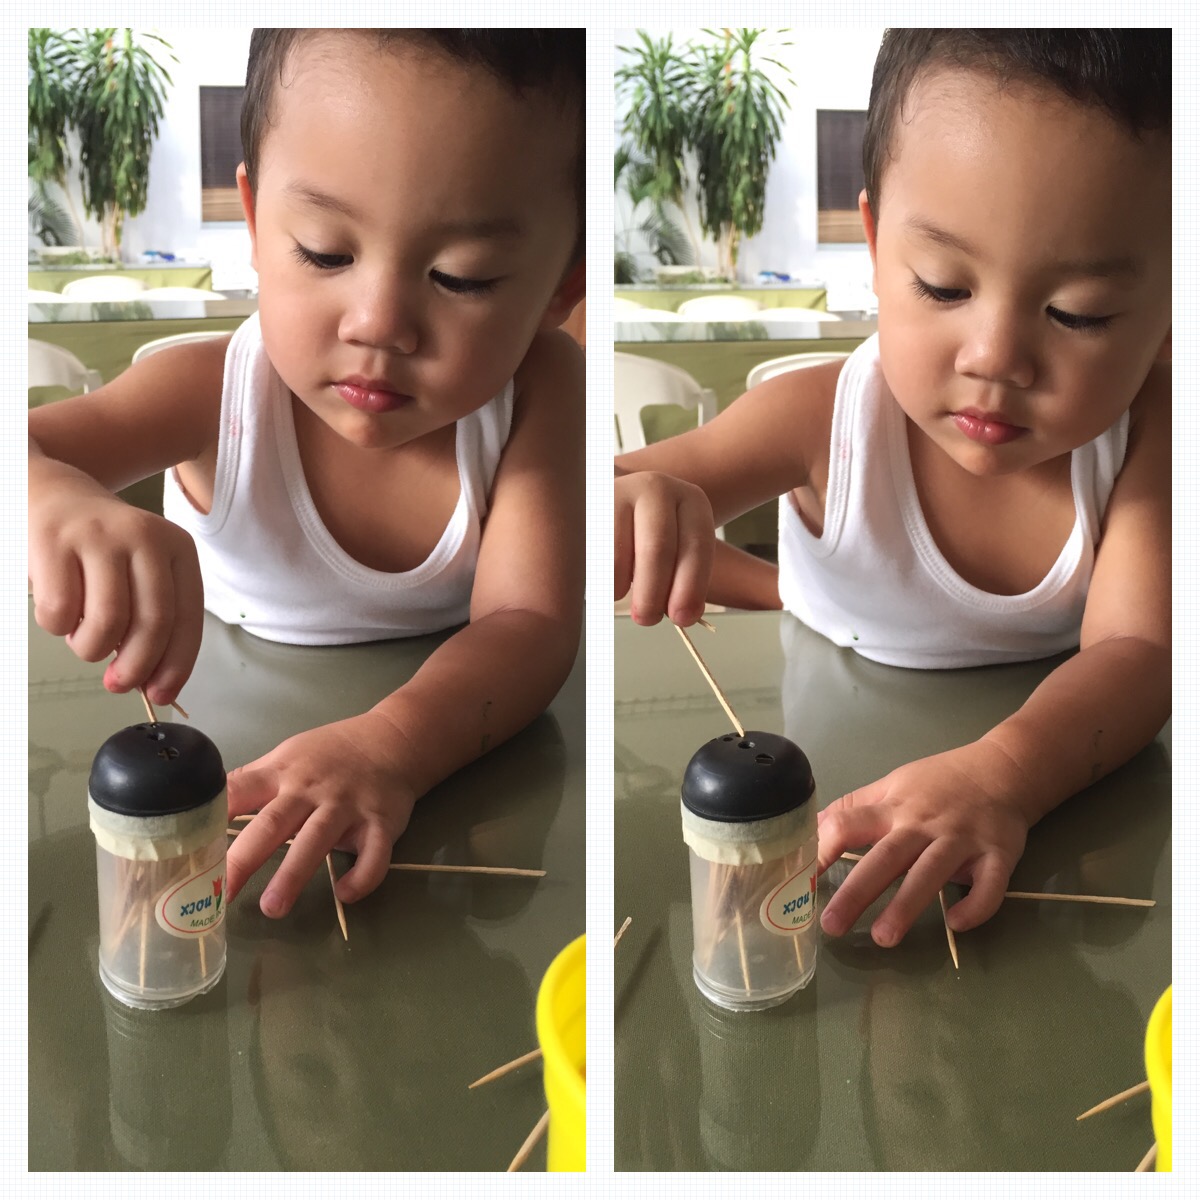
Each Mommy then guides her own child to doing much more with the clay! It was fun and enjoyable! Putting in themes like animals unto the cloud just added ideas to our kids imaginations too.

  
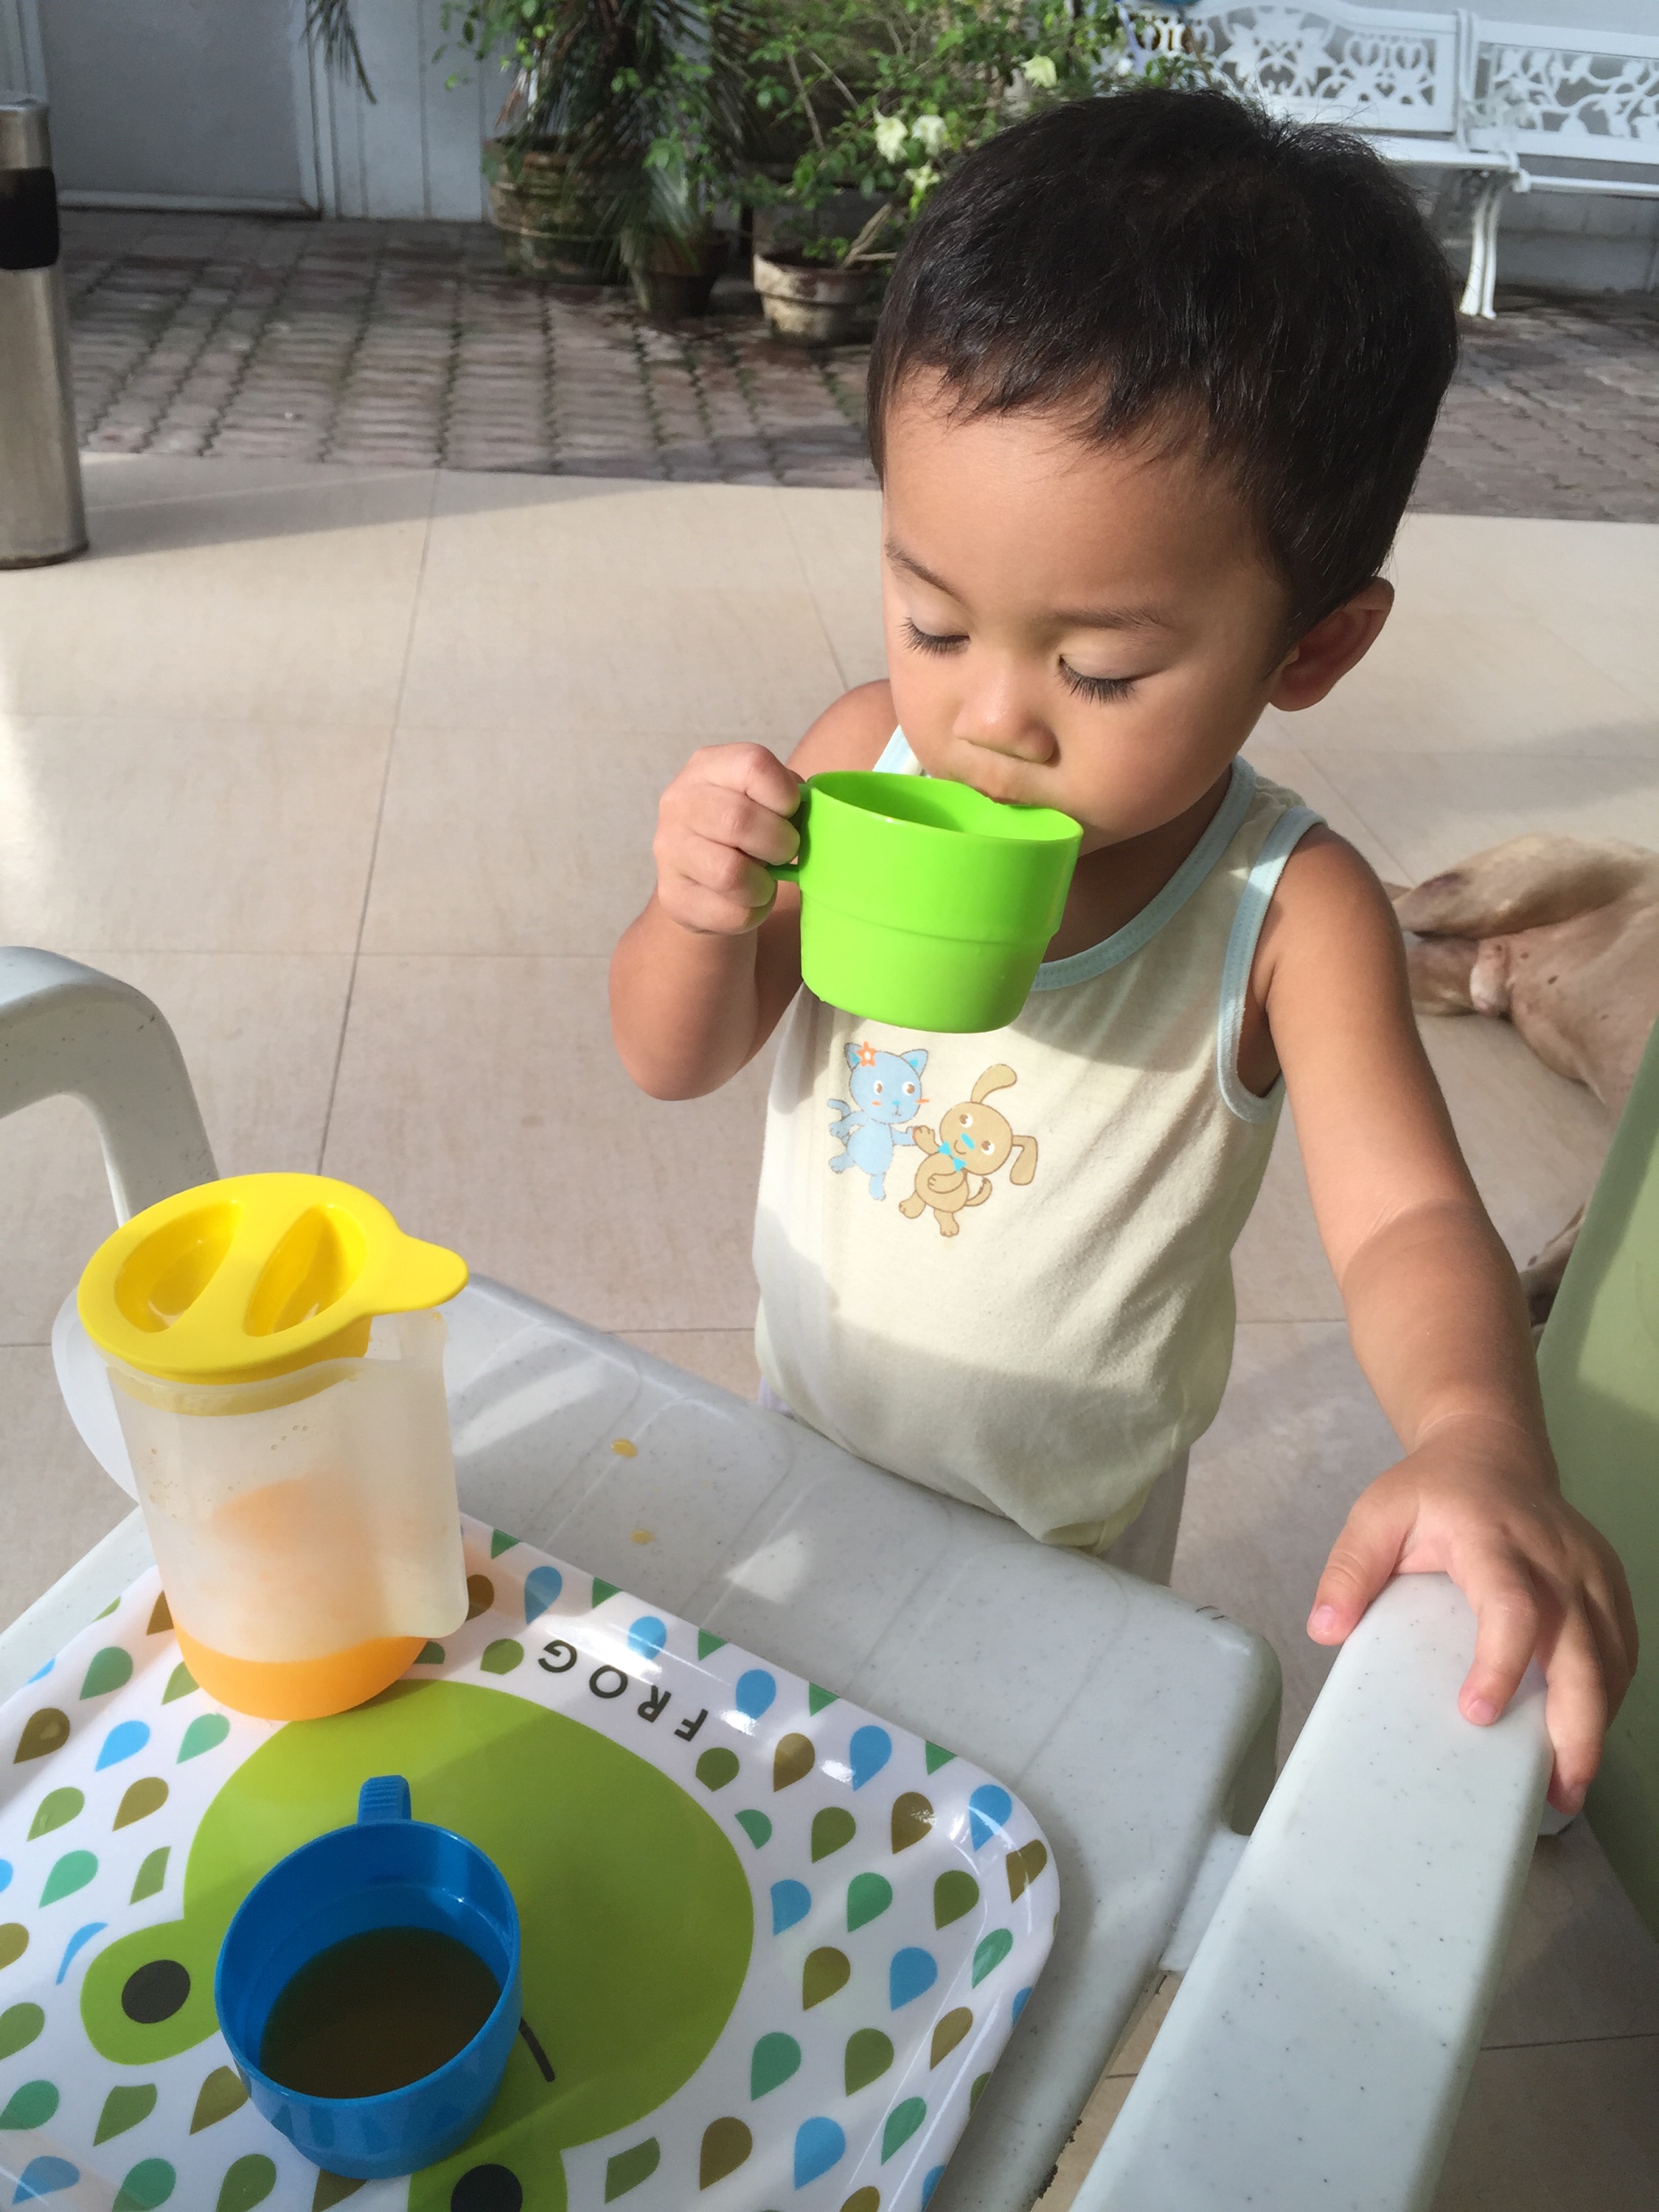
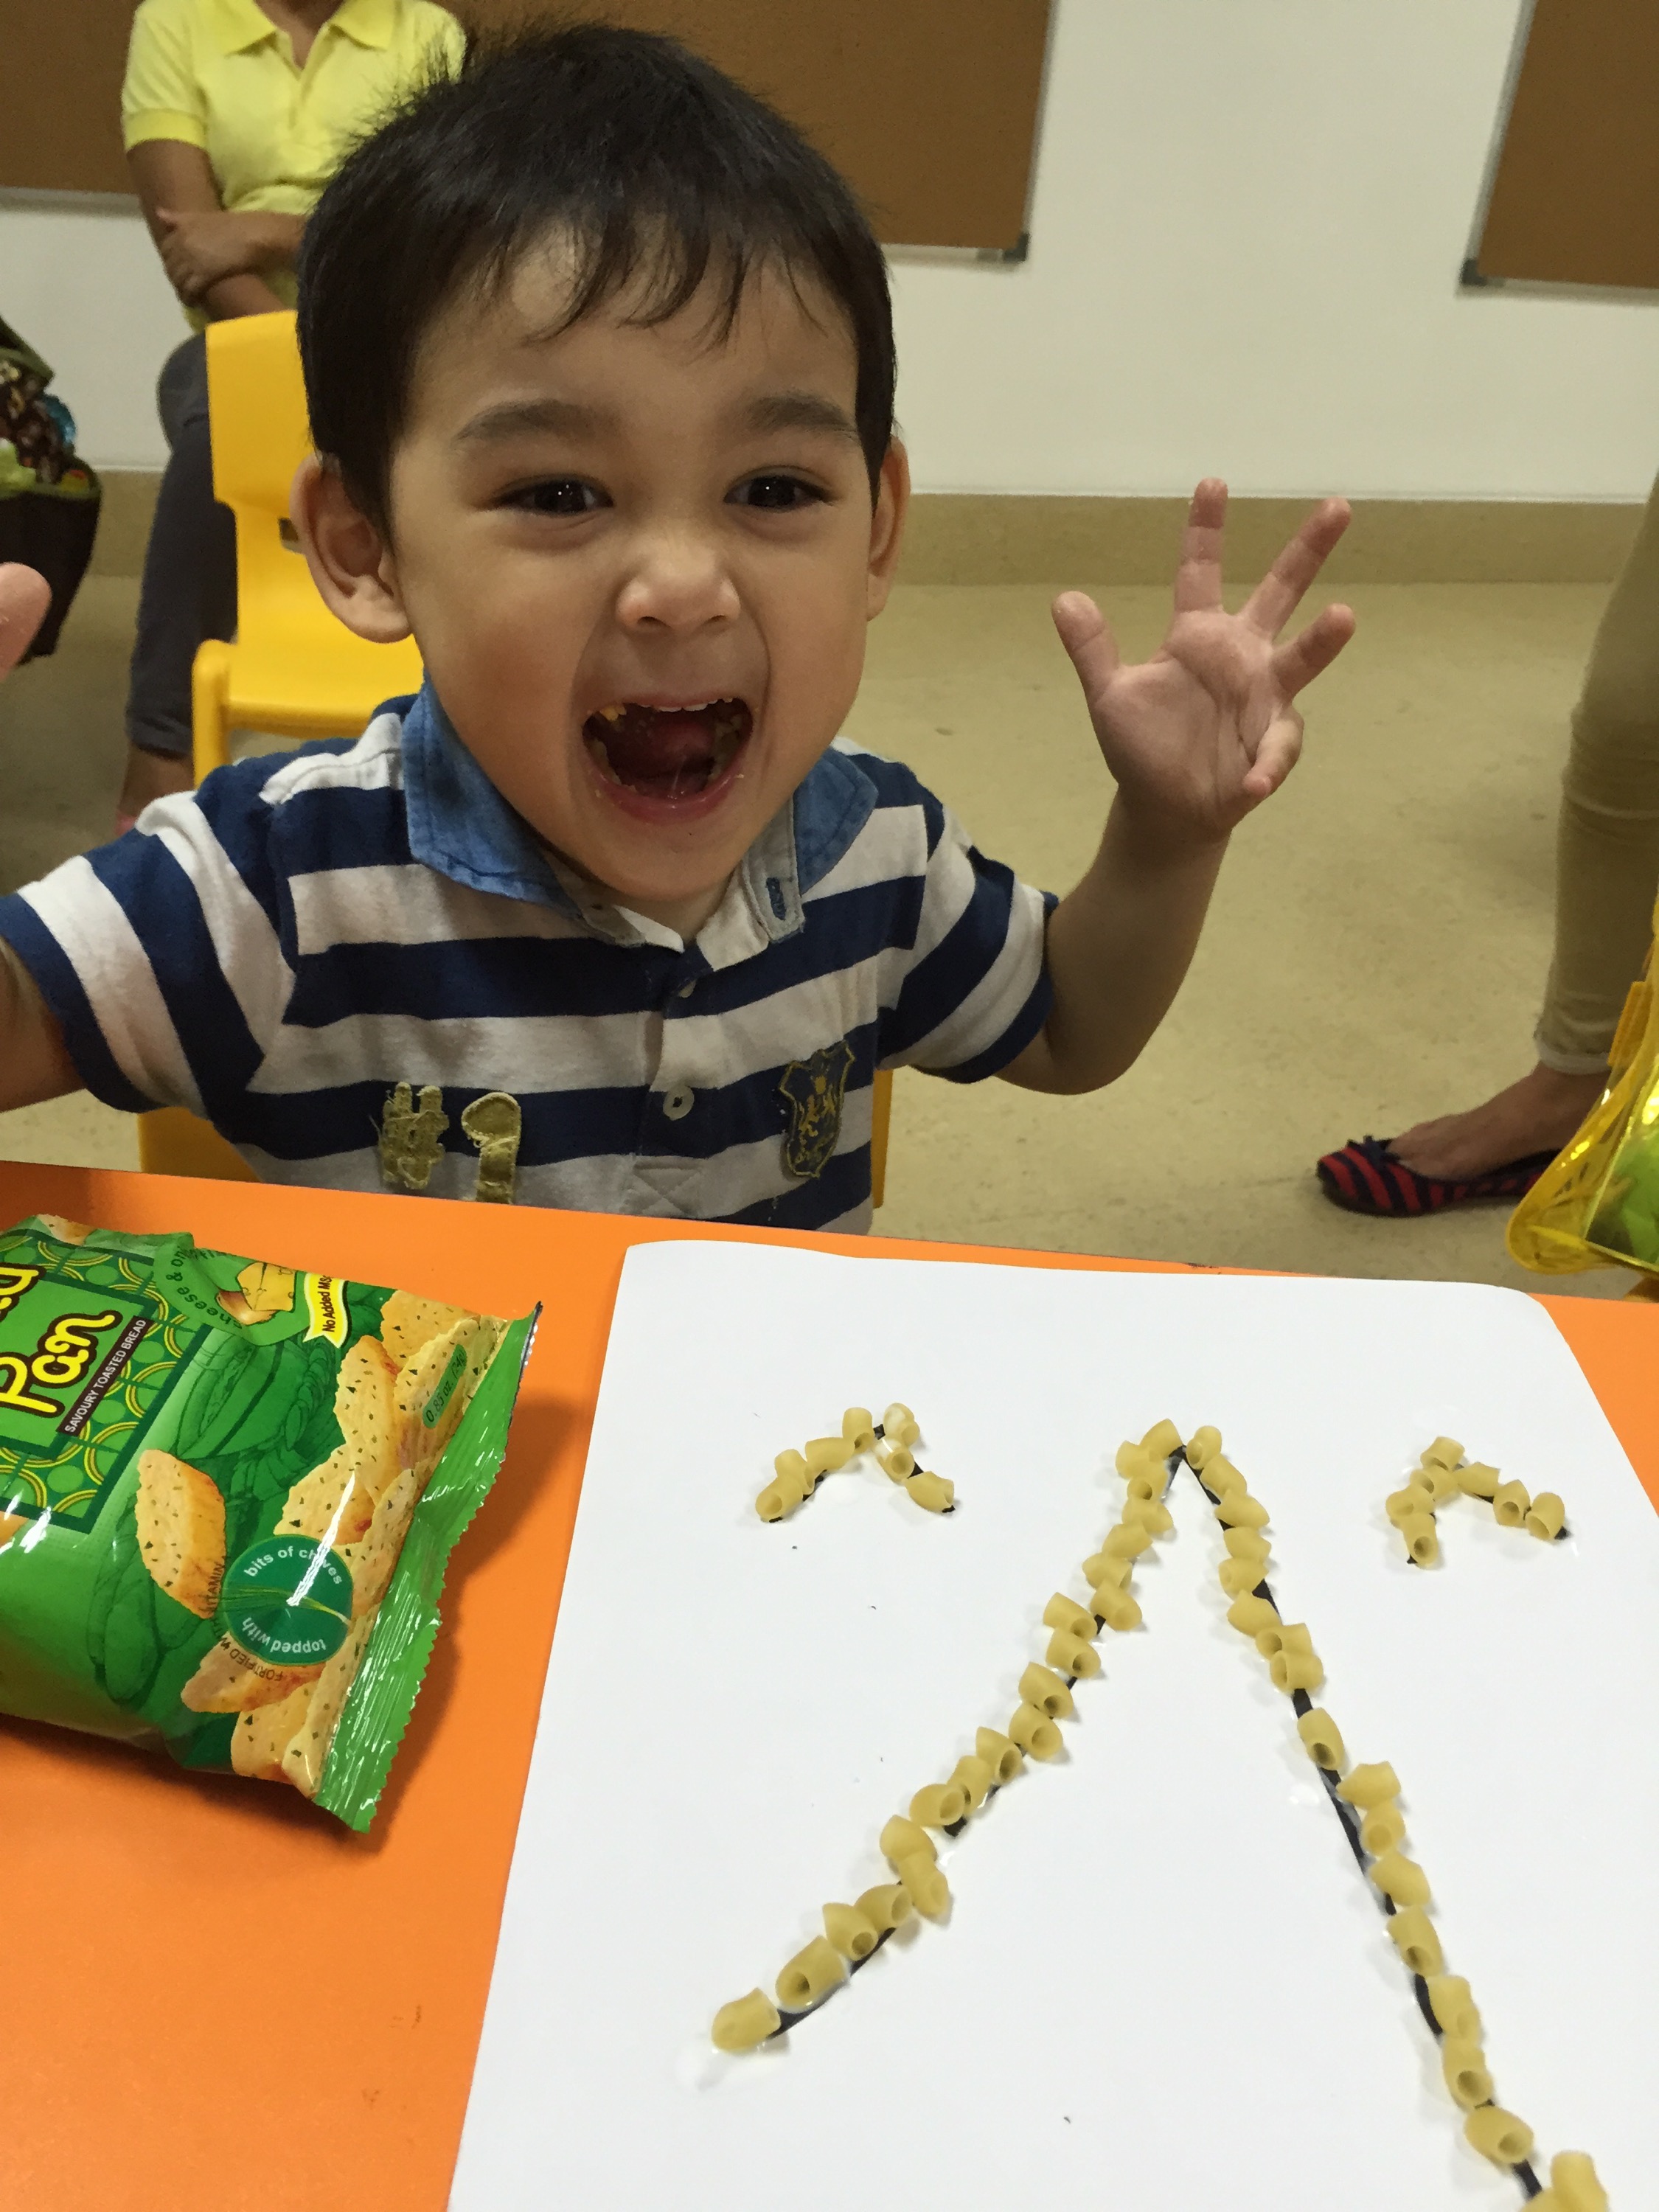
You would not believe how much fun the kids had with their mom as teacher and exploring with playmates too! They just wanted to go on for more than 2 hours. 


My favorite part about our play dates is having mommy time. These are moments for us to bond among moms and talk about our journey into motherhood. These are conversations that refuel and reenergizes us from all the busyness of raising kids and running a career. 

Truly, I am thanking God for these mothers who want to dedicate themselves as the first and best teacher to their kids. It’s really the original design of God anyway. I pray that we will continue doing more of these and through God’s grace be encouraged to keep teaching our children! 


Teaching the alphabets at home

Did you know I was totally clueless when I decided not to put Josh into a day care and to just teach him at home! I did not know what to do and where to start. Good thing, I was able to observe a class done by home school moms. There I saw them have kids get familiar with the alphabet one letter a week.  Also they made sure the child would do an activity that would be sensory for better memory work.

So here in the province, I go to National Bookstore and Daiso to look for “stuff” to use for my lessons. I try to make Joshua’s learning experience be an interesting and fun one.

I found some really cute push pins/pop sticks in Daiso and it was 24 pieces for P88.00. It has different colors and it will make a good tool for motor skill.


Also buy paper plates because there are so much you can do with paper plates. Since Joshua knows A-E, I want to teach him the letter F. So I drew an F on the center of the plate and the drew items that started with F.

Then I got an old box (of juice) and stuck the paper plate on the box. I bore holes on the letter F using the pushpins and made it in a way that you can push and pull out the pins. This way, Joshua would have a sensory activity that helps him draw the letter F.


What Joshua did was push the pins in as I teach him the letter and the sound. We keep repeating and makes him push the pins on the letter.

A week later, I made him do the letter G using the same method. It has made learning F and G fun and creative.

The great thing about this home made letter tool is seeing my little boy play with the push pins and the letters throughout the day. His little fingers get stronger and he also discovered that he can sort the colors of the push pins! He feels great when he accomplishes these fun challenges.

These are so fun, easy, and not really that expensive. You can reuse the push pins or pop sticks for other things later too!

It is my heart’s desire to give mothers ideas on how to teach their own child at home. I hope you can try this or make something creative inspired from my blog. So here is the video of how Joshua learned his letter F.

http://youtu.be/nUvBV8VnjN4

A Toddler’s art from egg shells

When you cook hard boiled eggs, don’t throw away the egg shells right away. These shells can be inexpensive materials to your new art project with your toddler.

Set the egg shells in a container. Now using your finger or a spoon, begin to crush these egg shells into tiny broken pieces. You will then need the following materials:

  1. Paper plate
  2. Glue
  3. Paint
  4. Paint brush

This day, I decided to let Joshua make a happy face. So we took some glue and drew the eyes, nose and a smiling face. Next part is to drop the egg shells above the glue.


After placing the egg shells leave the plate for about 5-10 minutes. Wait for the glue to dry. Once dry, feel free to gently lift and tap the plate to let excess egg shells fall. From there, your child can now get ready to paint the egg shells!


We used home made paint. If you want to know how to make please check out my blog on Home Made Paint.

Again this activity helps those little fingers to control the muscles around the hand. You may also practice color identification and discuss the organs found on the face!  This is an easy and fun way to make use of those egg shells!

The egg project

An egg slicer can be quite amusing for little kids. Egg projects are not only fun… they can be a practical method of teaching kids to prepare their breakfast. So here are some suggestions on what to do.  

Hard Boiled Egg with a twist

    Boil your egg atleast 10-12 minutes so you can get the center firm. After boiling set it aside. Meanwhile get a plastic bag (I used those cellophane bags for making ice) and put some food coloring and water. I got an idea from YouTube to try to crack the egg from side to side and make the colored water sip thru the cracks. When done right you would get some kind of electrifying design. 

  
After making it sit on food coloring for about 10-15 minutes, the egg will be ready to be peeled. Once peeled you will find a nice design on the egg making this quite exciting for kids. Here is our design on yellow food coloring.. It looks like a little sun on the egg!

  
Once the egg is done, we can start teaching our toddler about slicing the egg. This is good motor skill exercise and also teaching independence as they prepare the sliced egg for eating. 


Don’t throw the egg shells just yet!! Set them aside or store them for future art projects. We will show you samples on what to do with them in my next blog.

Meanwhile, see how Joshua does the egg slicing activity in this Video:

http://youtu.be/7BiR9Sey-pk

Memory Verse- John 3:16

I felt challenged by a friend who is a missionary to teach Joshua some memory verse. She gave me a lesson plan they use in Vacation Bible school or Sunday School. The first on the list is John 3:16.

For God so loved the world He gave his only Son that whoever believes in Him shall not perish but have eternal life.

I thought, wow that’s going to be a long one. I read the different styles. Some use gestures like sign language, other methods are using color book to describe key words. I thought, il do the color one because the hand movement was more challenging.

So that morning, I got gold paper, red paper, blue paper, and white paper. Then, I got glue and several round cylinders used for creams. Fortunate for me I had about 5 of those.  So I cut the colored paper and asked Joshua to help me paste them on the cylinder tops.  And here we got the following:

1. GOLD – this represents GOD. Joshua placed eyes because God sees everything. Gold is glory and also reminds us that Heaven’s streets are gold.  


2. RED – This represents LOVE. It also reminds us of what Jesus has done was shed his blood on the cross because of His great love for us.


3. BLUE – This represents “the world”

 
4. CROSS – This represents Jesus and to tell us God gave Jesus. This part is “He gave Jesus”


5. Happy face – This represents the person who believes. Joshua says this is him.  The key word is BELIEVE. 

So I say: “so whoever …”
Then Joshua says: “Believes” 
I say: “in Jesus will not…”
then Joshua says: “die”
I say “but have eternal…”
Joshua says: “life”.
 

So we did this again and again… Soon to my surprise, Joshua can say the memory verse by using the illustration. I am amazed that my two year old can memorize this verse!  When verses like these are remembered, these become foundations to my little one’s mind and heart. He will remember that God loves him and his faith in Jesus gives him eternal life! That is a fundamental truth that will guard his heart from many lies. God is love and He loves us! 


Home Motor Skill activities

Everyday Joshua wakes up to activities that are fun! In fact, he does not ask for his tablet anymore because when he wakes he looks forward to the new activities we will be doing. Of course, it requires a bit of preparation, but really most of the stuff is just being creative with what we have at home! 

Motor Skills are so important. 

When my toddler’s fingers are practiced it gets them ready to write, to use the scissors, and hold their utensils well. This skill is not only getting the muscles worked out, but eventually it will help our toddler become more independent and confident in doing practical things! 

Here are examples of Home Motor Skill activities:

RICE SCOOPING

All you need are:

  •  1 large containers (better if they are canisters — I used our play doh canisters)
  • Rice
  • Spoon
  • Paper plate/ newspaper or cartolina 

Place rice in the larger canister. Then prepare in a separate paper plate the 3 empty canisters. The objective is to move the rice from the large canister to the smaller ones by scooping it with a spoon. This requires hand control and concentration.

  TOOTHPICK INSERT

If you happen to have a toothpick holder with toothpicks inside — then your child is in for a challenge. Take about 20 toothpicks and let them insert it one at a time on those tiny holes of the toothpick holder. You think this is easy, but this is a bit of challenge for those little fingers. This activity is great for fine motor skills and concentration! 

  
The first time we did this activity, Joshua finished in less than 10 minutes. I asked him if we should do it again, and he said “no more”. But the next day he did it again but with more ease because he had more control compared to the first time.

We can do so much with household stuff and help our toddlers enjoy fun educational activities with us!  Try these and see how your kids enjoy these activities! 

Mr. Hospitality

I want Joshua to be a good host, so I invested P88.00 in Daiso and bought this liquid container with lid and handle and 4 colored cups. The idea is to teach my toddler how to prepare his own juice and to pour it in cups and serve.

Joshua was quite excited and he willingly cleaned the new juice container and cups with water and soap. After, I showed him how to put the juice powder and water, he mixed it and we closed the lid. 


That was the easiest part. The next most important part is the pouring of the juice in the cups. It is suggested to have a little tray so that spills would just be on the tray. Then it’s also good to prepare towel for any spill.

  
 Joshua had some spills and has to learn to control how much juice to pour. Having more than one cup was great because it helped him master the control of his hands in pouring. The best part for me is teaching him to serve others. So each cup of juice he served to other people and the last cup he reserved for himself! 

   
 It is a great routine for the afternoons and encourages Josh to get excited about having his afternoon snack and share it with others!  He now has the making of a very hospitable host!!

How to save your play doh! 

Eversince my son got introduced to play doh (which was when he was about 20months old), it has become part of our daily playtime routine. We have successfully taught Josh not to mix colors so that he can enjoy his play doh for a longer time. We have also emphasized the importance of him putting the play doh back in the canisters so it won’t dry up.

But as much as we try, this play doh dries up… So what I do is, I budget to buy about 4 new colors every month. Thats about P175 a month! I’m thinking, this is too much buying. There must be a way to extend it.  So I tried putting water while in the faucet and squeezed the dough. It felt gross and yucky! I think I placed too much water. But as of recent we found a much better way of saving the play doh with my  toddler to assist me.

 1. First get the dry or semi-dry play doh and pinch it into small pieces. Put it all inside a plastic bag or better if you have a zip-closable plastic bag.
2. Use a dropper (I got mine from used medicines) and then prepare some water in a container. Get some water using the dropper and place just enough to wet the dough. Why a dropper? You may wonder. It is to control the water you put in so it won’t be too wet.

  
3. Close the bag and start kneading it from the outside. Keep patting, squeezing, and kneading until you feel the dough softening. 


Once it is back to the original play doh consistency, you can leave the dough in the bag for at least  half a day before transferring to the canister. Then you can use it again for play! 

This is a great bonding activity with your toddler. Plus, the dropper is a good motor skill activity. The kneading is good sensory activity. And getting the play doh back from its dryness is such a reward for any little kid! 


Home made paint can be fun

Joshua was getting very bored one afternoon. So I had to find something to do. Thank God for google! I looked online for home recipes to make home made paint and luckily we had all the ingredients at home.

  • 1/2 cup salt
  • 1/2 cup flour
  • 1/2 cup water
  • Small plastic cups with cover
  • Food coloring (red, blue, yellow)

Mix the Ingredients (salt,flour, and water) using an egg beater. When smooth, put them in little cups. I made 6 colors with double the recipe. Paint brushes are convenient to make the artworks. You need paper and stick on some paint whether in droplet style or brushed through. Then close the paper in half and spread the paint by patting it. When you open the paper you will have a surprise and some great abstract art!    For working out fine motor skills and math. I used 24 pcs of cotton buds. Dividing it to 4 pieces for each color, I let Joshua count how many pieces and the place their cotton tips on the paint and set asides on a paper plate.      Then after counting and dipping we set it out to dry. Meanwhile I bore holes on the cotton buds container cover with an ice pick. This way he can insert the cotton buds in the hole. This is good practice for his motor skills as he puts the colored buds in the holes.   This is fun and my son enjoyed it so much! He is frequently asking if he can paint again. These crafts are inexpensive and easy to do with your toddler.

Group Schooling

I am praying God will enable me to homeschool my children. I have seen many of my mommy friends who do home school and their children are intelligent, well mannered, and highly sociable kids. They are able to carry conversations with adults and with other kids. 

When I was in Manila, I met other homeschooling moms. They were doing a group school in CCF. Moms take turns to teach homeschool kids different topics. I was excited to go and observe. They taught values, alphabets, and guided play to toddlers within 2-3 yrs old.  

Values – they take a bible reading and teach a life application from it. That day, they taught about God’s house and how to behave in church. So each child was made line up and pretend they were going to church and sit in their places quietly. 

Alphabets- they teach one alphabet at a time. So this time it was the letter V.  They had the kids paste pasta over the letter V. This helps in memory retension. 

   
Then, on the guided play, they had a game about frogs and how each frog jumped in the water. The game had a little math too! They had to count how many frogs we’re left. Then at the end each one had to make their frogs using a spotted green plate. 

  
I really got encouraged seeing my other mommy friends homeschool their kids. It also affirmed that what Joshua and I are doing at home is pre schooling already. I am praying for grace and patience to do this. My desire is to really homeschool Joshua.

I’m seeing the unspoken fulfillment of each mother in this group. I dream for this kind of parenting in Gensan and Sarangani too!