MunaTo 3D Art

In 2014, the province of Sarangani turned the provincial capitol into a Themepark for the MunaTo Festival. We had different attractions that were created to help the public learn about history, science, culture and the arts with Sarangani at the heart of it. It was a great concept. Families and most especially the children enjoyed the park. 

In 2015, we changed the concept of the MunaTo Festival to an International Music and Arts Festival.  This time showcasing the music, arts and performances of the different tribes of Sarangani and the other artists including Mathew Ngau, Malaysian National Artist for Sape. But since this is still music and arts festival we explored continuing 3D Art! 

   
 We went to Manila Miracle Art Museum to give us some inspiration. My son Joshua was asleep, so it was Anna and I who became subjects of these interesting art!


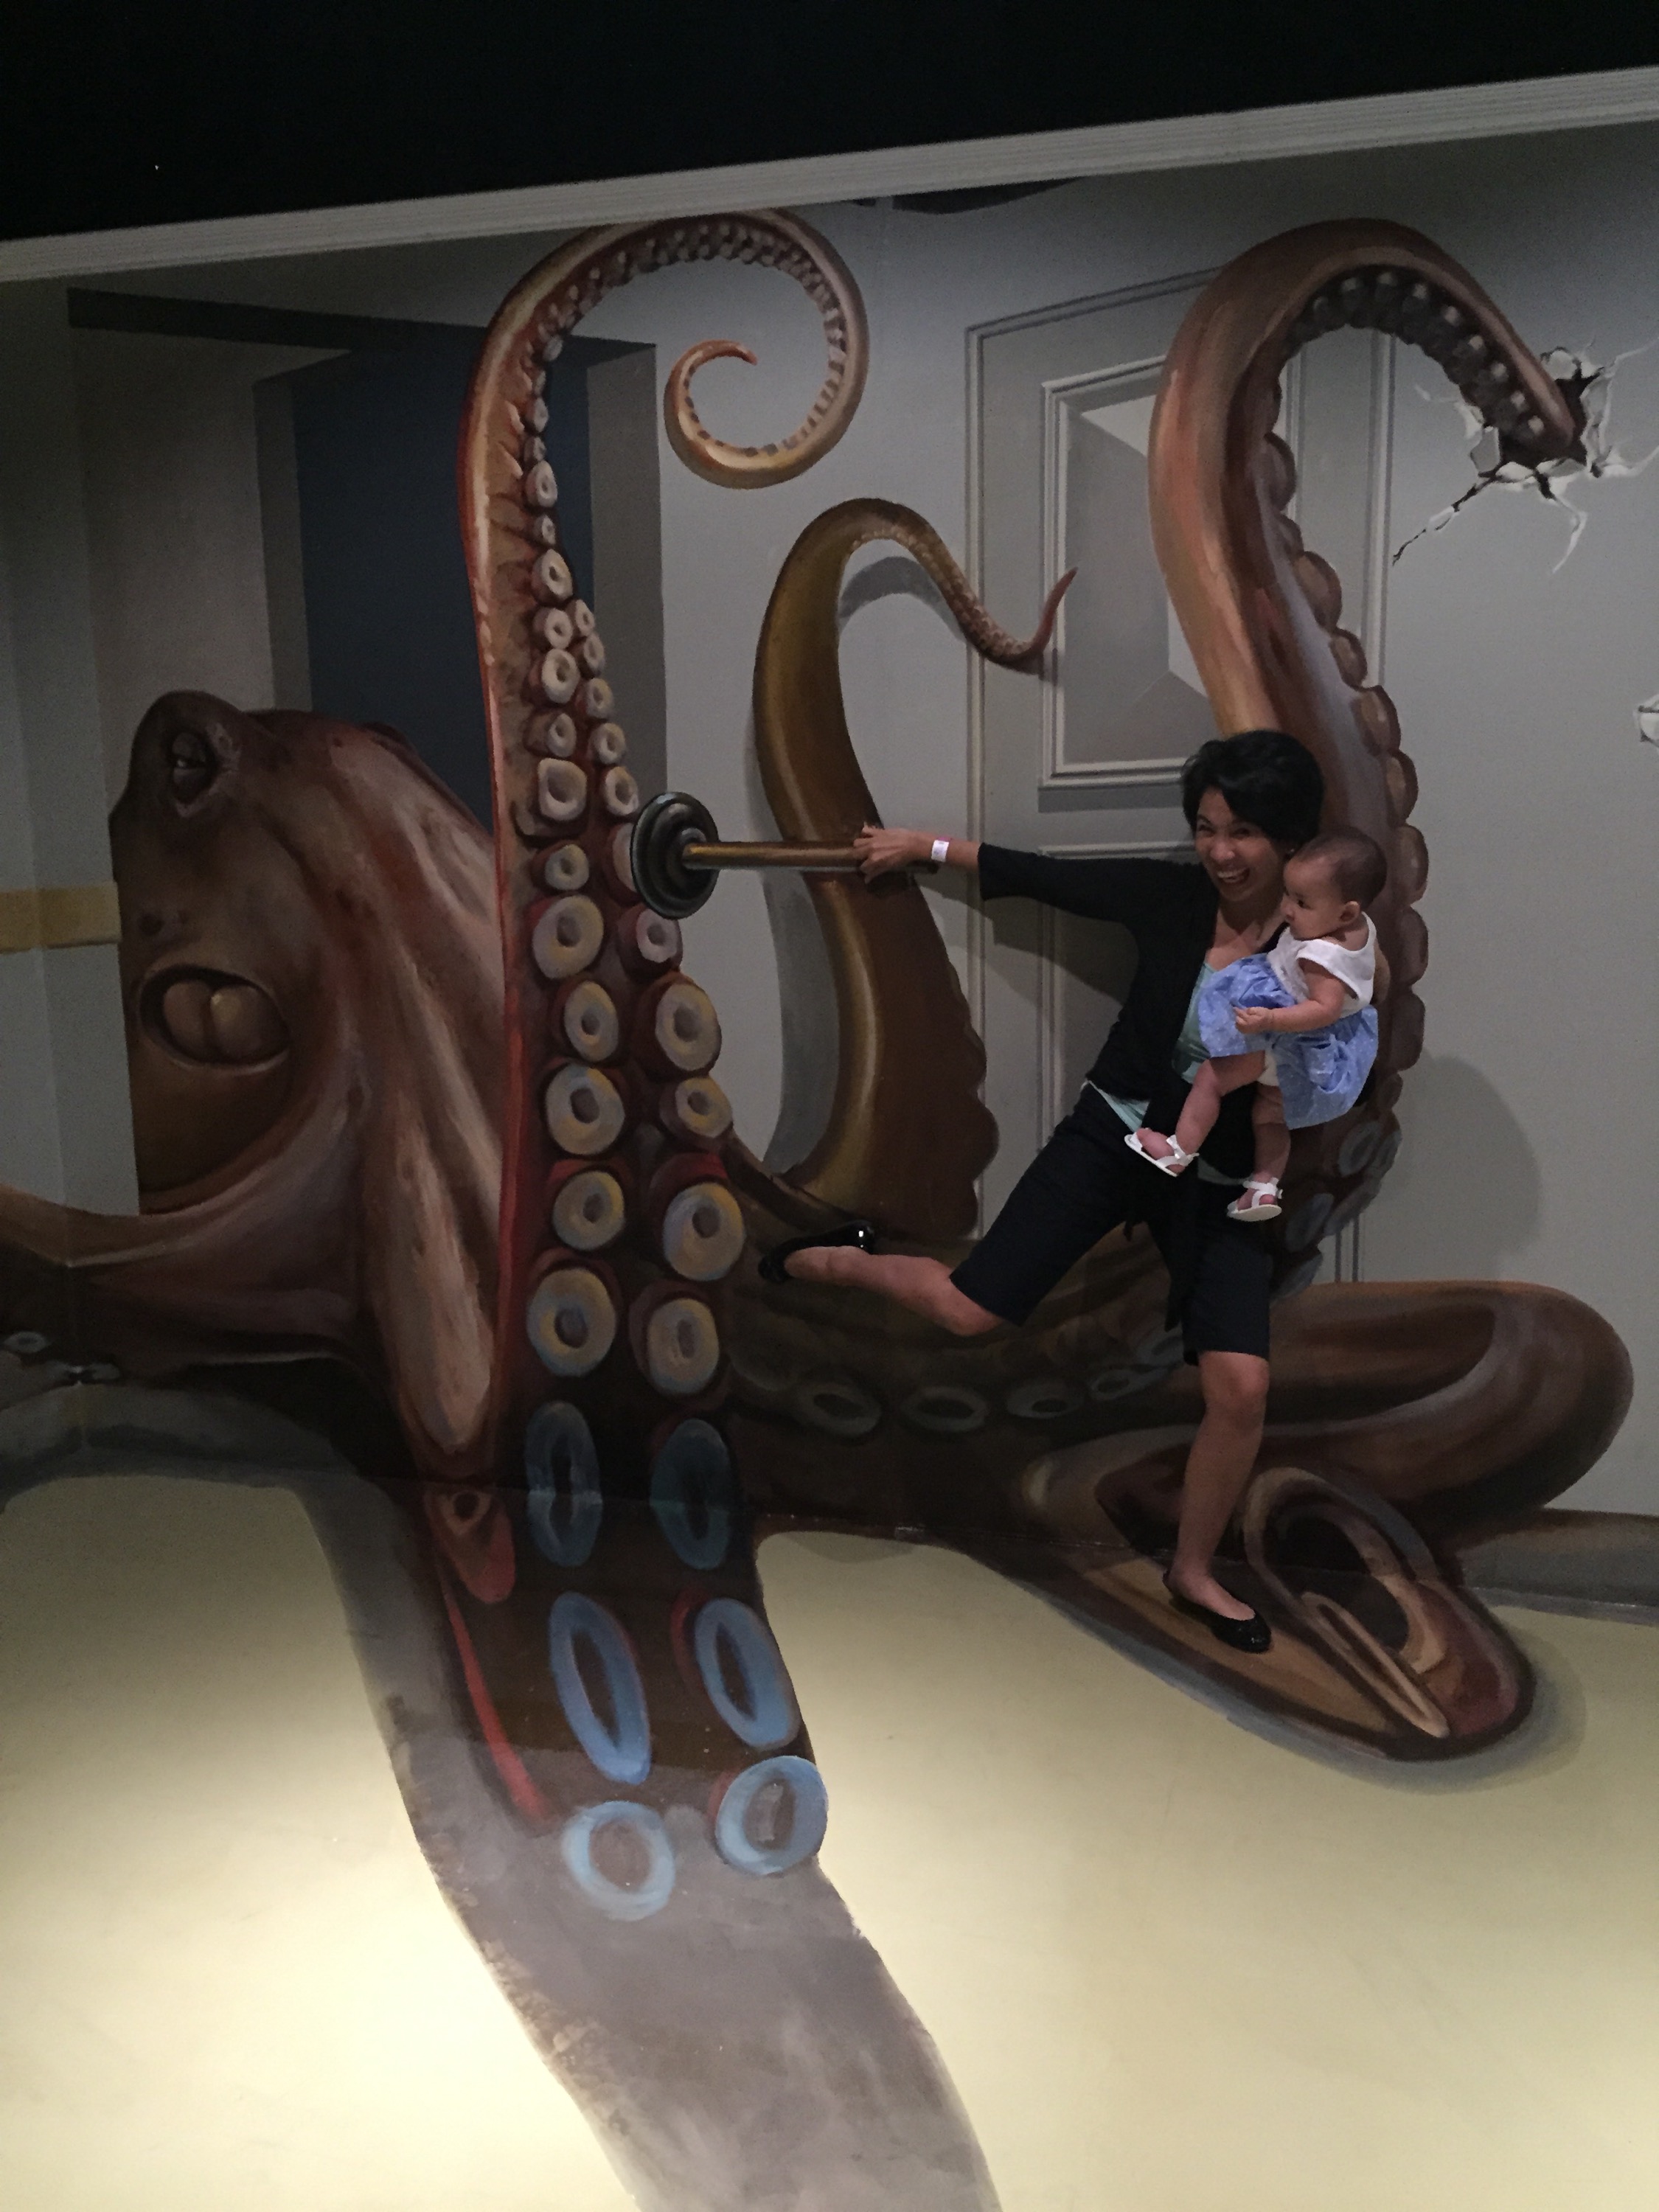
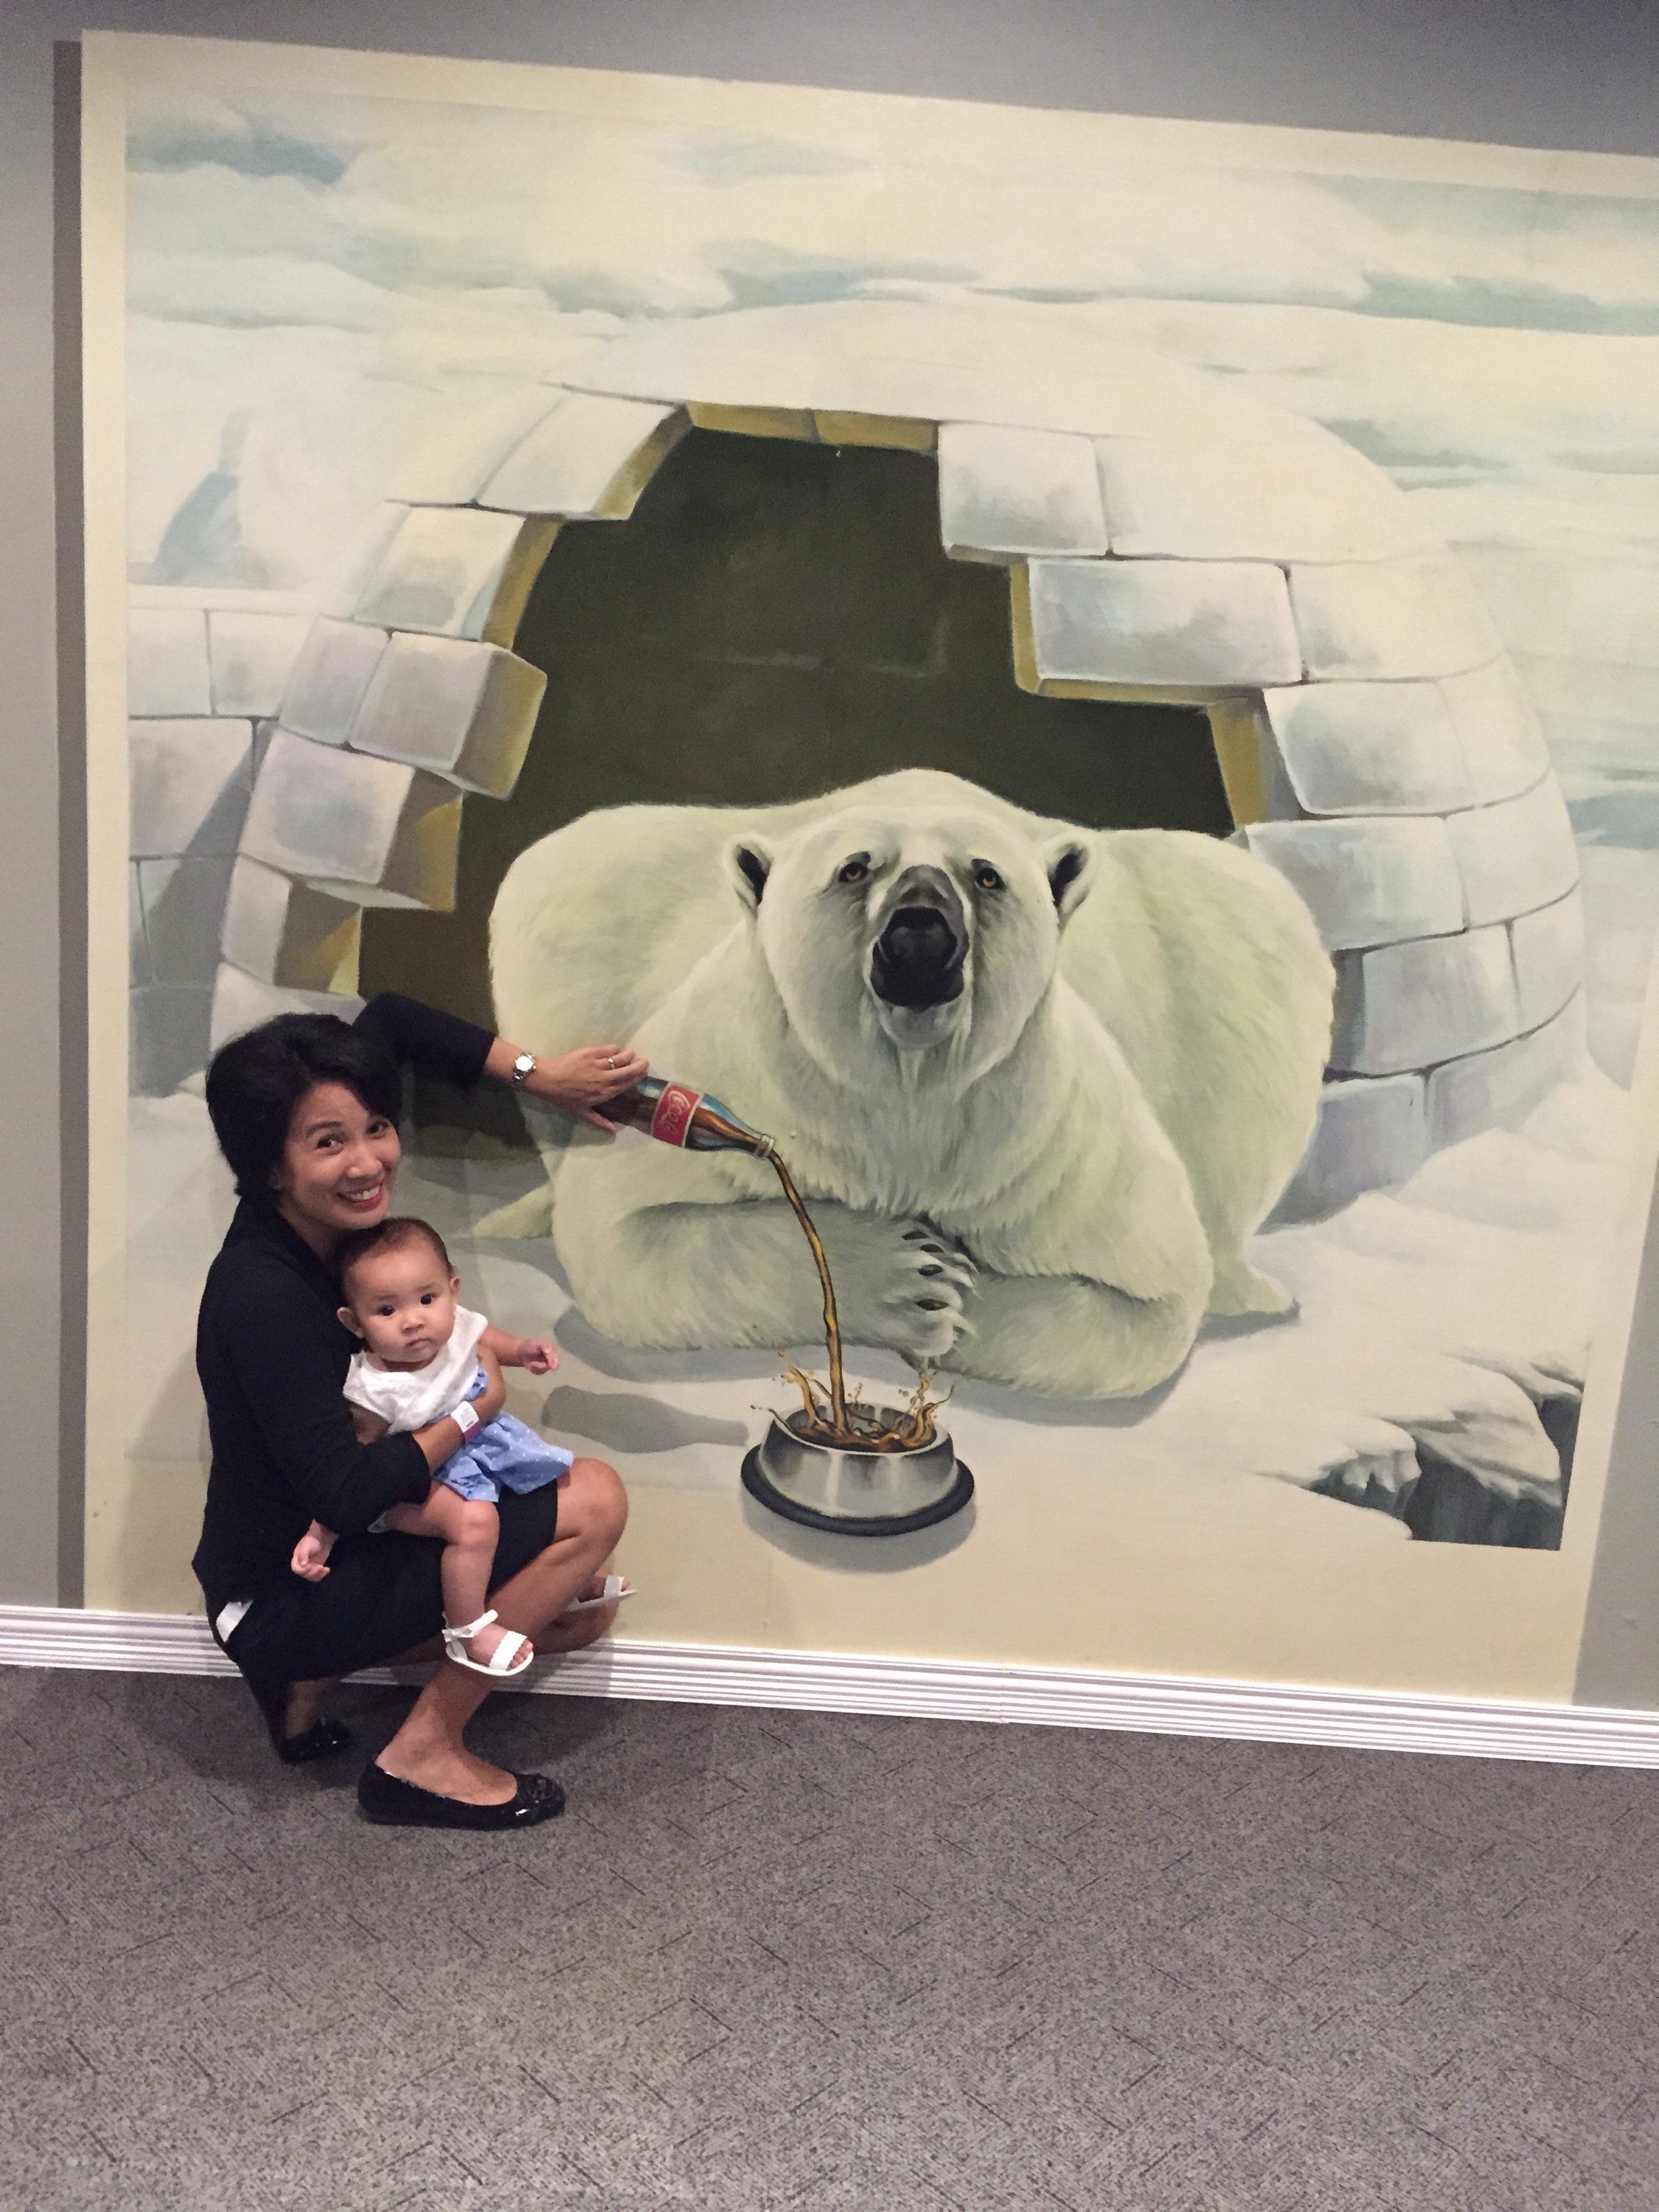
 So we decided to bring this illusion art to MUNATO Festival so people can enjoy it! So for those who missed it, here are our outdoor 3D Art in Sarangani capitol.  


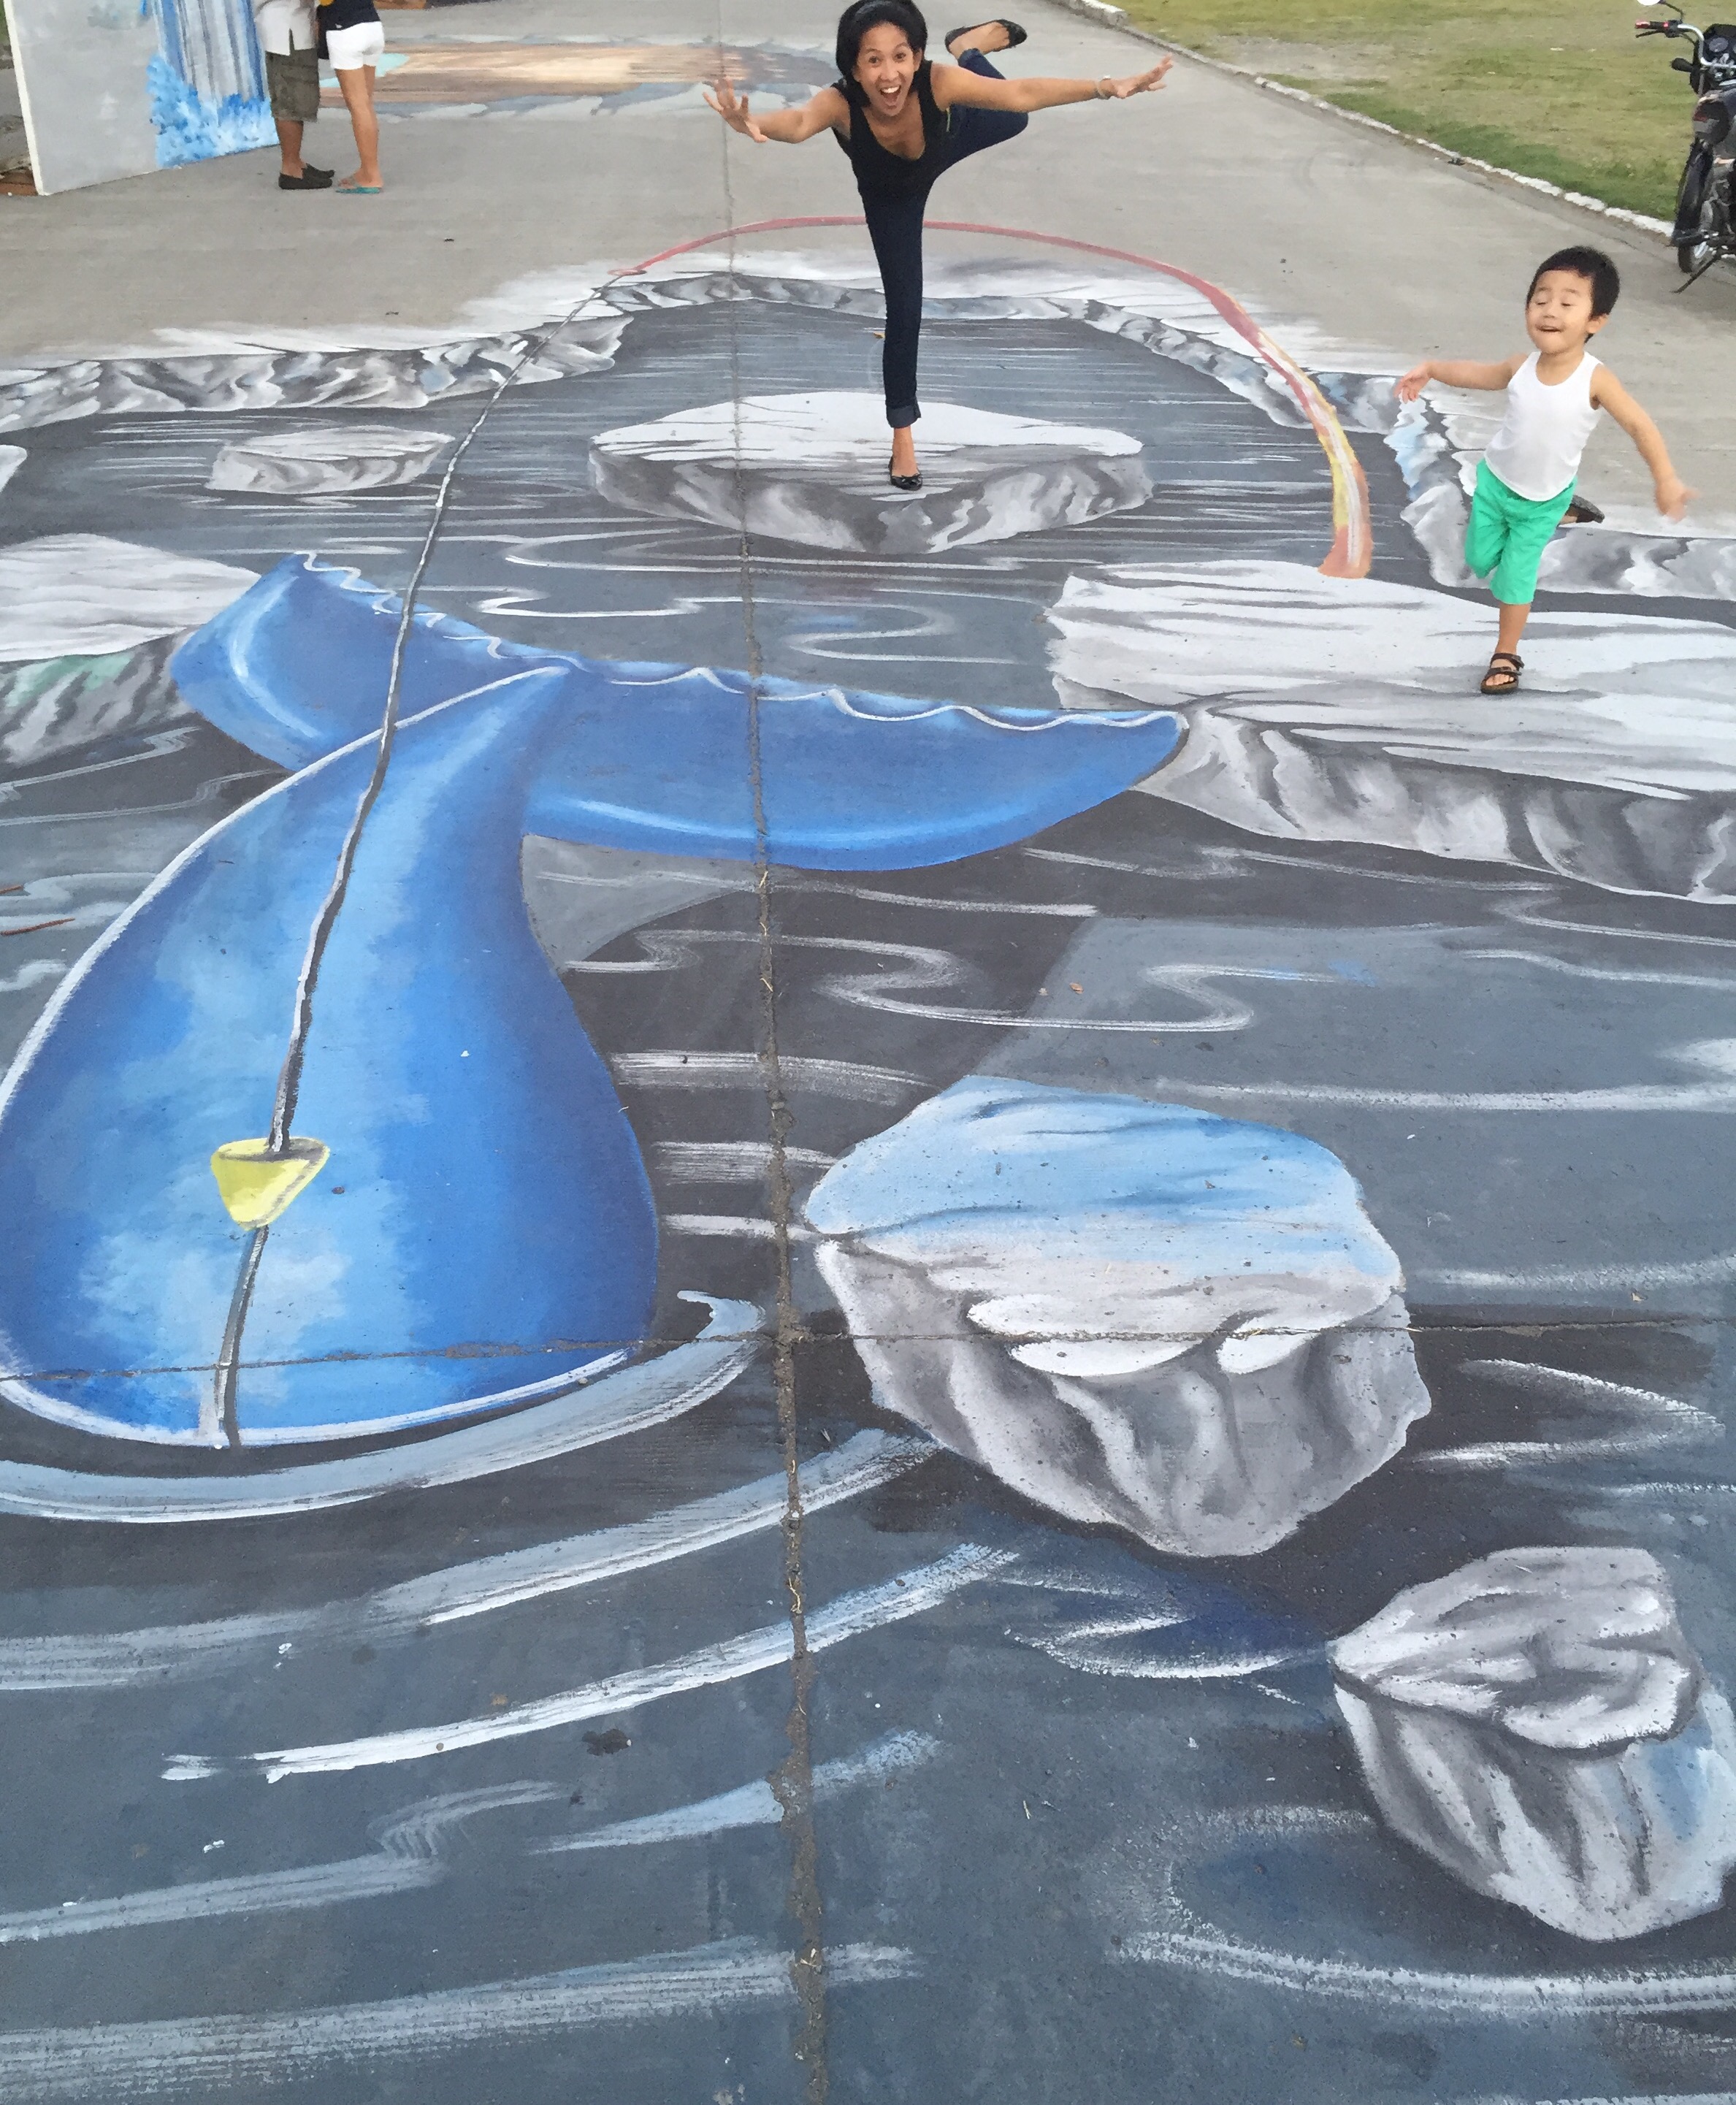
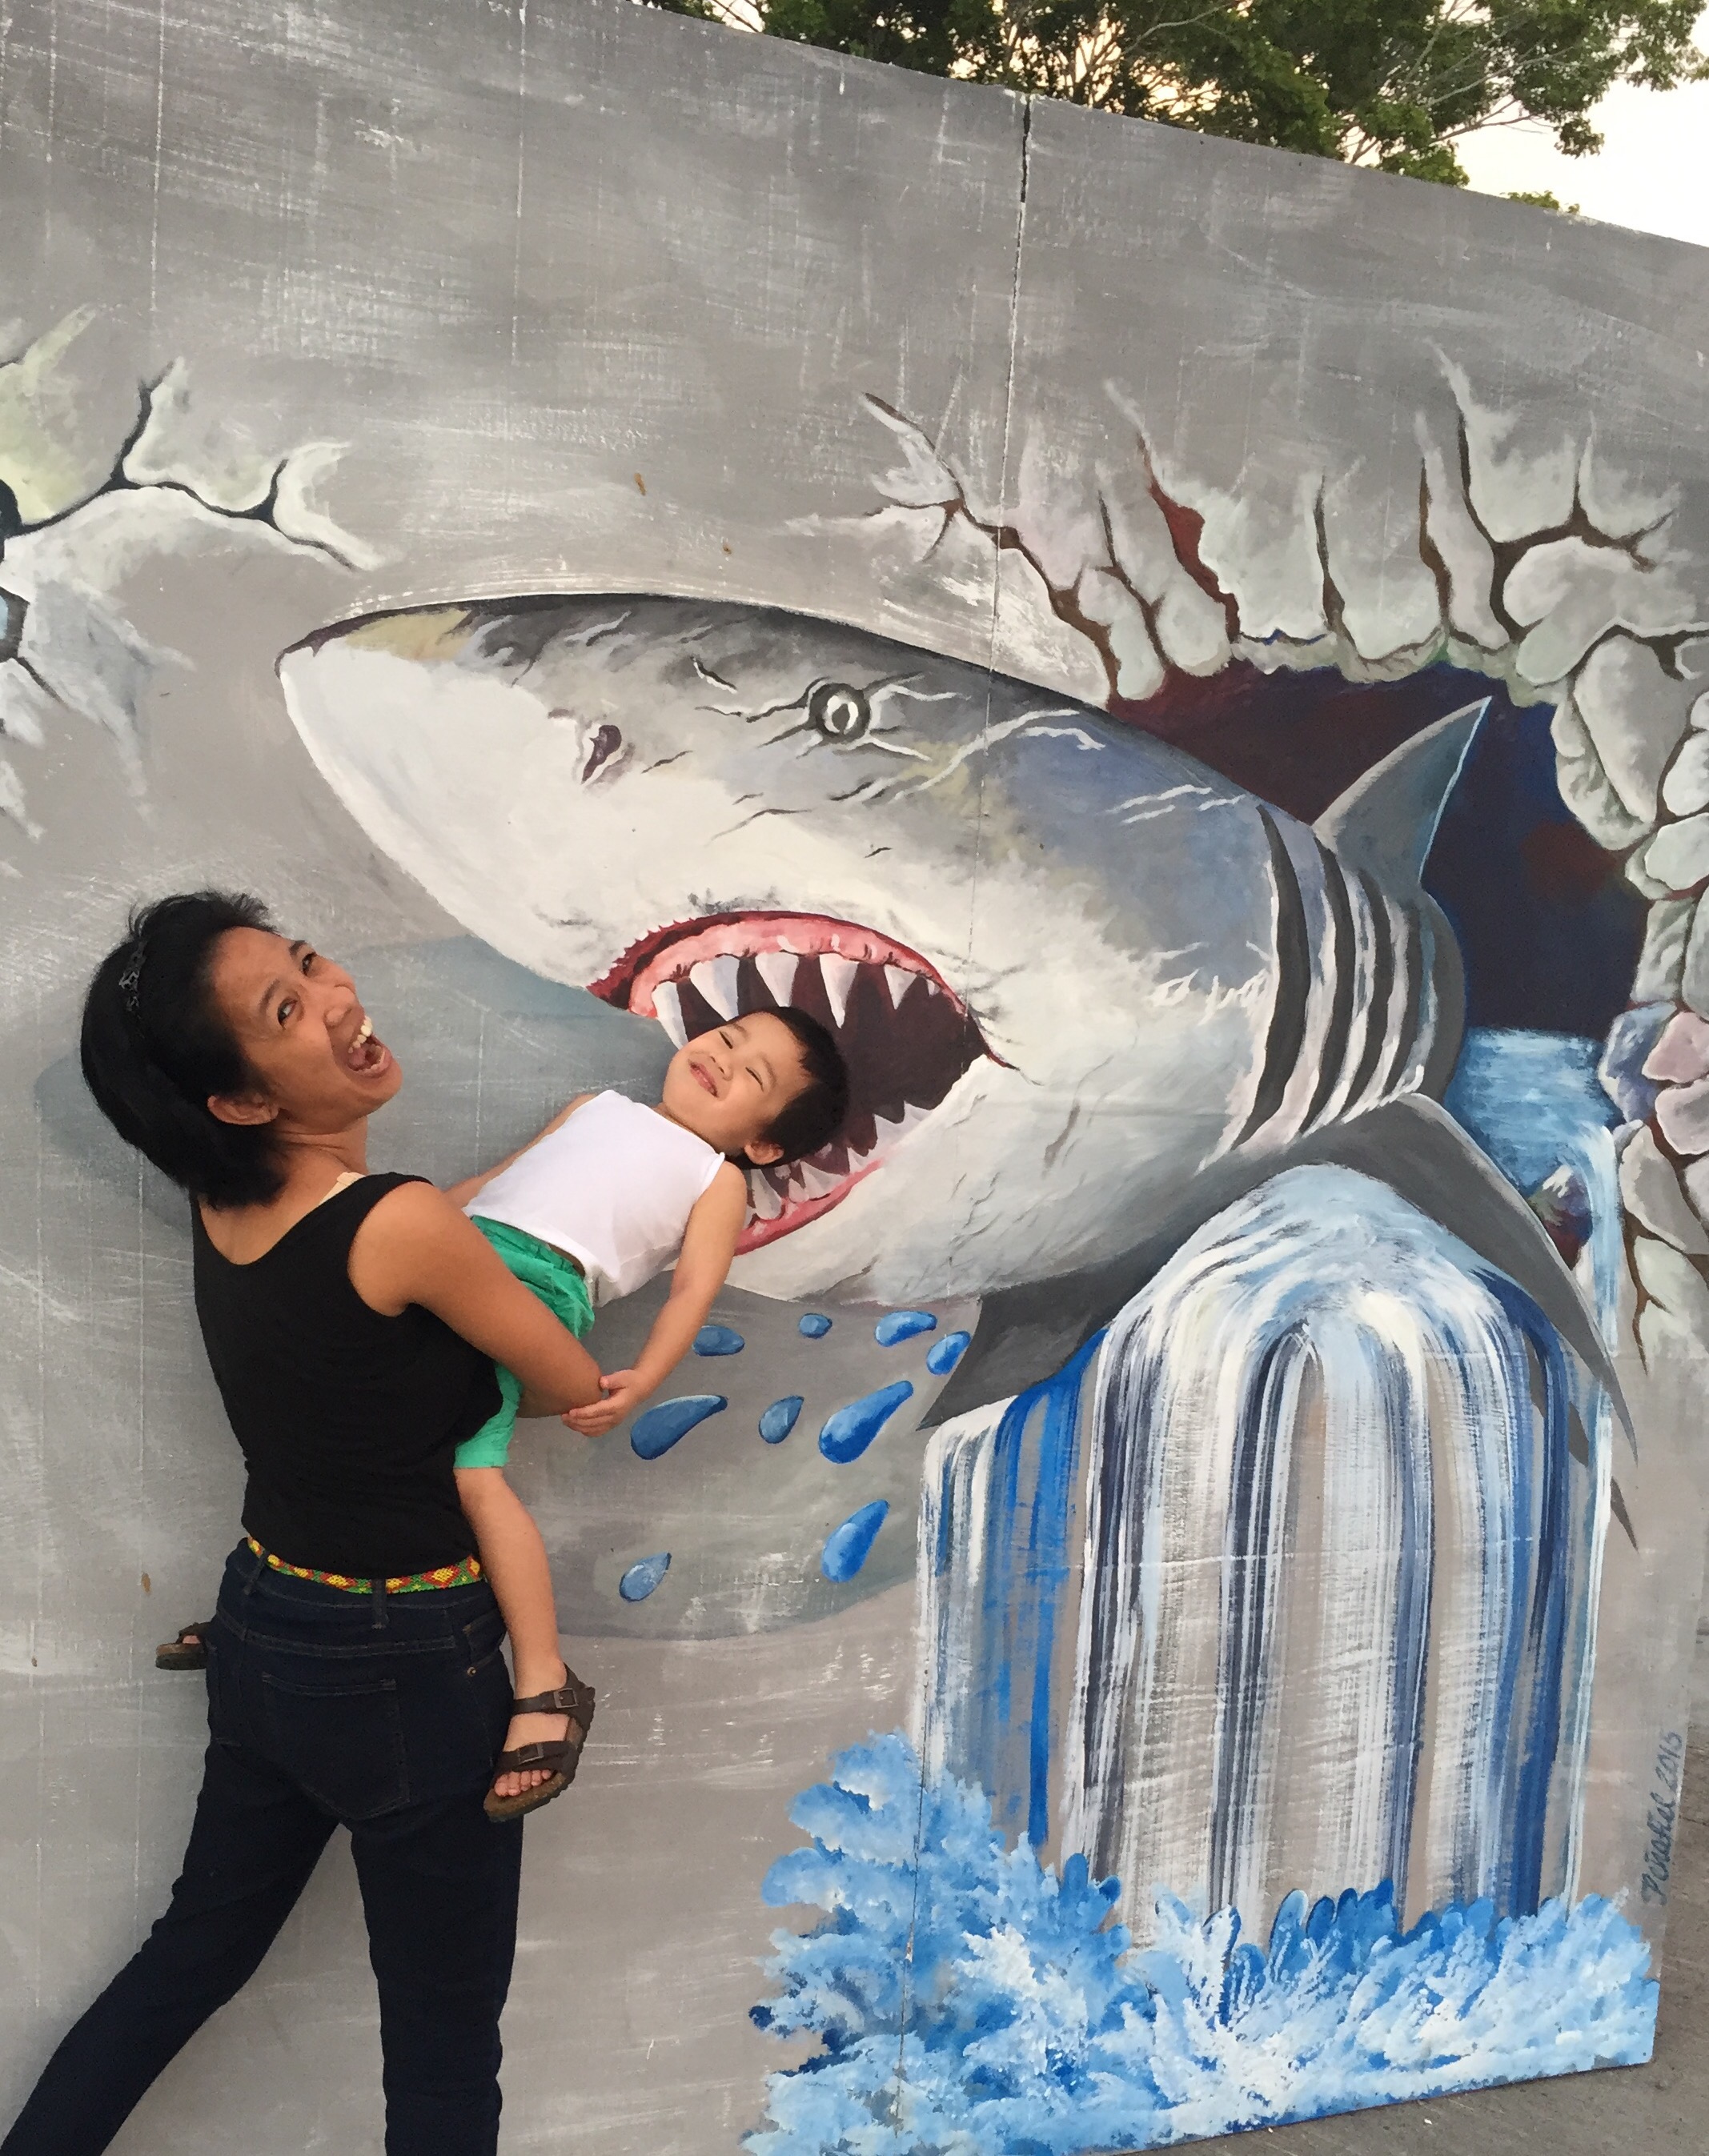
It’s actually really thrilling to see how people like us become part of the total artwork. Joshua had his favorite too… Dinosaur and Eagle!  These artists are all from Sarangani. I am mighty proud of their work! 


 I’m sure some people around my area would still be interested to take photos with these artworks in the provincial capitol. You may also like to see the Christmas village display of each municipality. Visit Sarangani this December. 😊😊😊


Advertisement

Home made and Edible finger paint!

I love activities that are home made! First you know the ingredients and make sure they are safe for kids. Second, home-made activities can be a bonding time for you and your child. Third, when it’s made at home… It’s made with extra effort and lots of love!!! 

Here is how to make home-made and edible finger paint. You will need these:

  • Flour
  • Filtered water
  • Food coloring
  • Bowls and plastic cups
  • Optional: flavoring (e.g. Vanilla, banana etc)

So the ratio is 1 cup flour to 2 cups water. If you add or lessen the recipe just follow the ratio –1 flour : 2 water.

  
It will look like a bowl of soup. I let Josh help me mix all the ingredients together and let him make this batter. From here we will now need a saucepan and spoon to mix this over heat. 

  
This batter will thicken in a few minutes so pay attention because you cannot over cook this one. When it starts to lump, put off the stove and mix it as it cools.

  
Now we start coloring. I would place in smaller bowls and decide to teach Joshua how colors are made. You really just need yellow, red and blue. From there you can make orange (yellow+red), green (blue+yellow), and purple (red+blue). My son enjoys mixing the colors! You can add drops of flavoring here too — in case they eat it. Hahahha! Then we put them in separate plastic cup containers.

  
Once the friends came over, each one had to bring their own Cartolina paper to work on. It was time to explore this paint with their hands and even their feet! It was sooo fun! 


Home made paint can be fun

Joshua was getting very bored one afternoon. So I had to find something to do. Thank God for google! I looked online for home recipes to make home made paint and luckily we had all the ingredients at home.

  • 1/2 cup salt
  • 1/2 cup flour
  • 1/2 cup water
  • Small plastic cups with cover
  • Food coloring (red, blue, yellow)

Mix the Ingredients (salt,flour, and water) using an egg beater. When smooth, put them in little cups. I made 6 colors with double the recipe. Paint brushes are convenient to make the artworks. You need paper and stick on some paint whether in droplet style or brushed through. Then close the paper in half and spread the paint by patting it. When you open the paper you will have a surprise and some great abstract art!    For working out fine motor skills and math. I used 24 pcs of cotton buds. Dividing it to 4 pieces for each color, I let Joshua count how many pieces and the place their cotton tips on the paint and set asides on a paper plate.      Then after counting and dipping we set it out to dry. Meanwhile I bore holes on the cotton buds container cover with an ice pick. This way he can insert the cotton buds in the hole. This is good practice for his motor skills as he puts the colored buds in the holes.   This is fun and my son enjoyed it so much! He is frequently asking if he can paint again. These crafts are inexpensive and easy to do with your toddler.