Puffy paint is fun!

After using water color for some time, I needed to do something different for our art class at home. Homeschooling can make a mother smarter because she has to find ideas to do at home with the kids. I bumped into the puffy paint idea in Pinterest and it’s pretty simple.

Ingredients are:

Elmers glue, shaving cream, food coloring, paint brushes, plastic containers and paper.

We mix the glue and the shaving cream in similar proportions in a plastic container. Then move into smaller containers to make different colours with the food coloring.

Once the colours are mixed, it’s time to do some imaginative works! I’m teaching my kids to have some fun by putting texture on their painting.  Joshua decided to do a butterfly, while Anna and I did some flowers!

Butterfly by Joshua

Flower by Anna

Flower by Mommy Mit

To dry this puffy painting will take 24 hours. So don’t be in a rush!  We had so much fun in painting and in cleaning up the containers and brushes! 

This activity is worth trying at home. Both my 4 year old and 2 year old had a blast!

Advertisement

A Four year old’s Solar System

My son loves science! He is especially interested about the solar system. His dad brought home a Space book and he was thrilled. We read about the 8 planets and we went page by page.  

Since he learned about the 8 planets song, Joshua has been asking me to help him make his solar system. I have sort of procrastinated on the request until the other day. With play doh and white Carolina paper, we followed the look of every planet from his Space Book.

I drew on pencil and Joshua had to fill the planets with play doh. Once he completed it, he had to write also the title of his project. This activity made him remember the name of the planets and he also practiced his writing.

This project was real fun to make and Joshua made it as a gift to his dad. But I decided to post it in their room and write on it so both Joshua and Anna could read and remember the solar system every day.


Mold and Paint

Mold and Paint toys are super fun activities for four year olds. At this age they have better hand control and will enjoy doing a bit of mixing.

After mixing the plaster of Paris and water we place it on the Ninja Turtle mold.  

After 30 minutes to an hour, it dries to it’s shape. That part alone, Joshua felt like he accomplished something.

The next fun challenge is to paint the mold. He says he likes Raphael so he will make his Ninja Turtle be the red one.

And after making it dry, this new art work will be displayed on Daddy’s table as a gift from Joshua. Oh, he had to sign the back by writing his name too.

These mold and paint are neat gifts and a good art and crafts activity to do with your pre-schooler.

Homeschool Schedule for my 4 year old

Just this January, I decided to give a bit of structure to our homeschool. I created a guide on what would do everyday. For a four year old pre-schooler, a good 30 minutes to 1 hour of focused time is all we need for every subject I am teaching.

For English and Writing we do letter writing, sounds of letters and try some small word reading. Honestly, my son does not enjoy  writing, but we encourage him to try. We also do a lot of language by asking questions and answering them, doing imaginary stories, and talking about feelings.

For Science, my son loves anatomy. We bought from a bookstore posters of lungs, internal organs, teeth, and more. We discuss this and he really enjoys it. After our session, Joshua would go to his dad and explain what he understood. 

For Piano, we enrolled Josh in Gray tones school of music. I love their curriculum for kids his age. It is a mix of play and music familiarization and playing the piano.

For Math, we do a bit of number practice 1-100 and concept of addition and make Johua write numbers. We also play a math app on the iPad where it introduces fractions, addition and subtraction and sequencing.

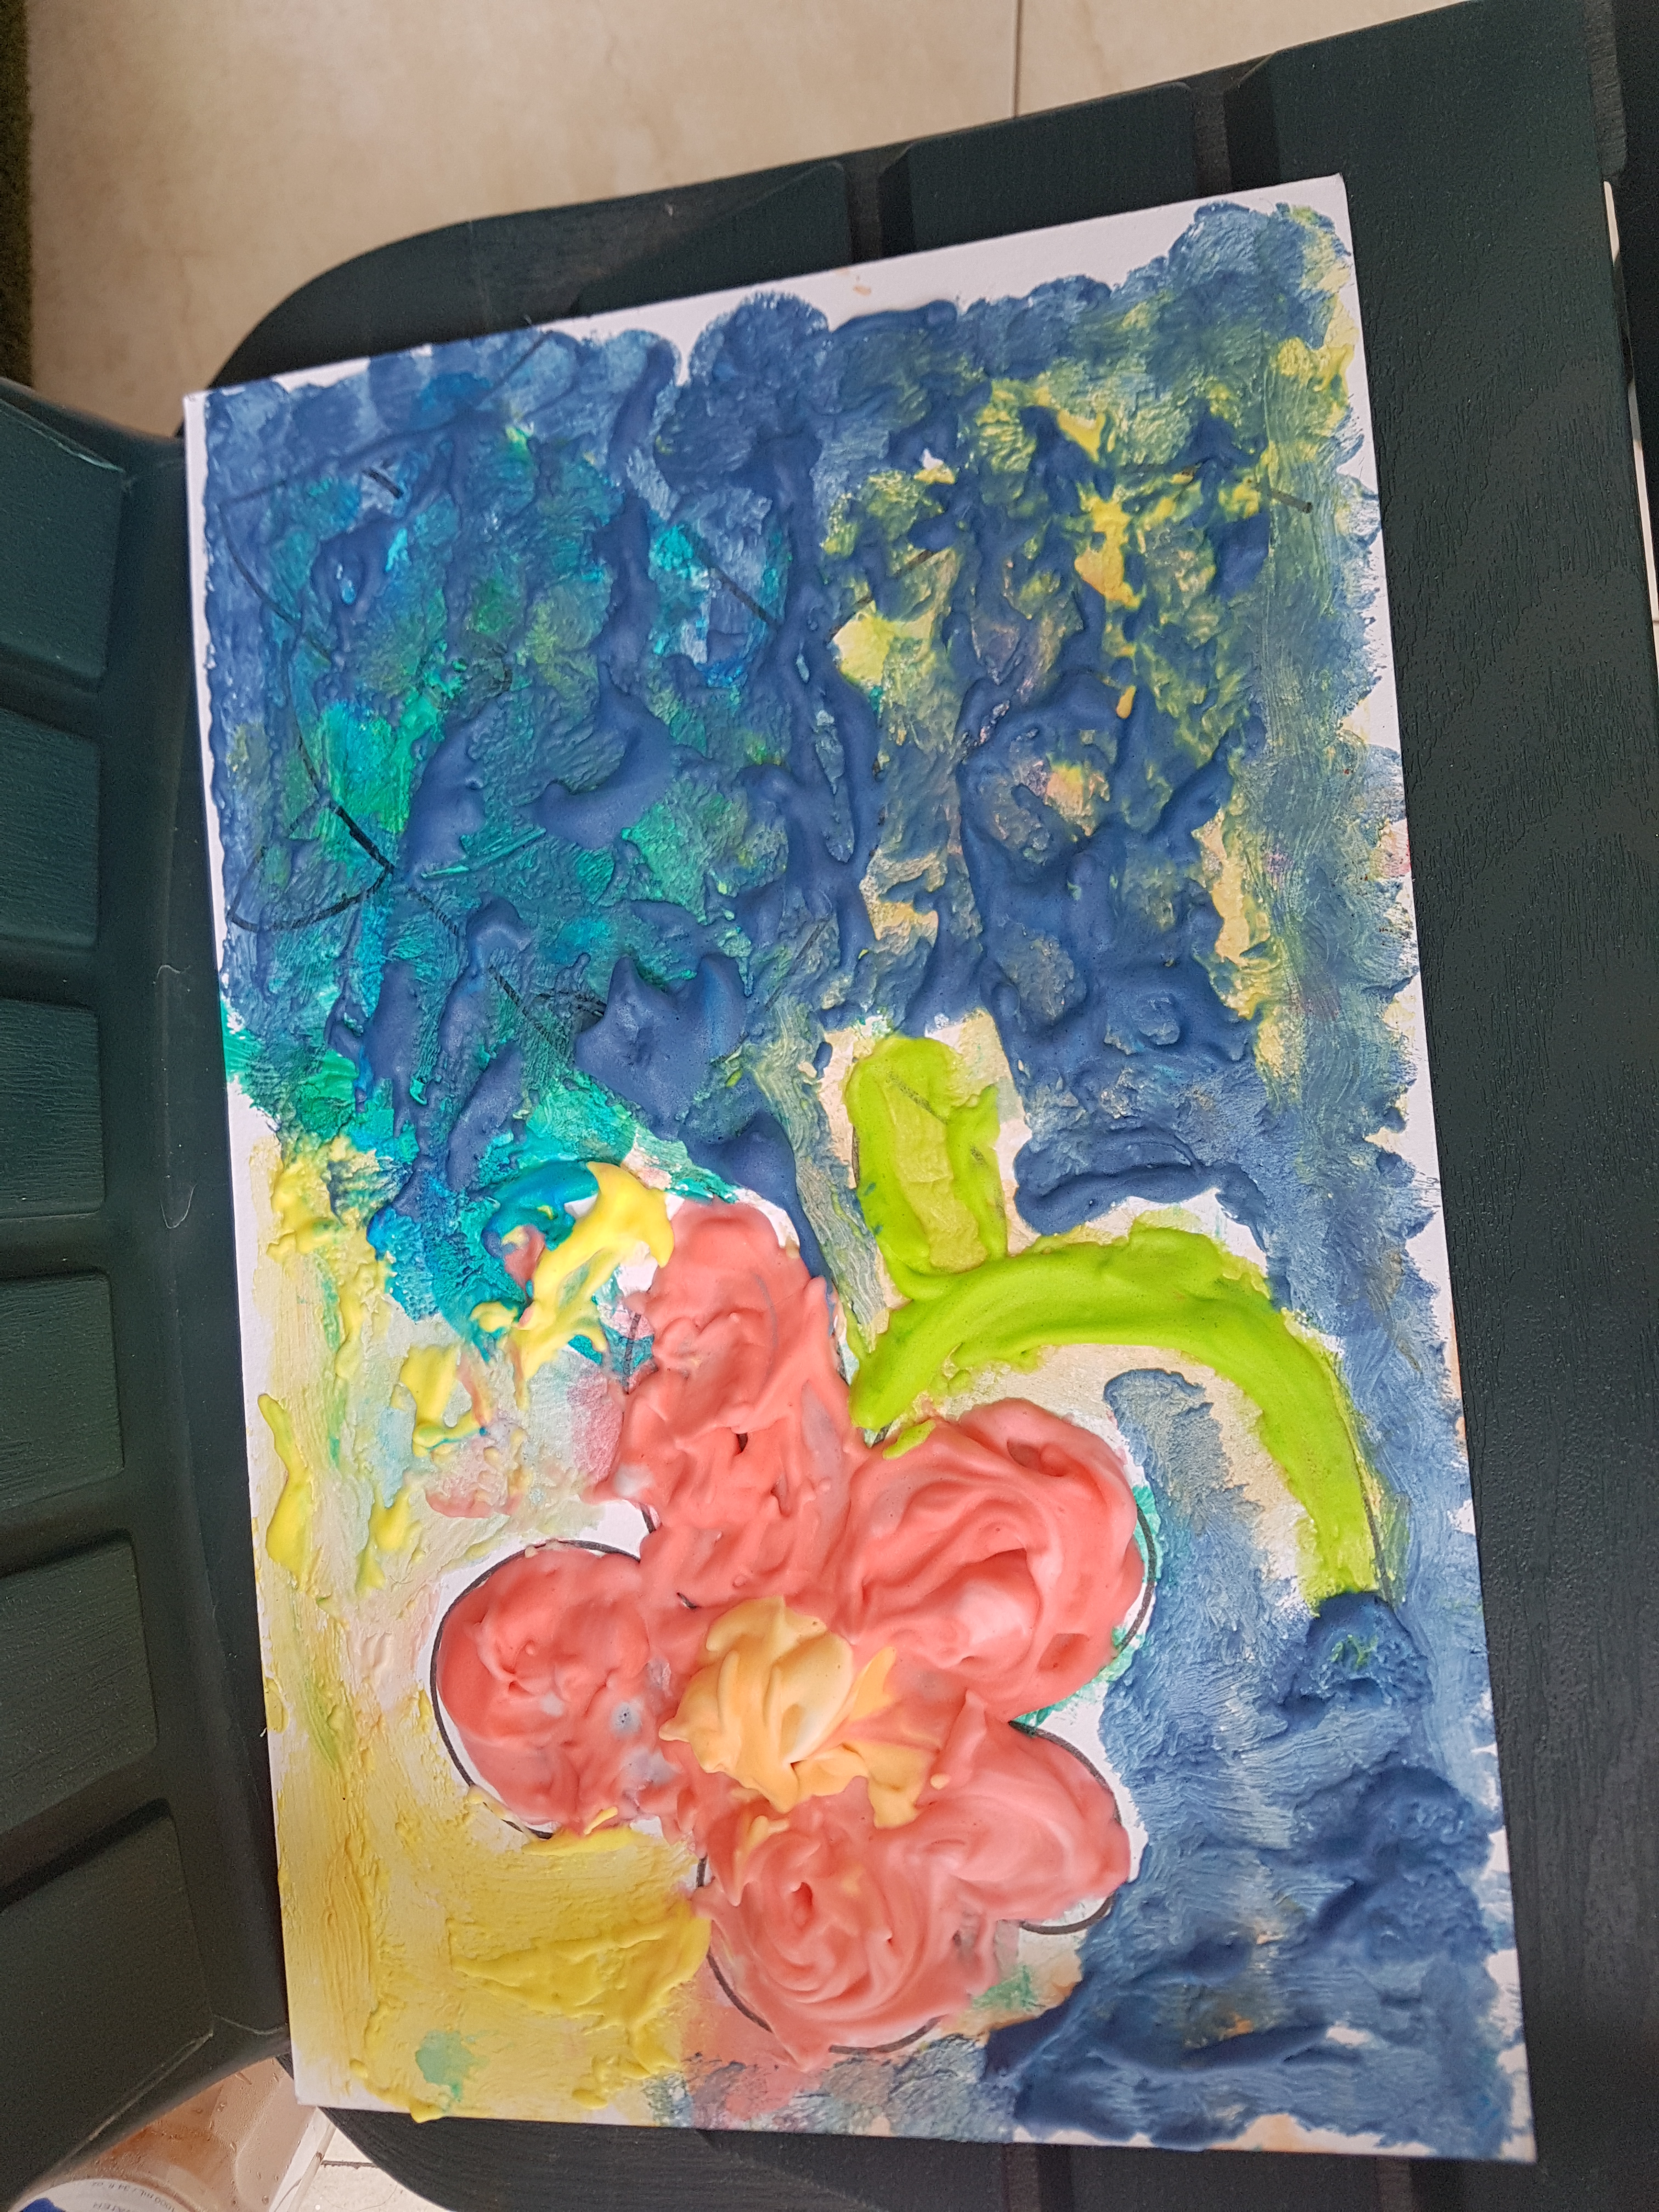
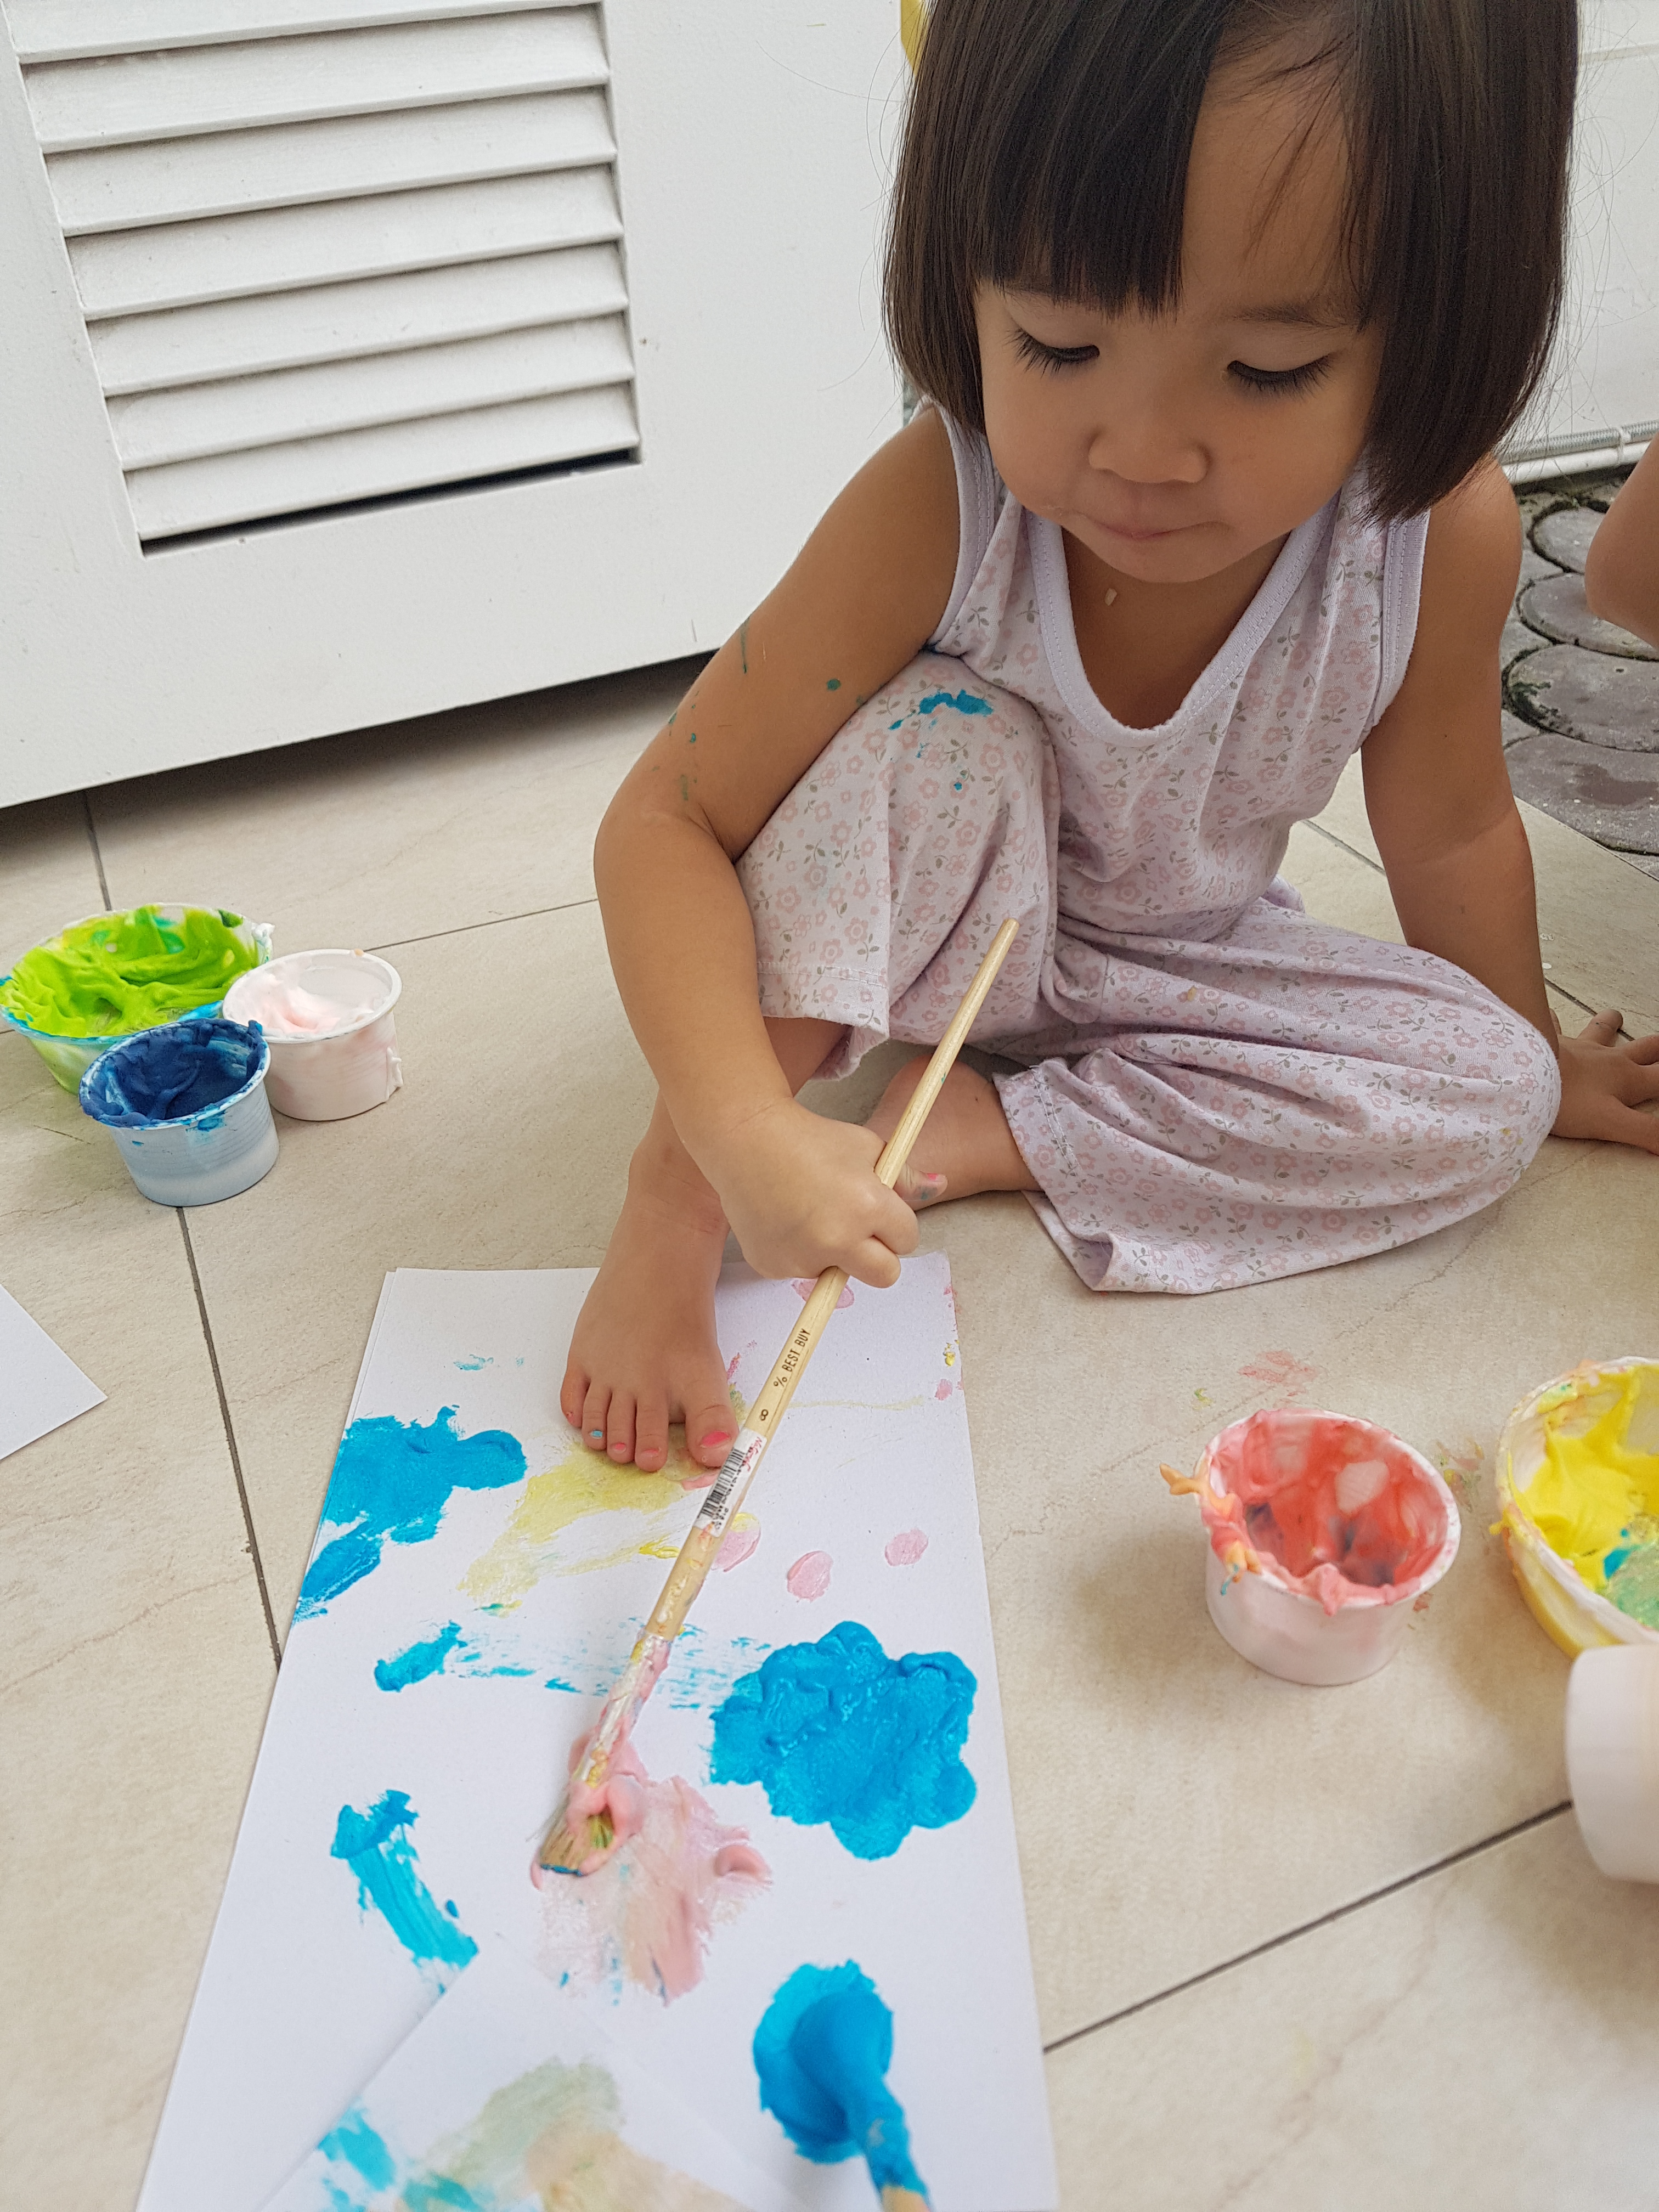
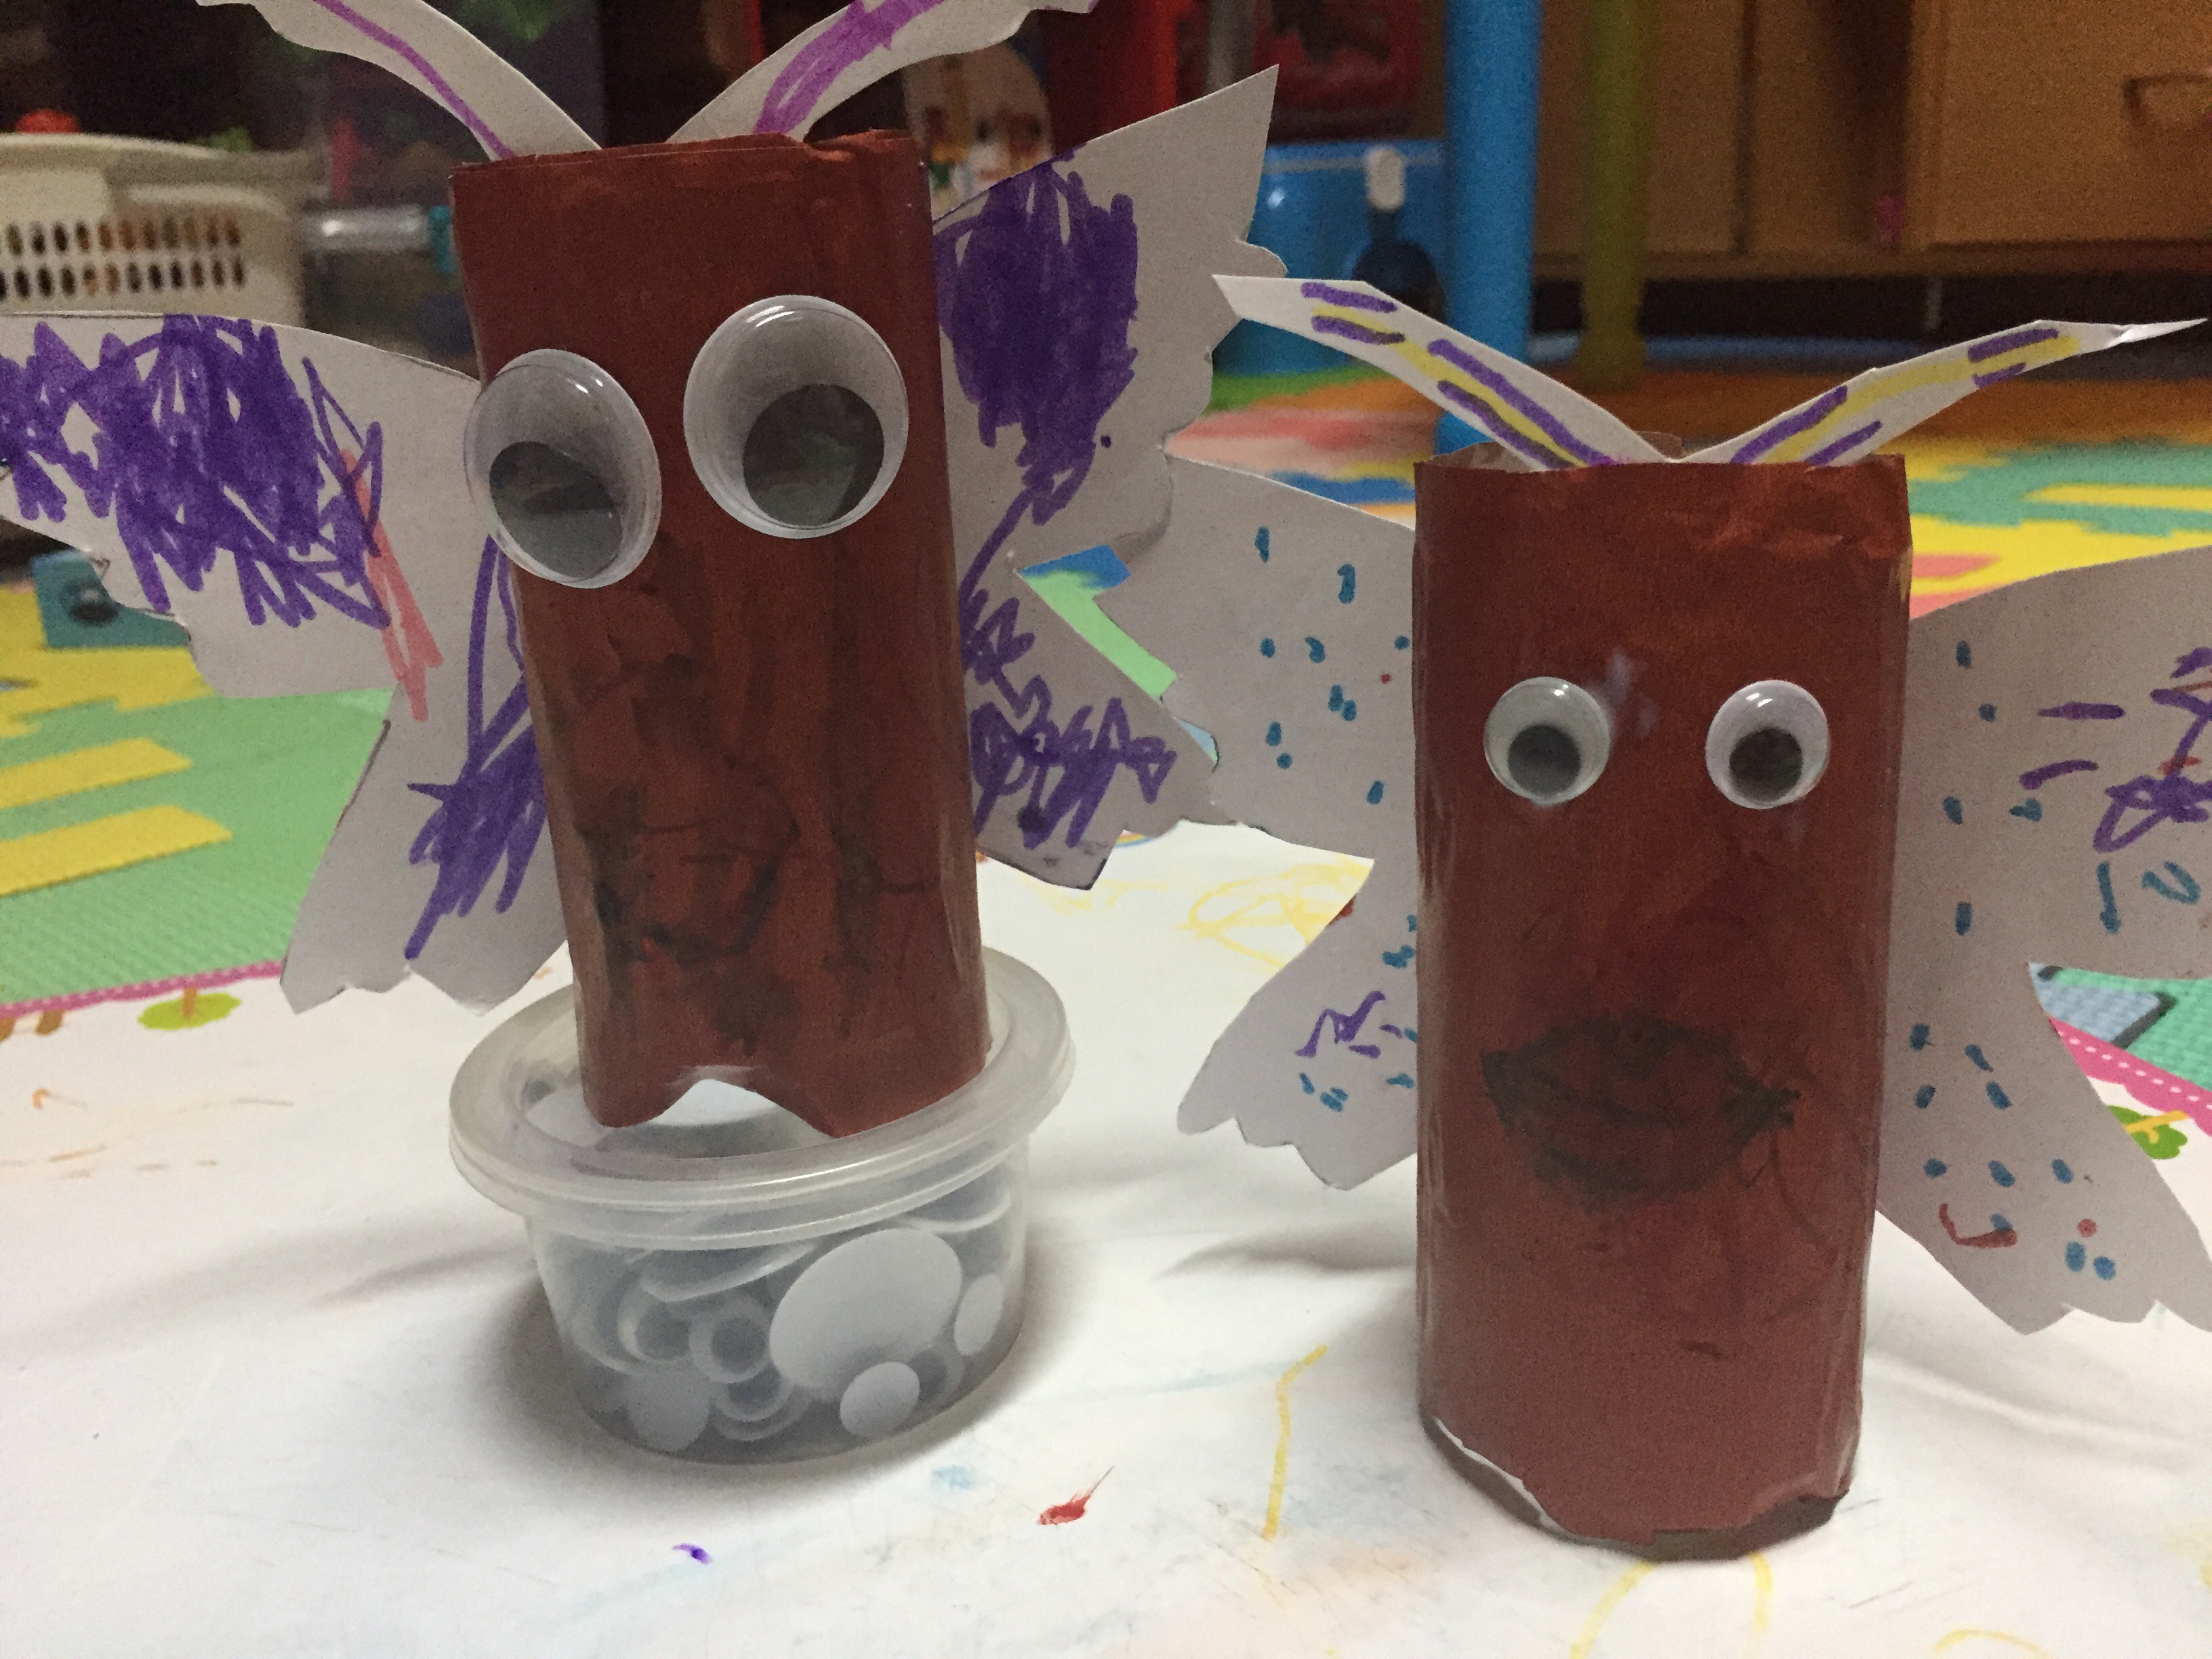
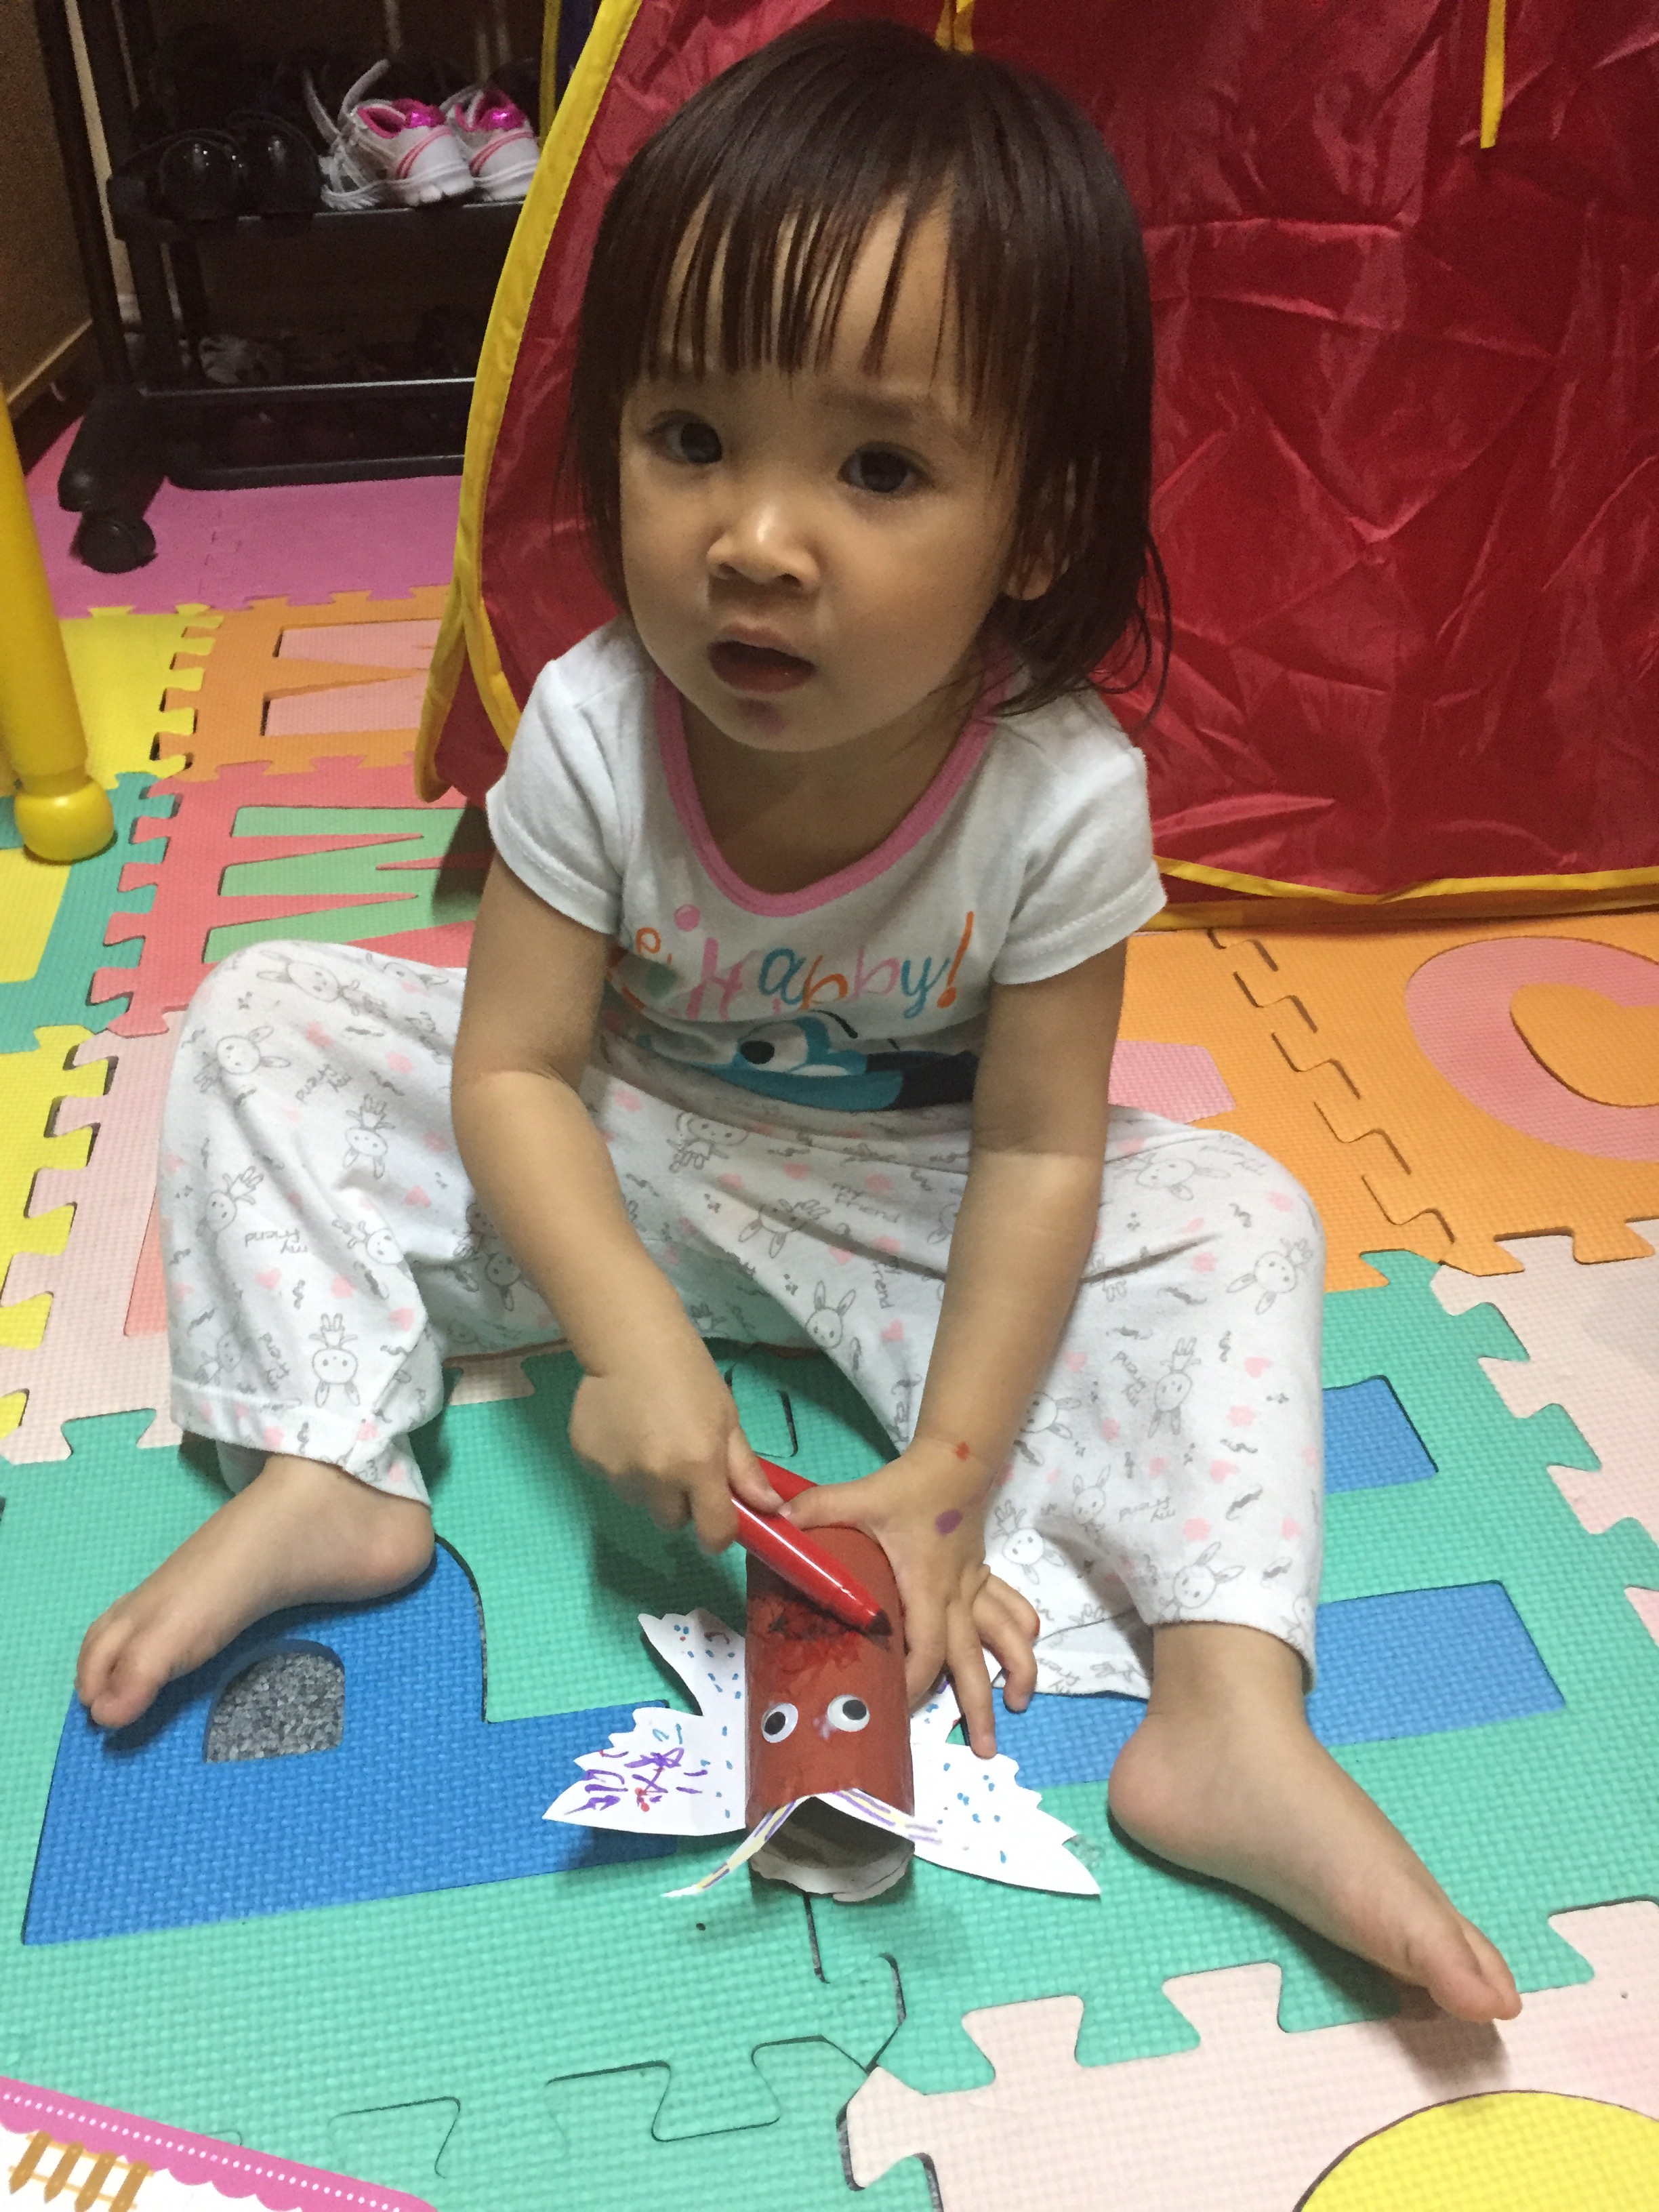
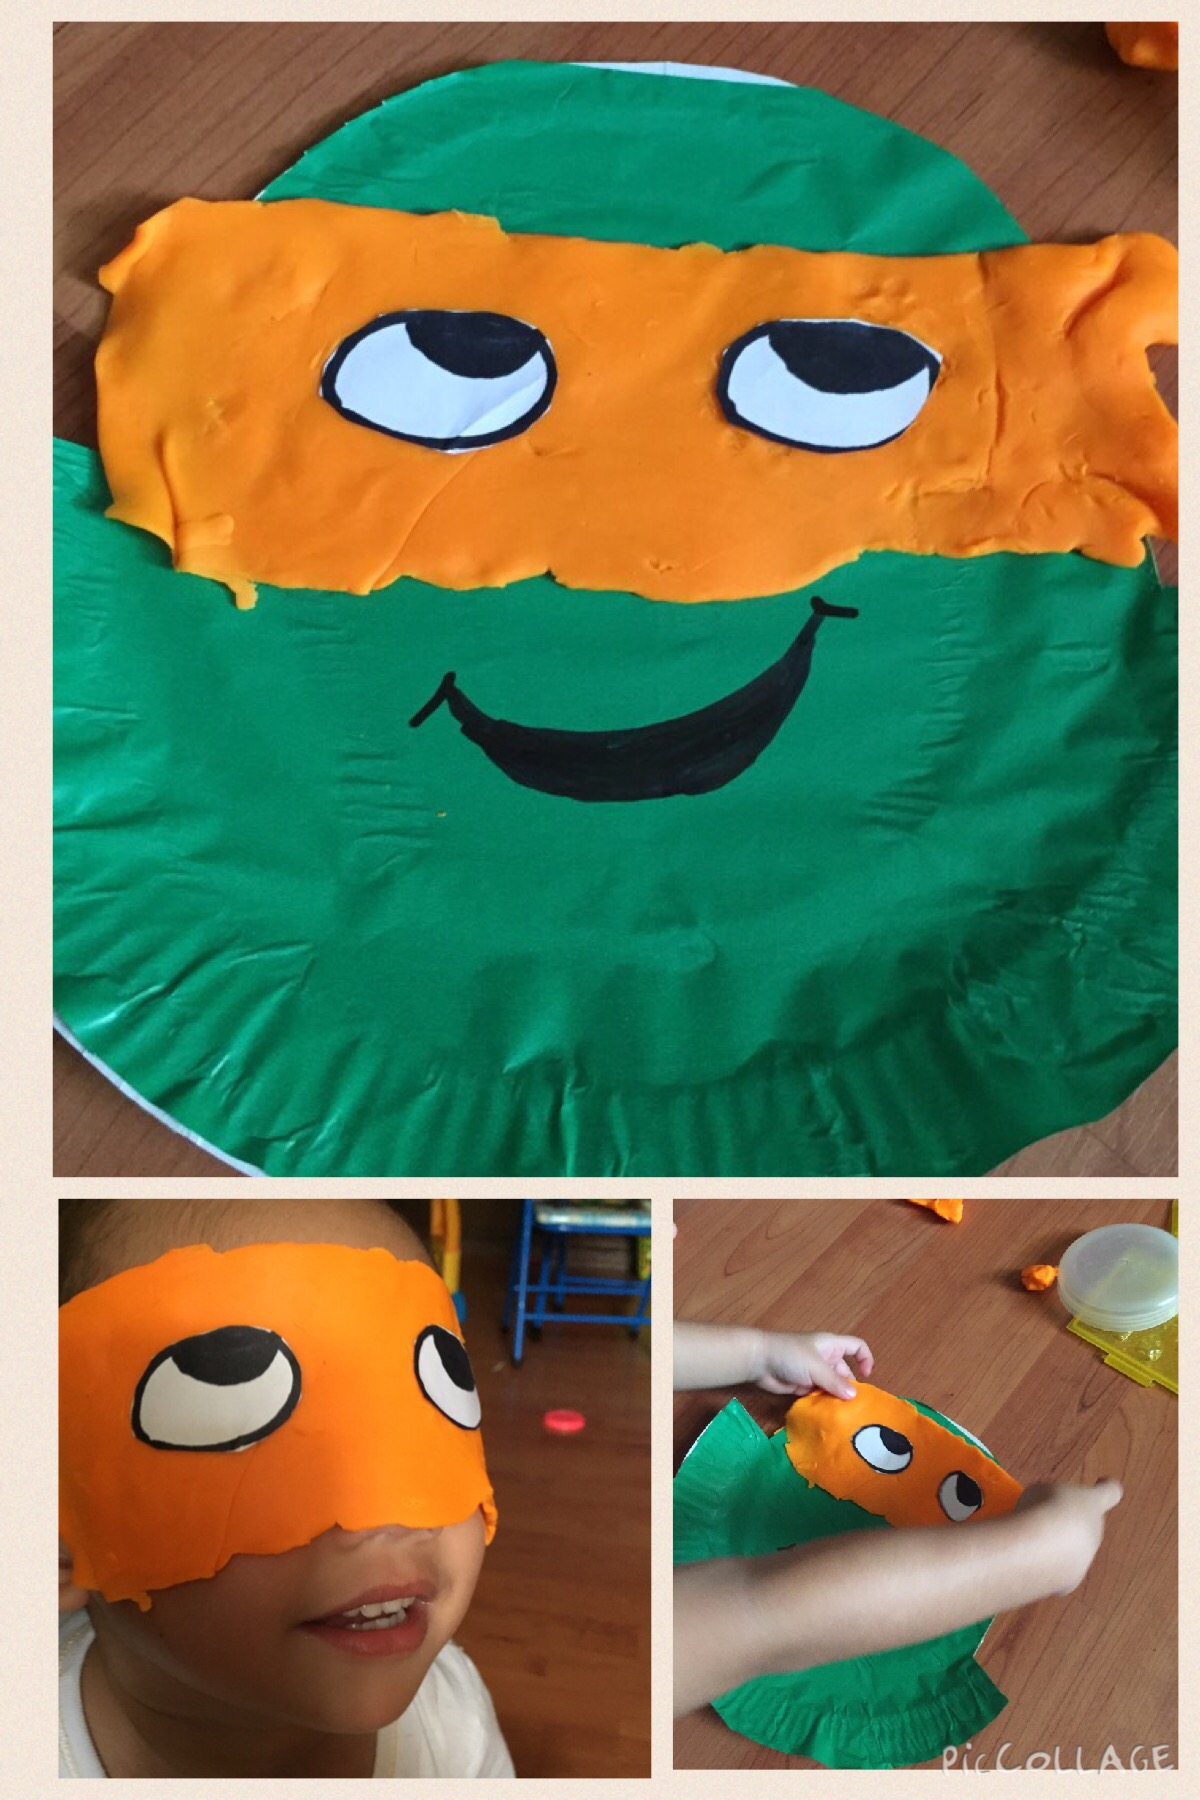
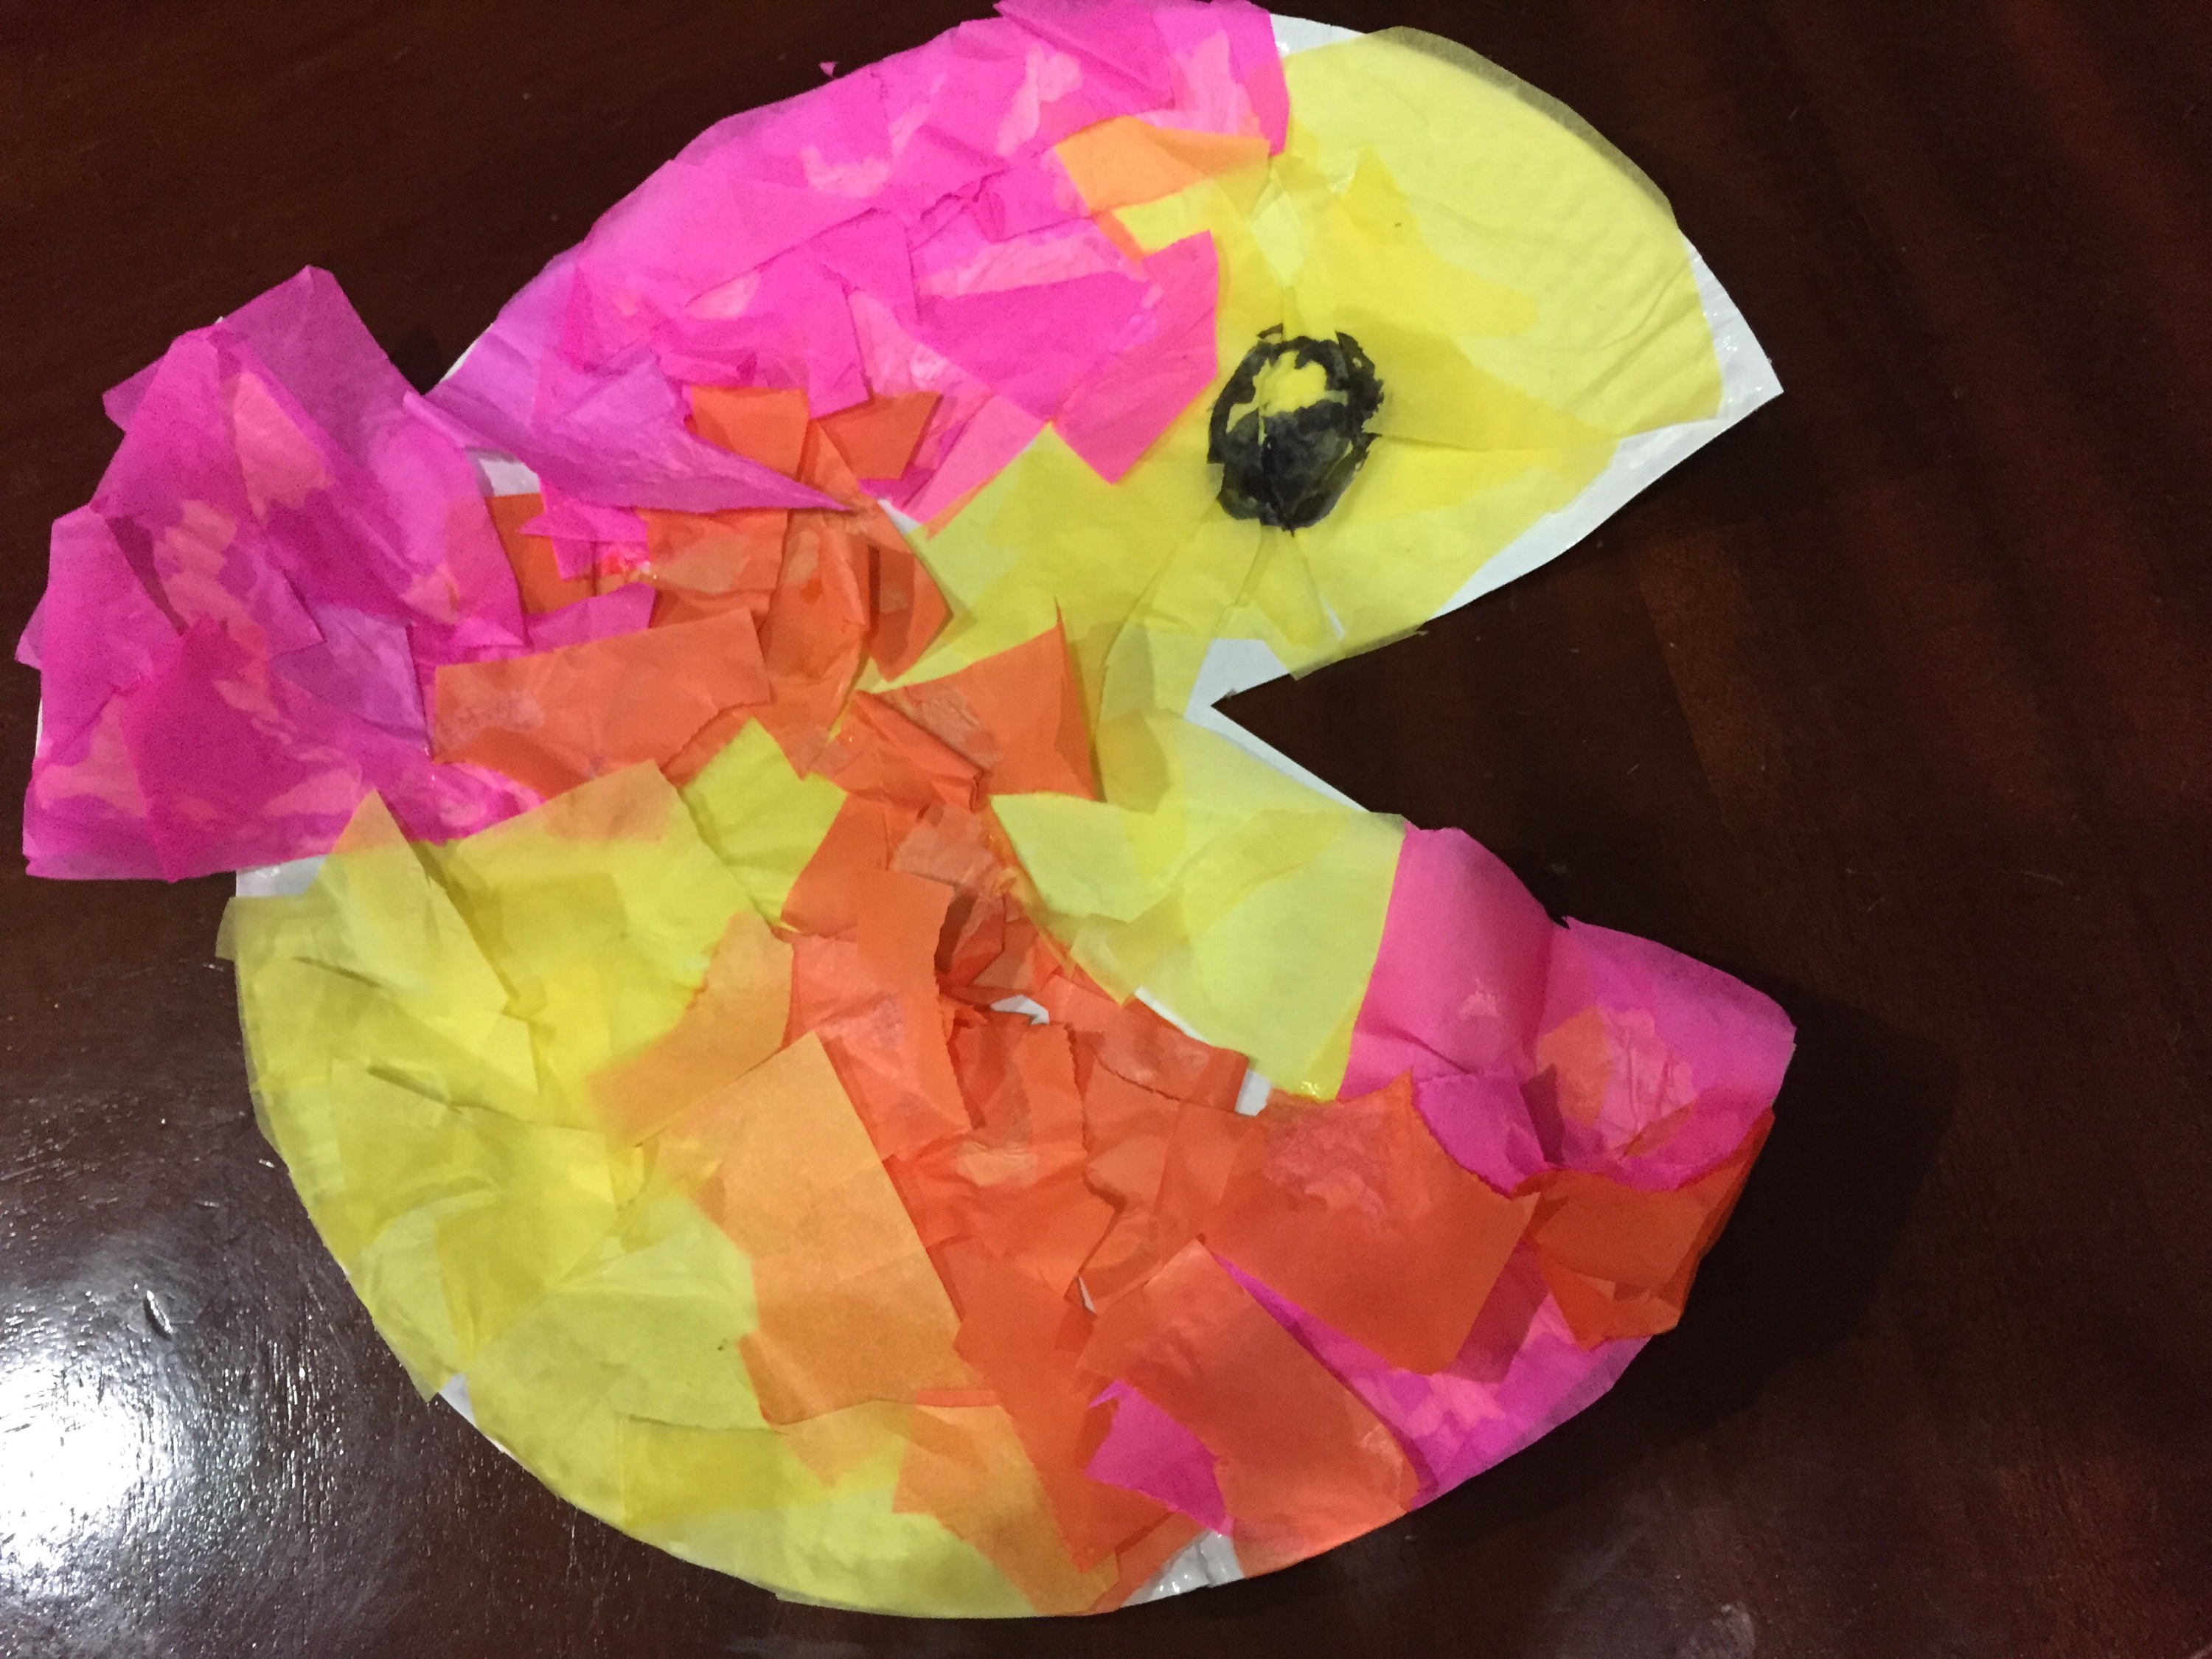
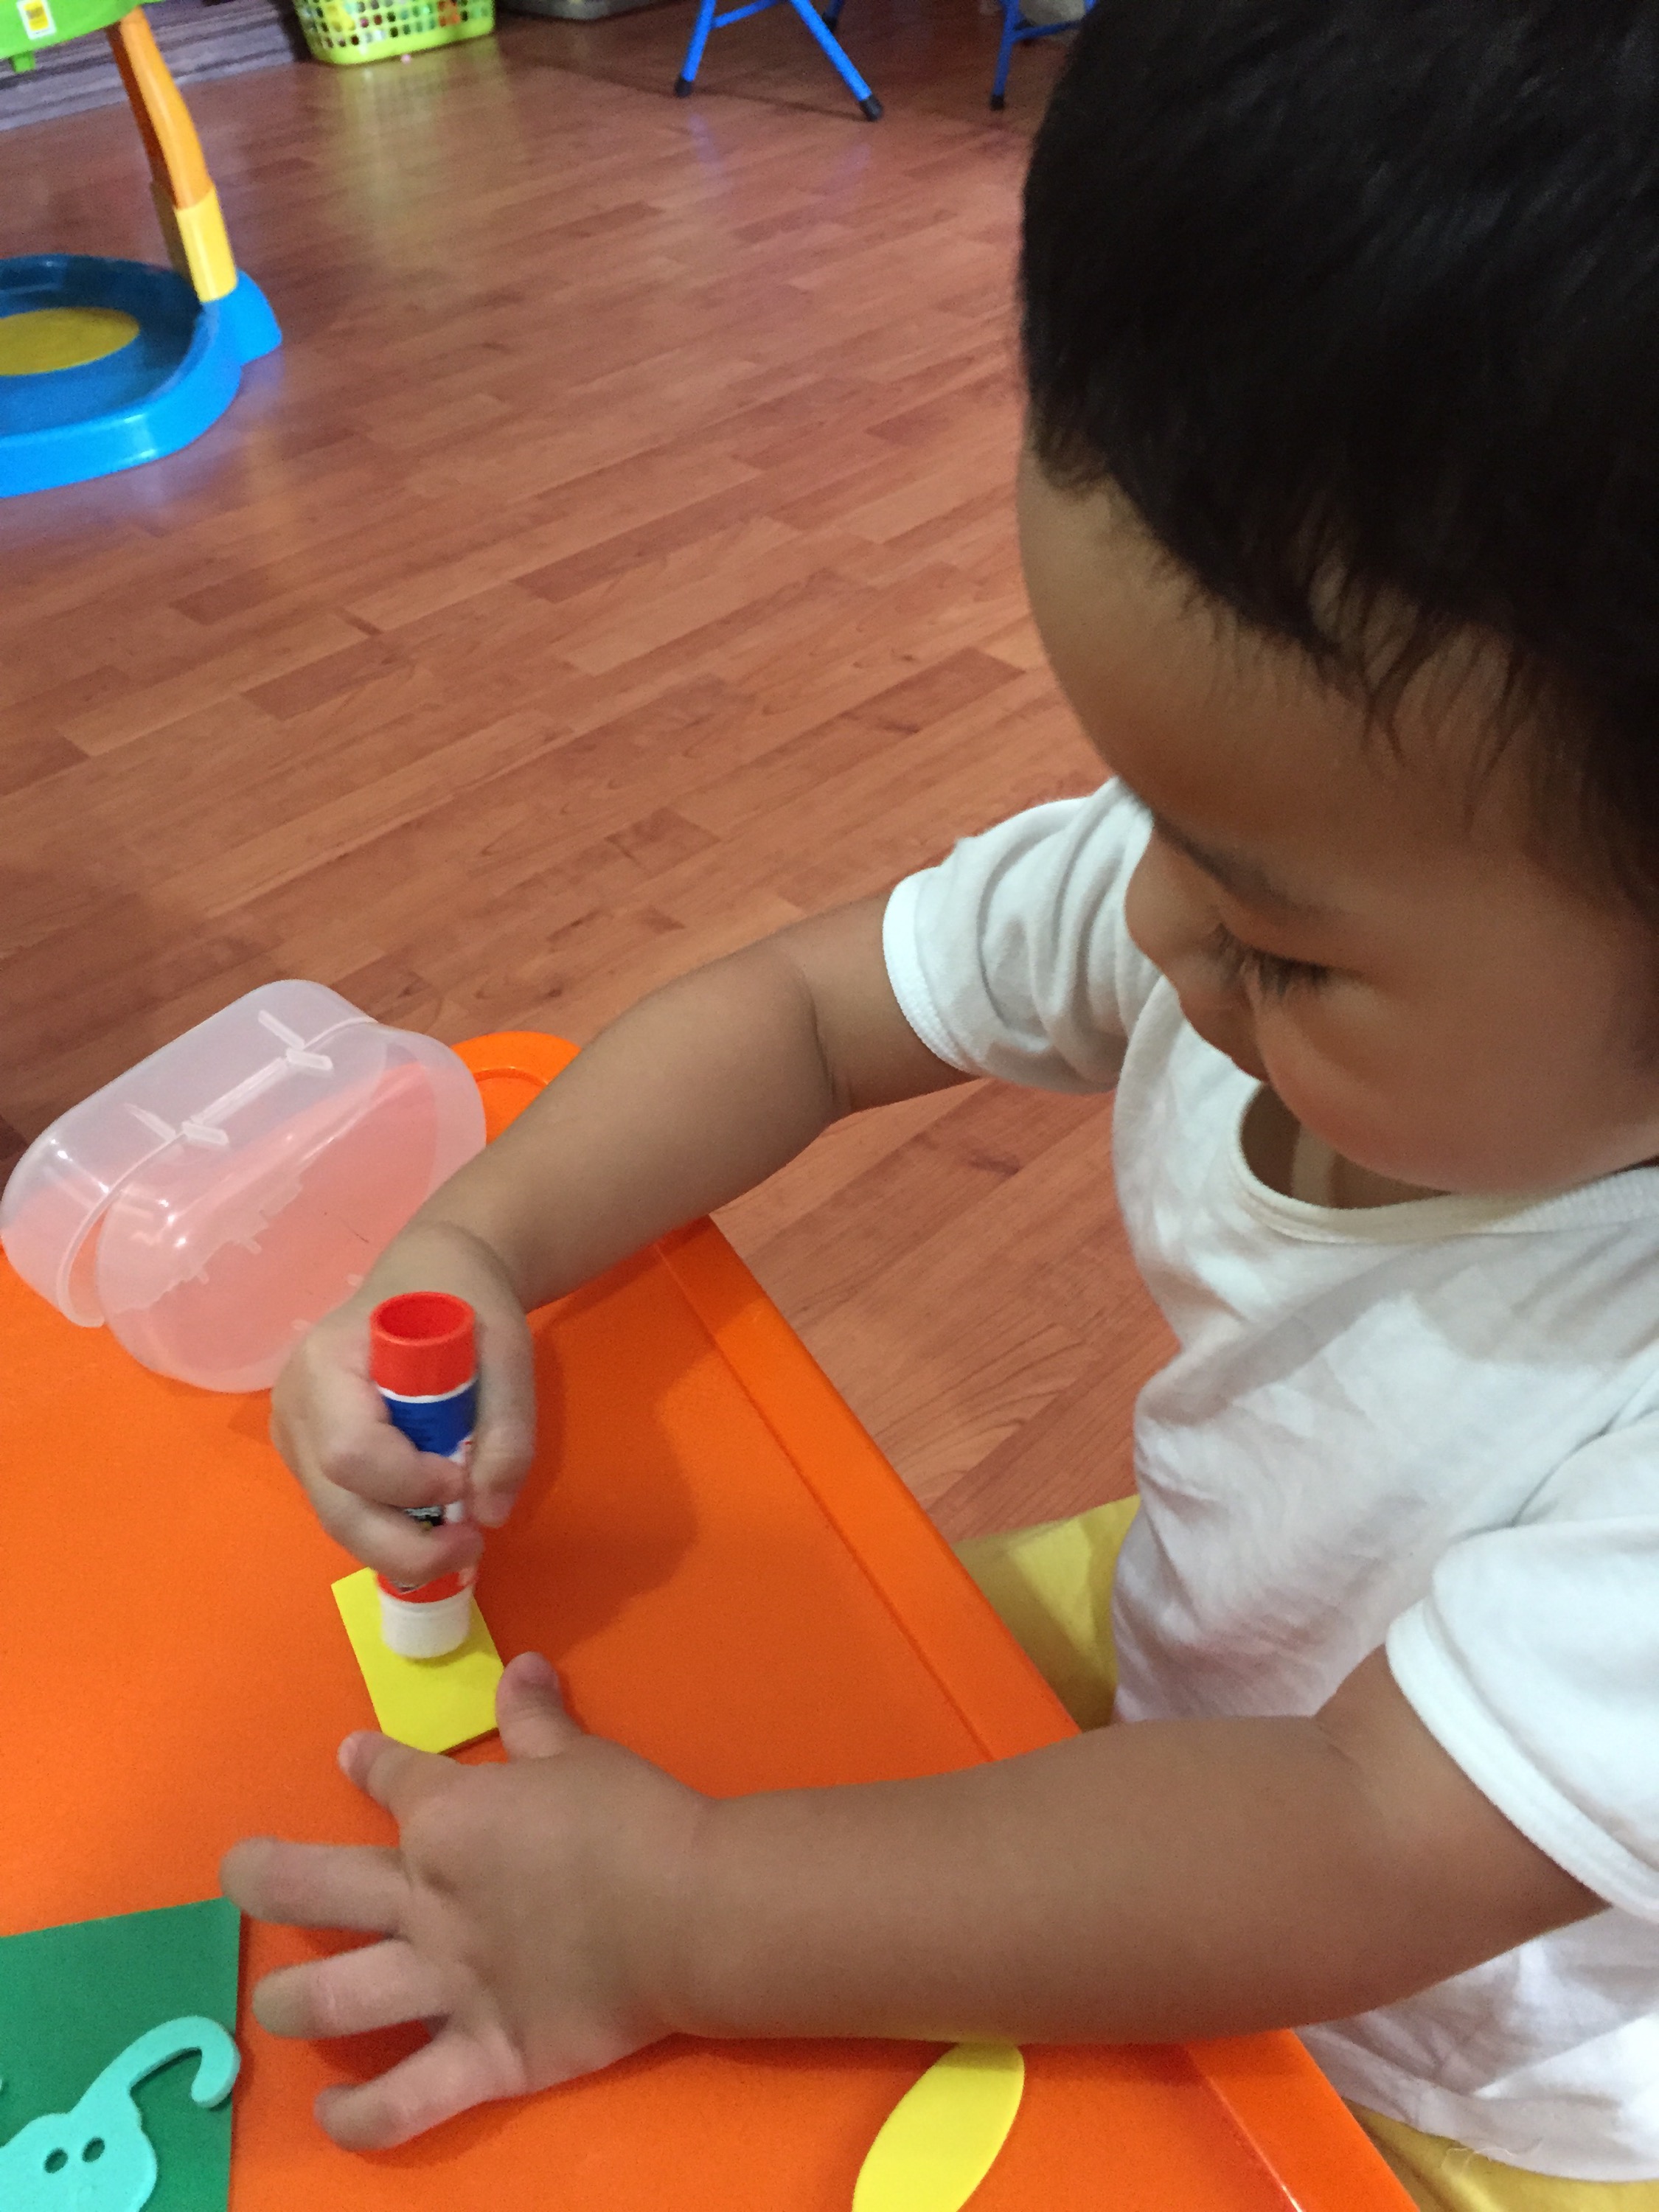
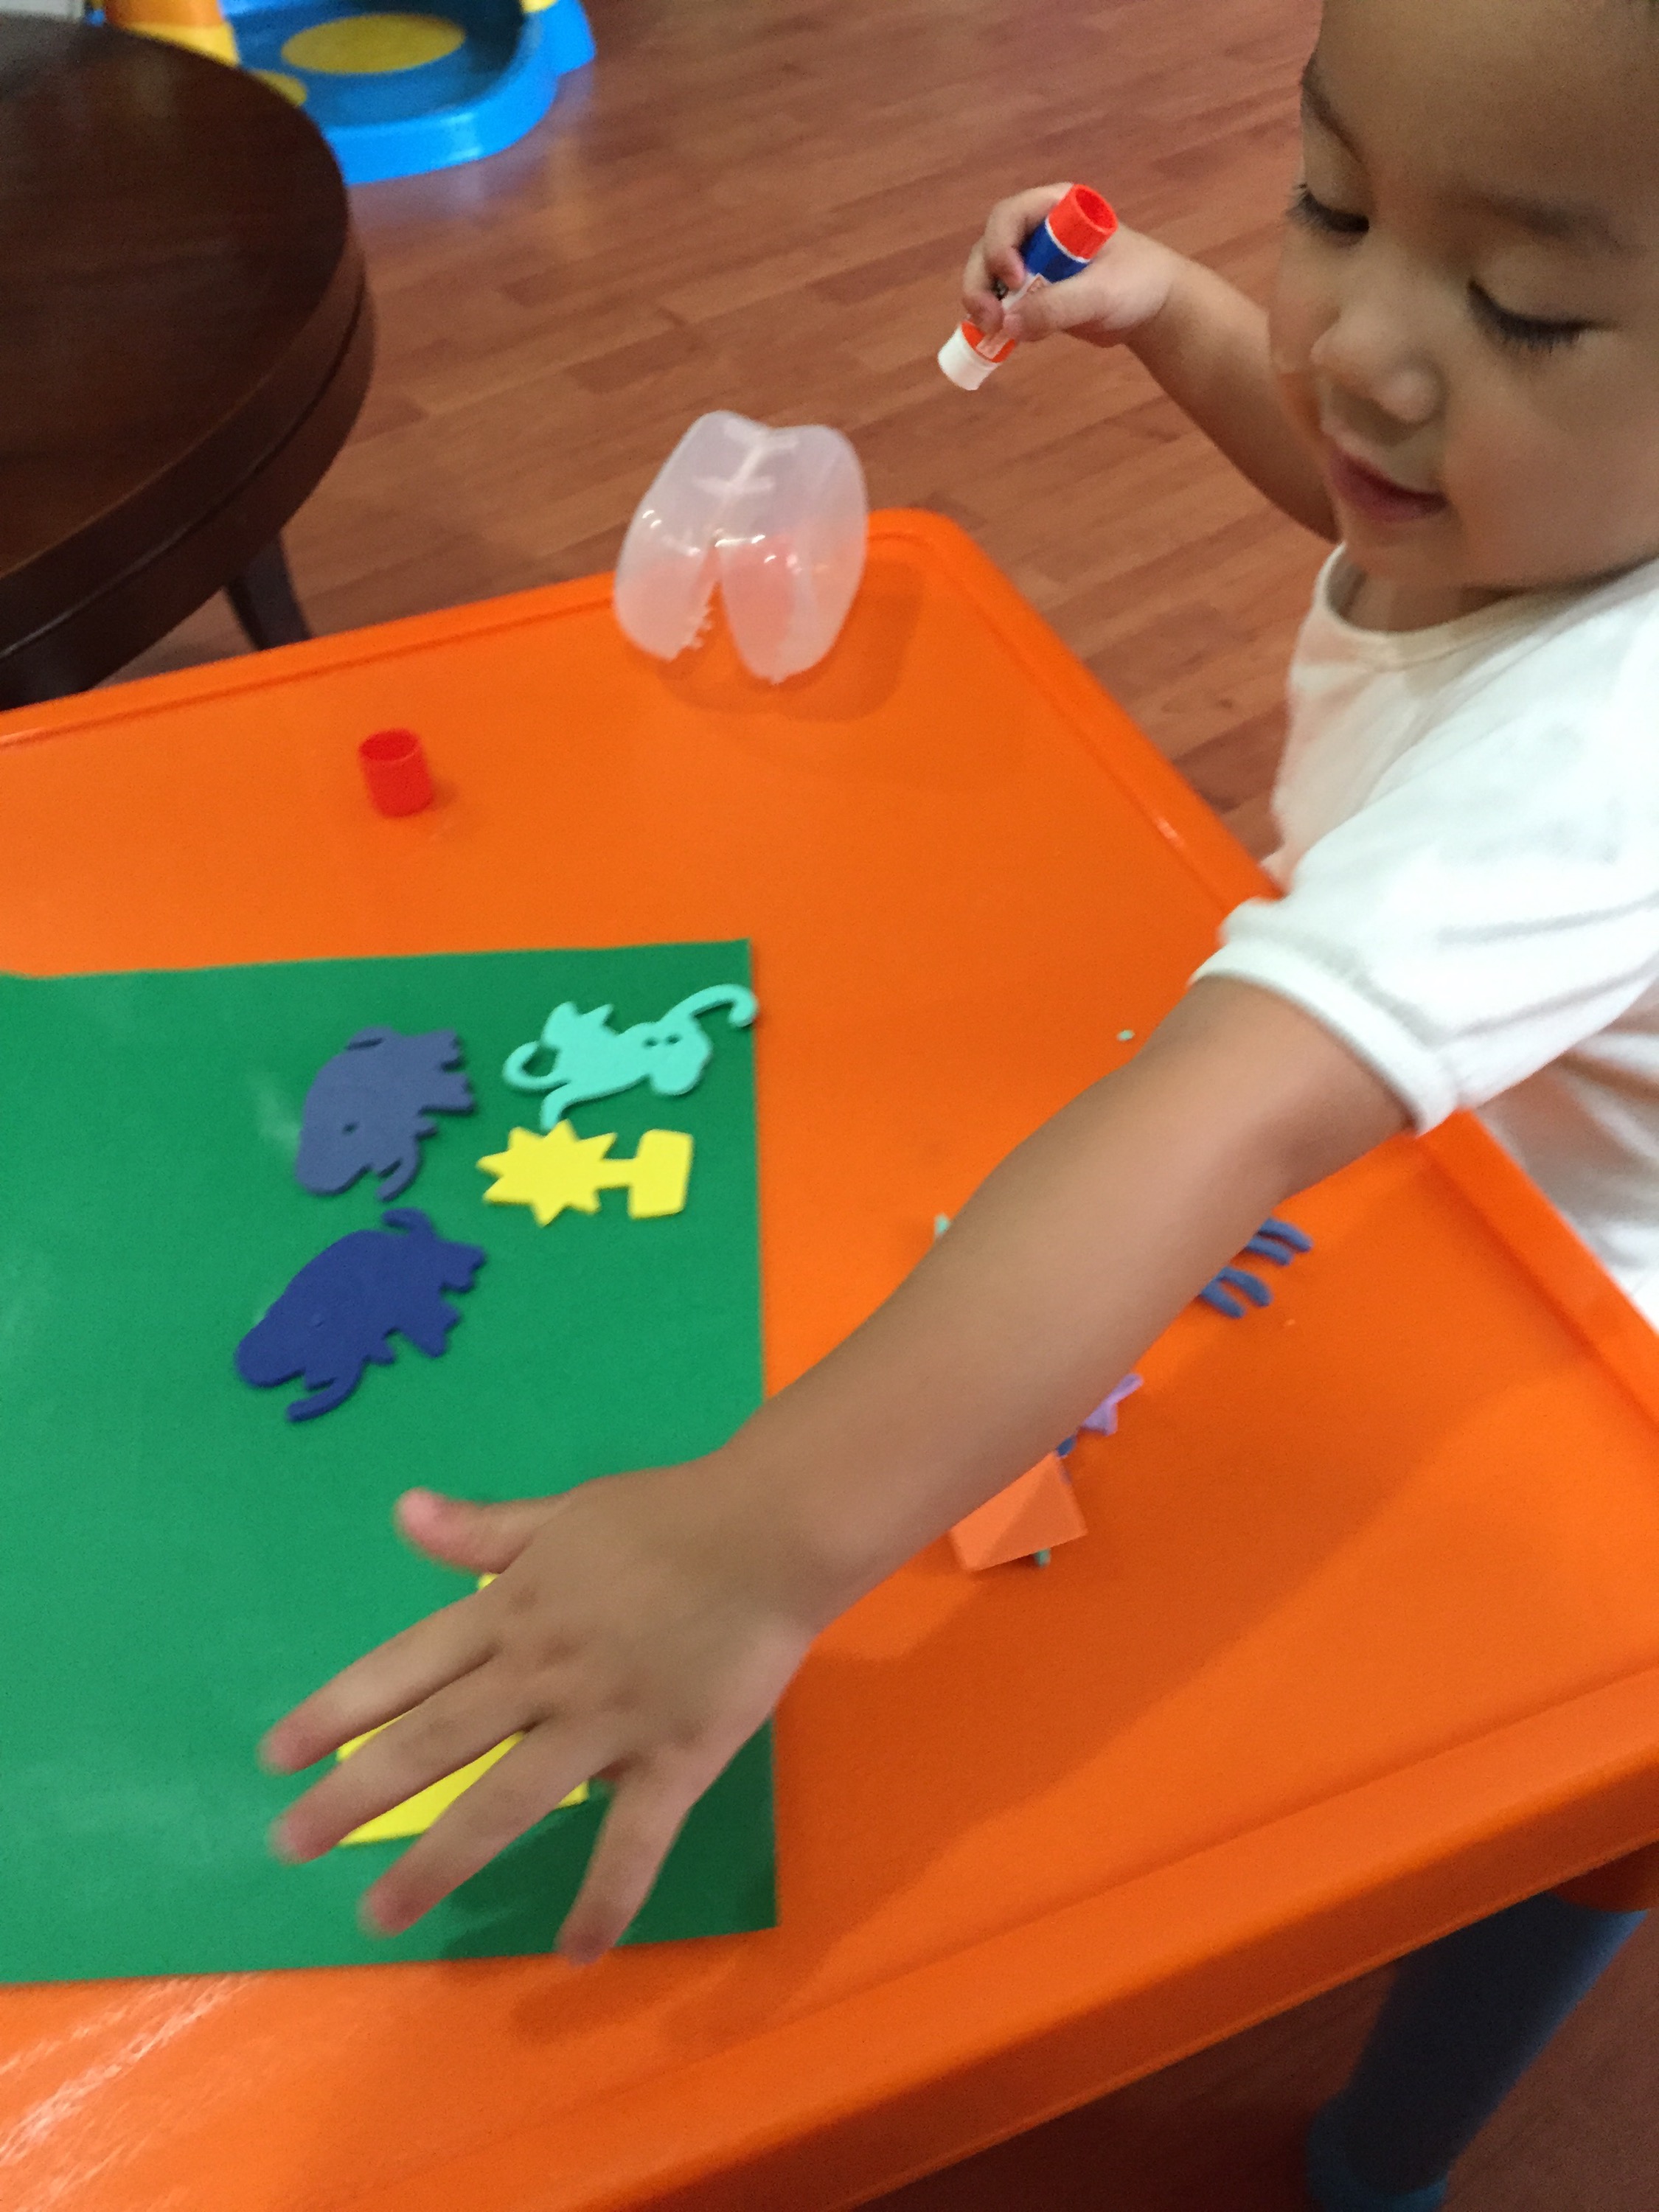
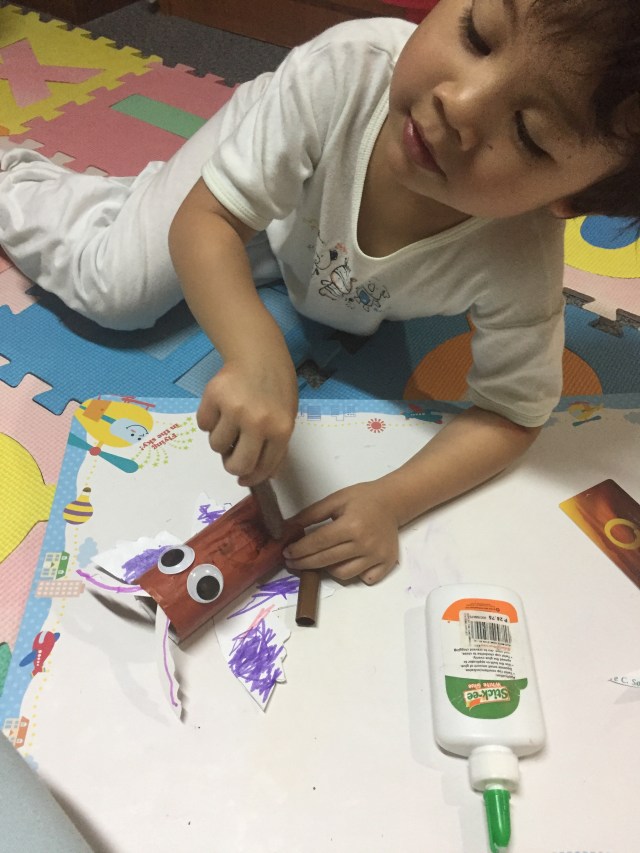
For Arts, I have to find ways to be creative… we do painting, we create animals, we do drawing. Lots of materials are found on Pinterest. One should take a look there and get inspired! This is a sample of what we made recently — butterflies using toilet paper rolls and some colored paper and pens.

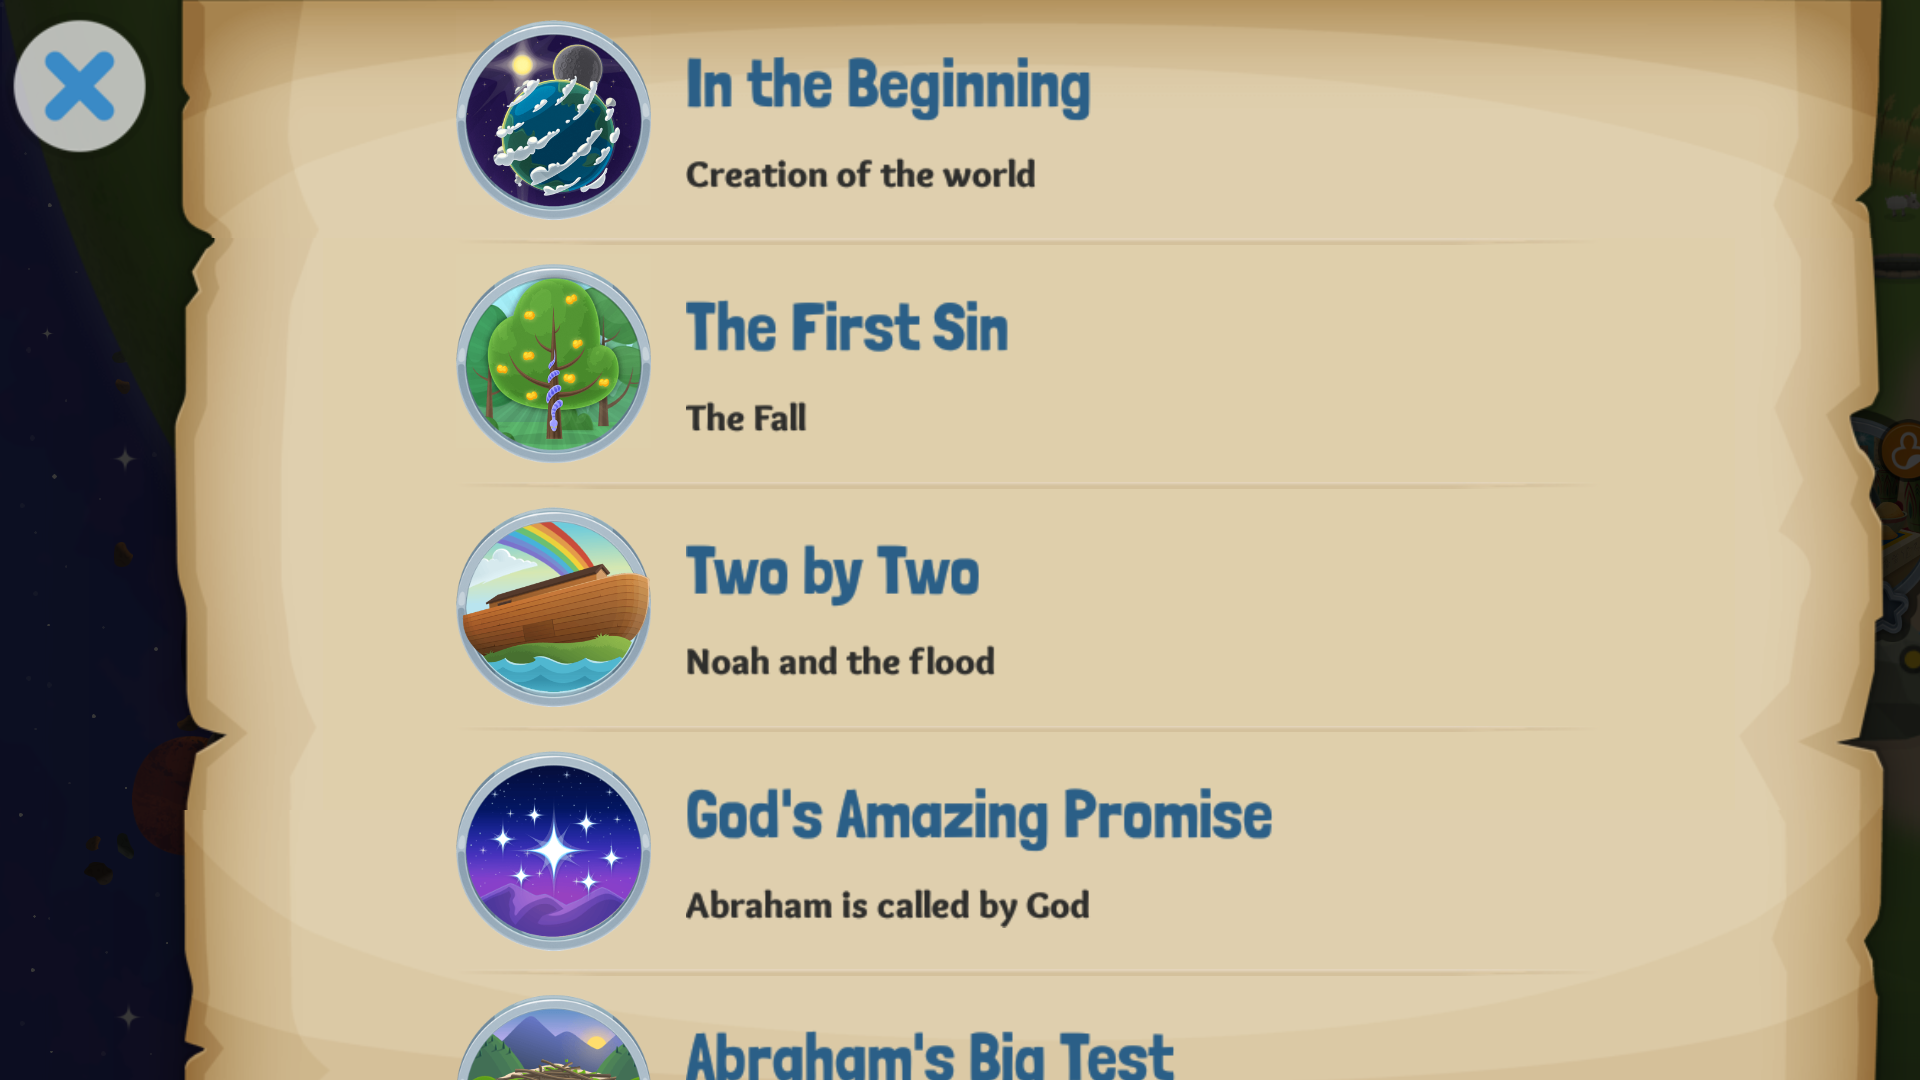
For Values we discuss bible stories, and themes like sharing, caring for each other etc.. I love the Bible for Kids app by youversion.com. They make the stories come alive with their graphics and it is easy for kids to understand. We discuss what we read and then find ways to apply.

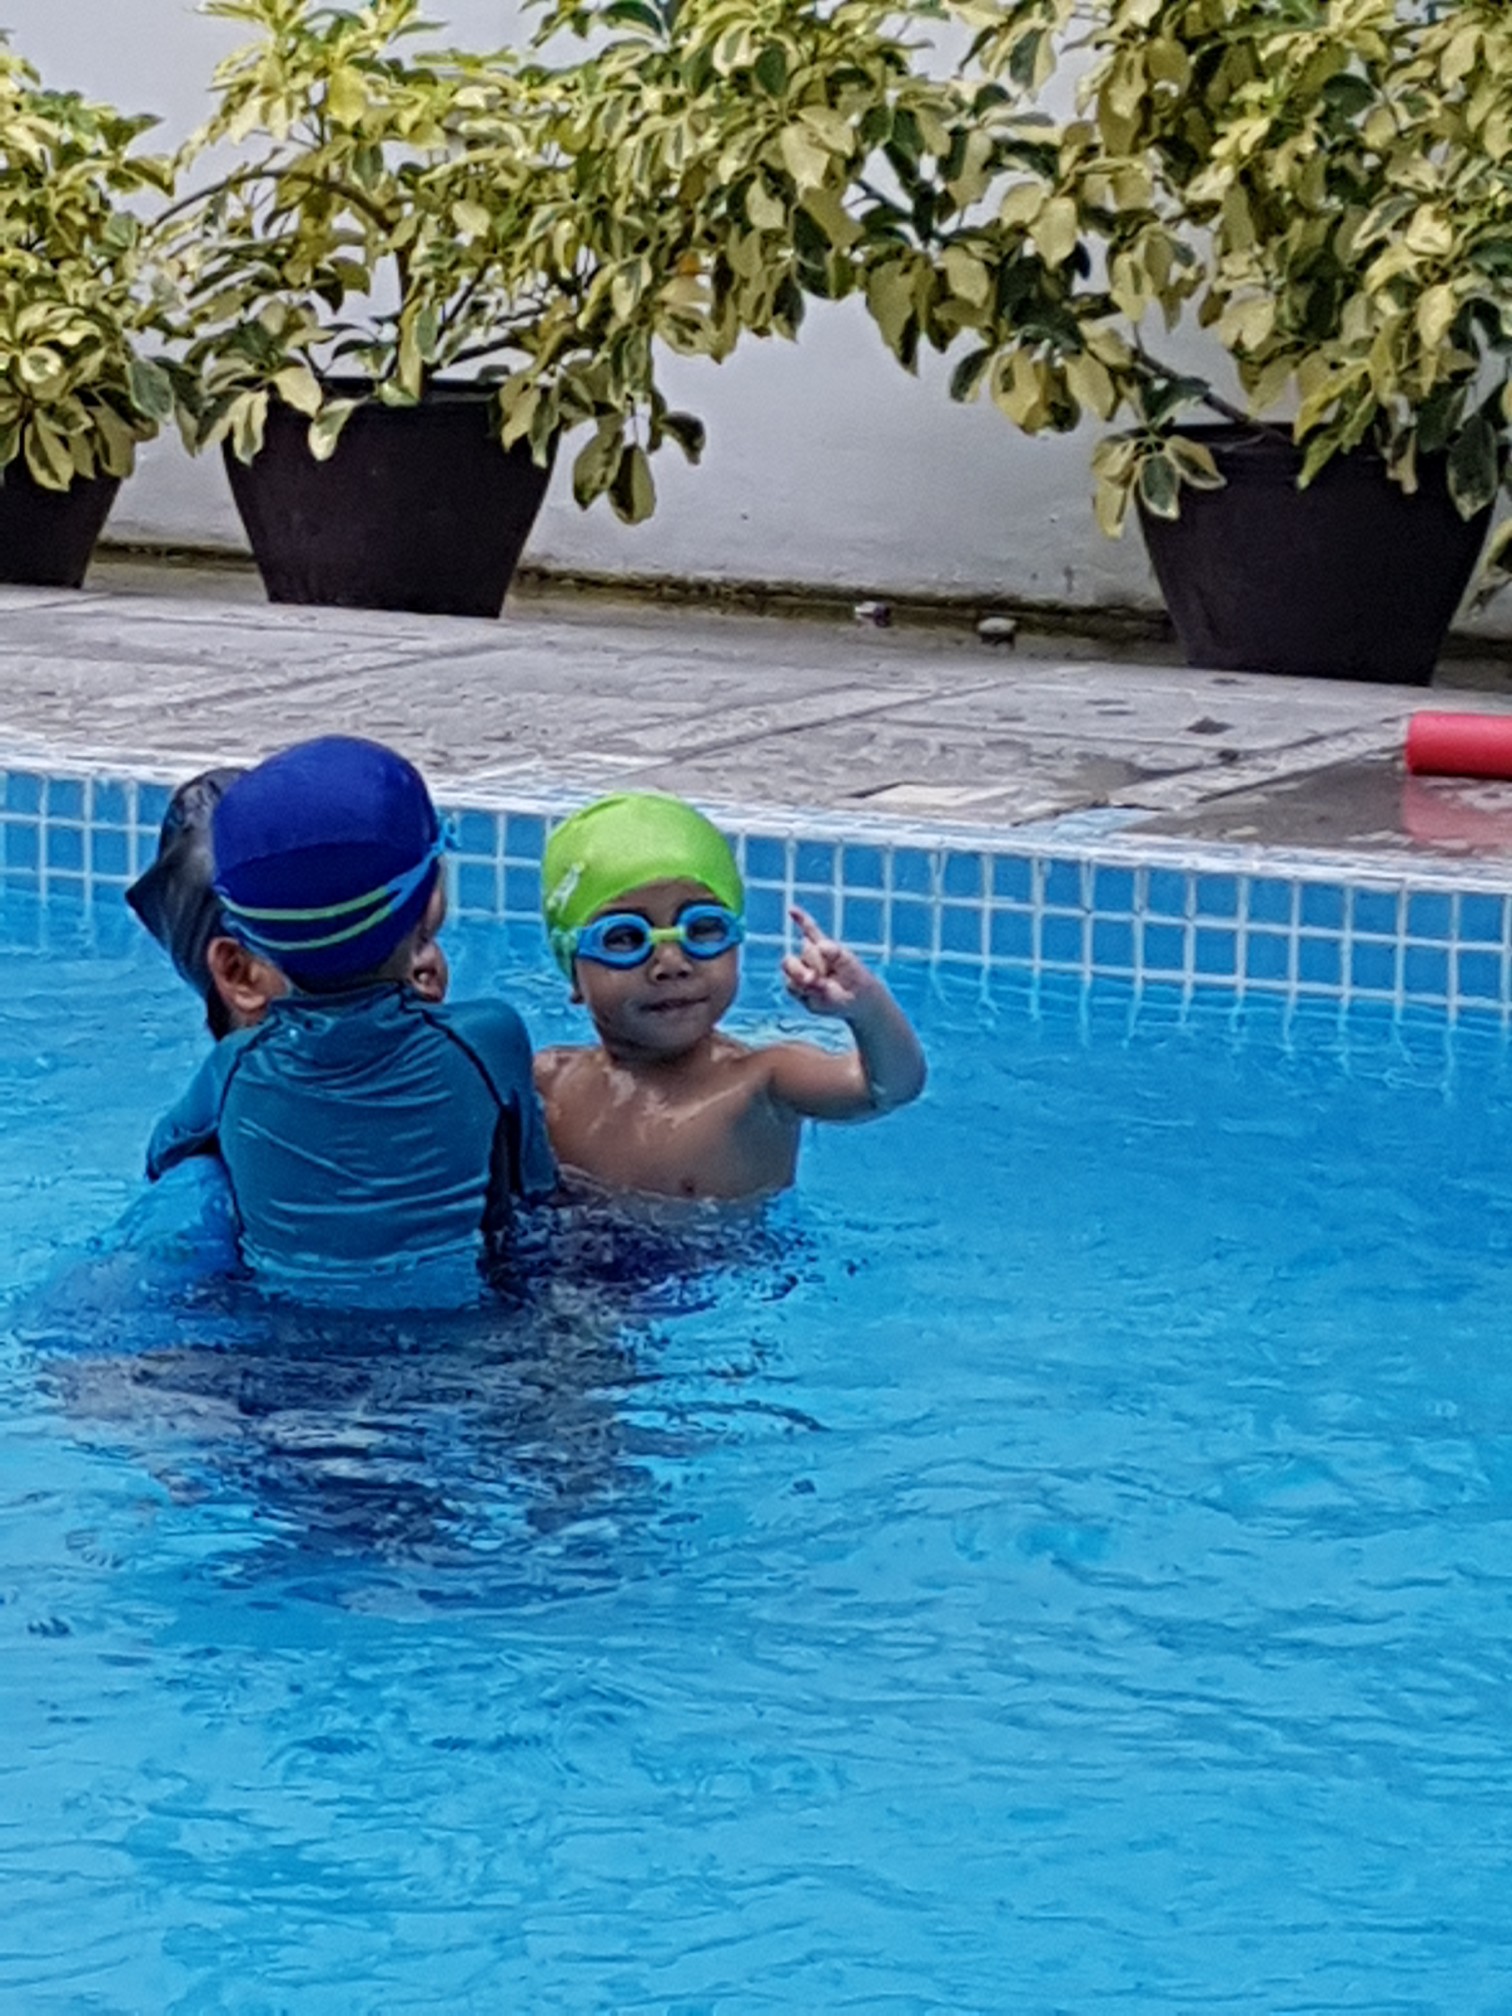
We also insert some physical activity for Joshua and so we enrolled in swimming at the Bert Lozada Swim School. It is a one hour swimming session where our 4 year old learns the skill on swimming and survival.

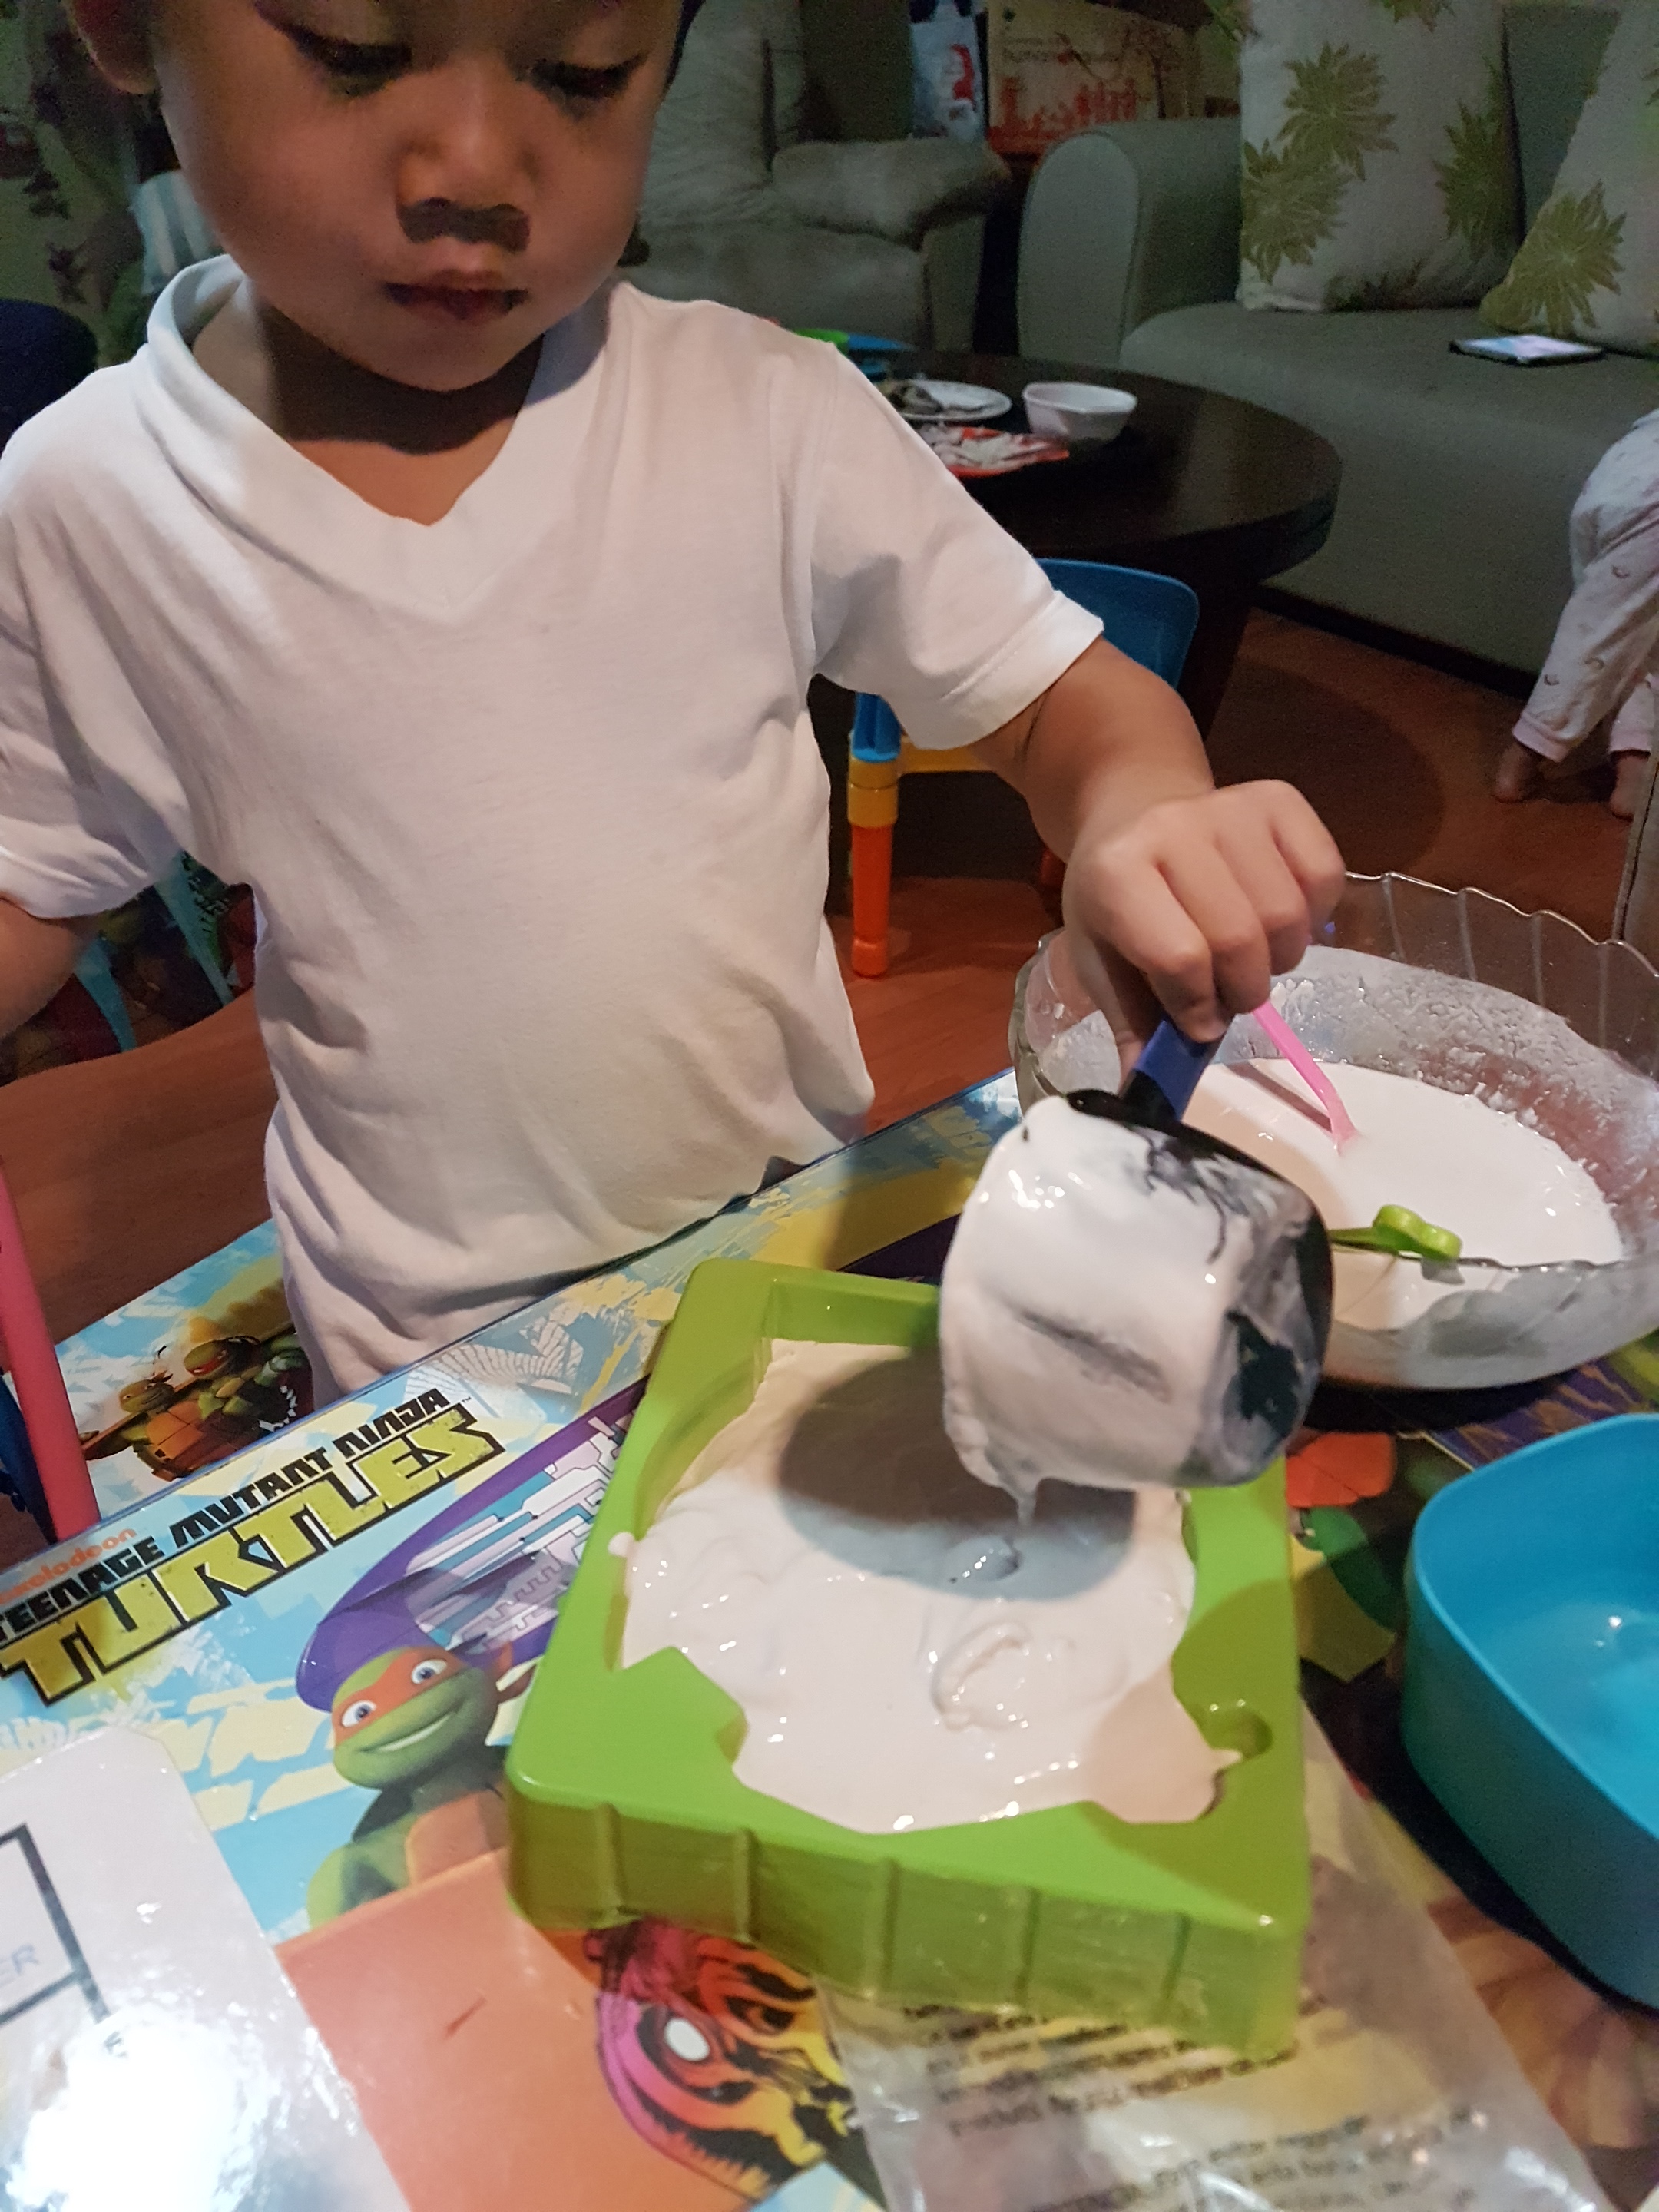
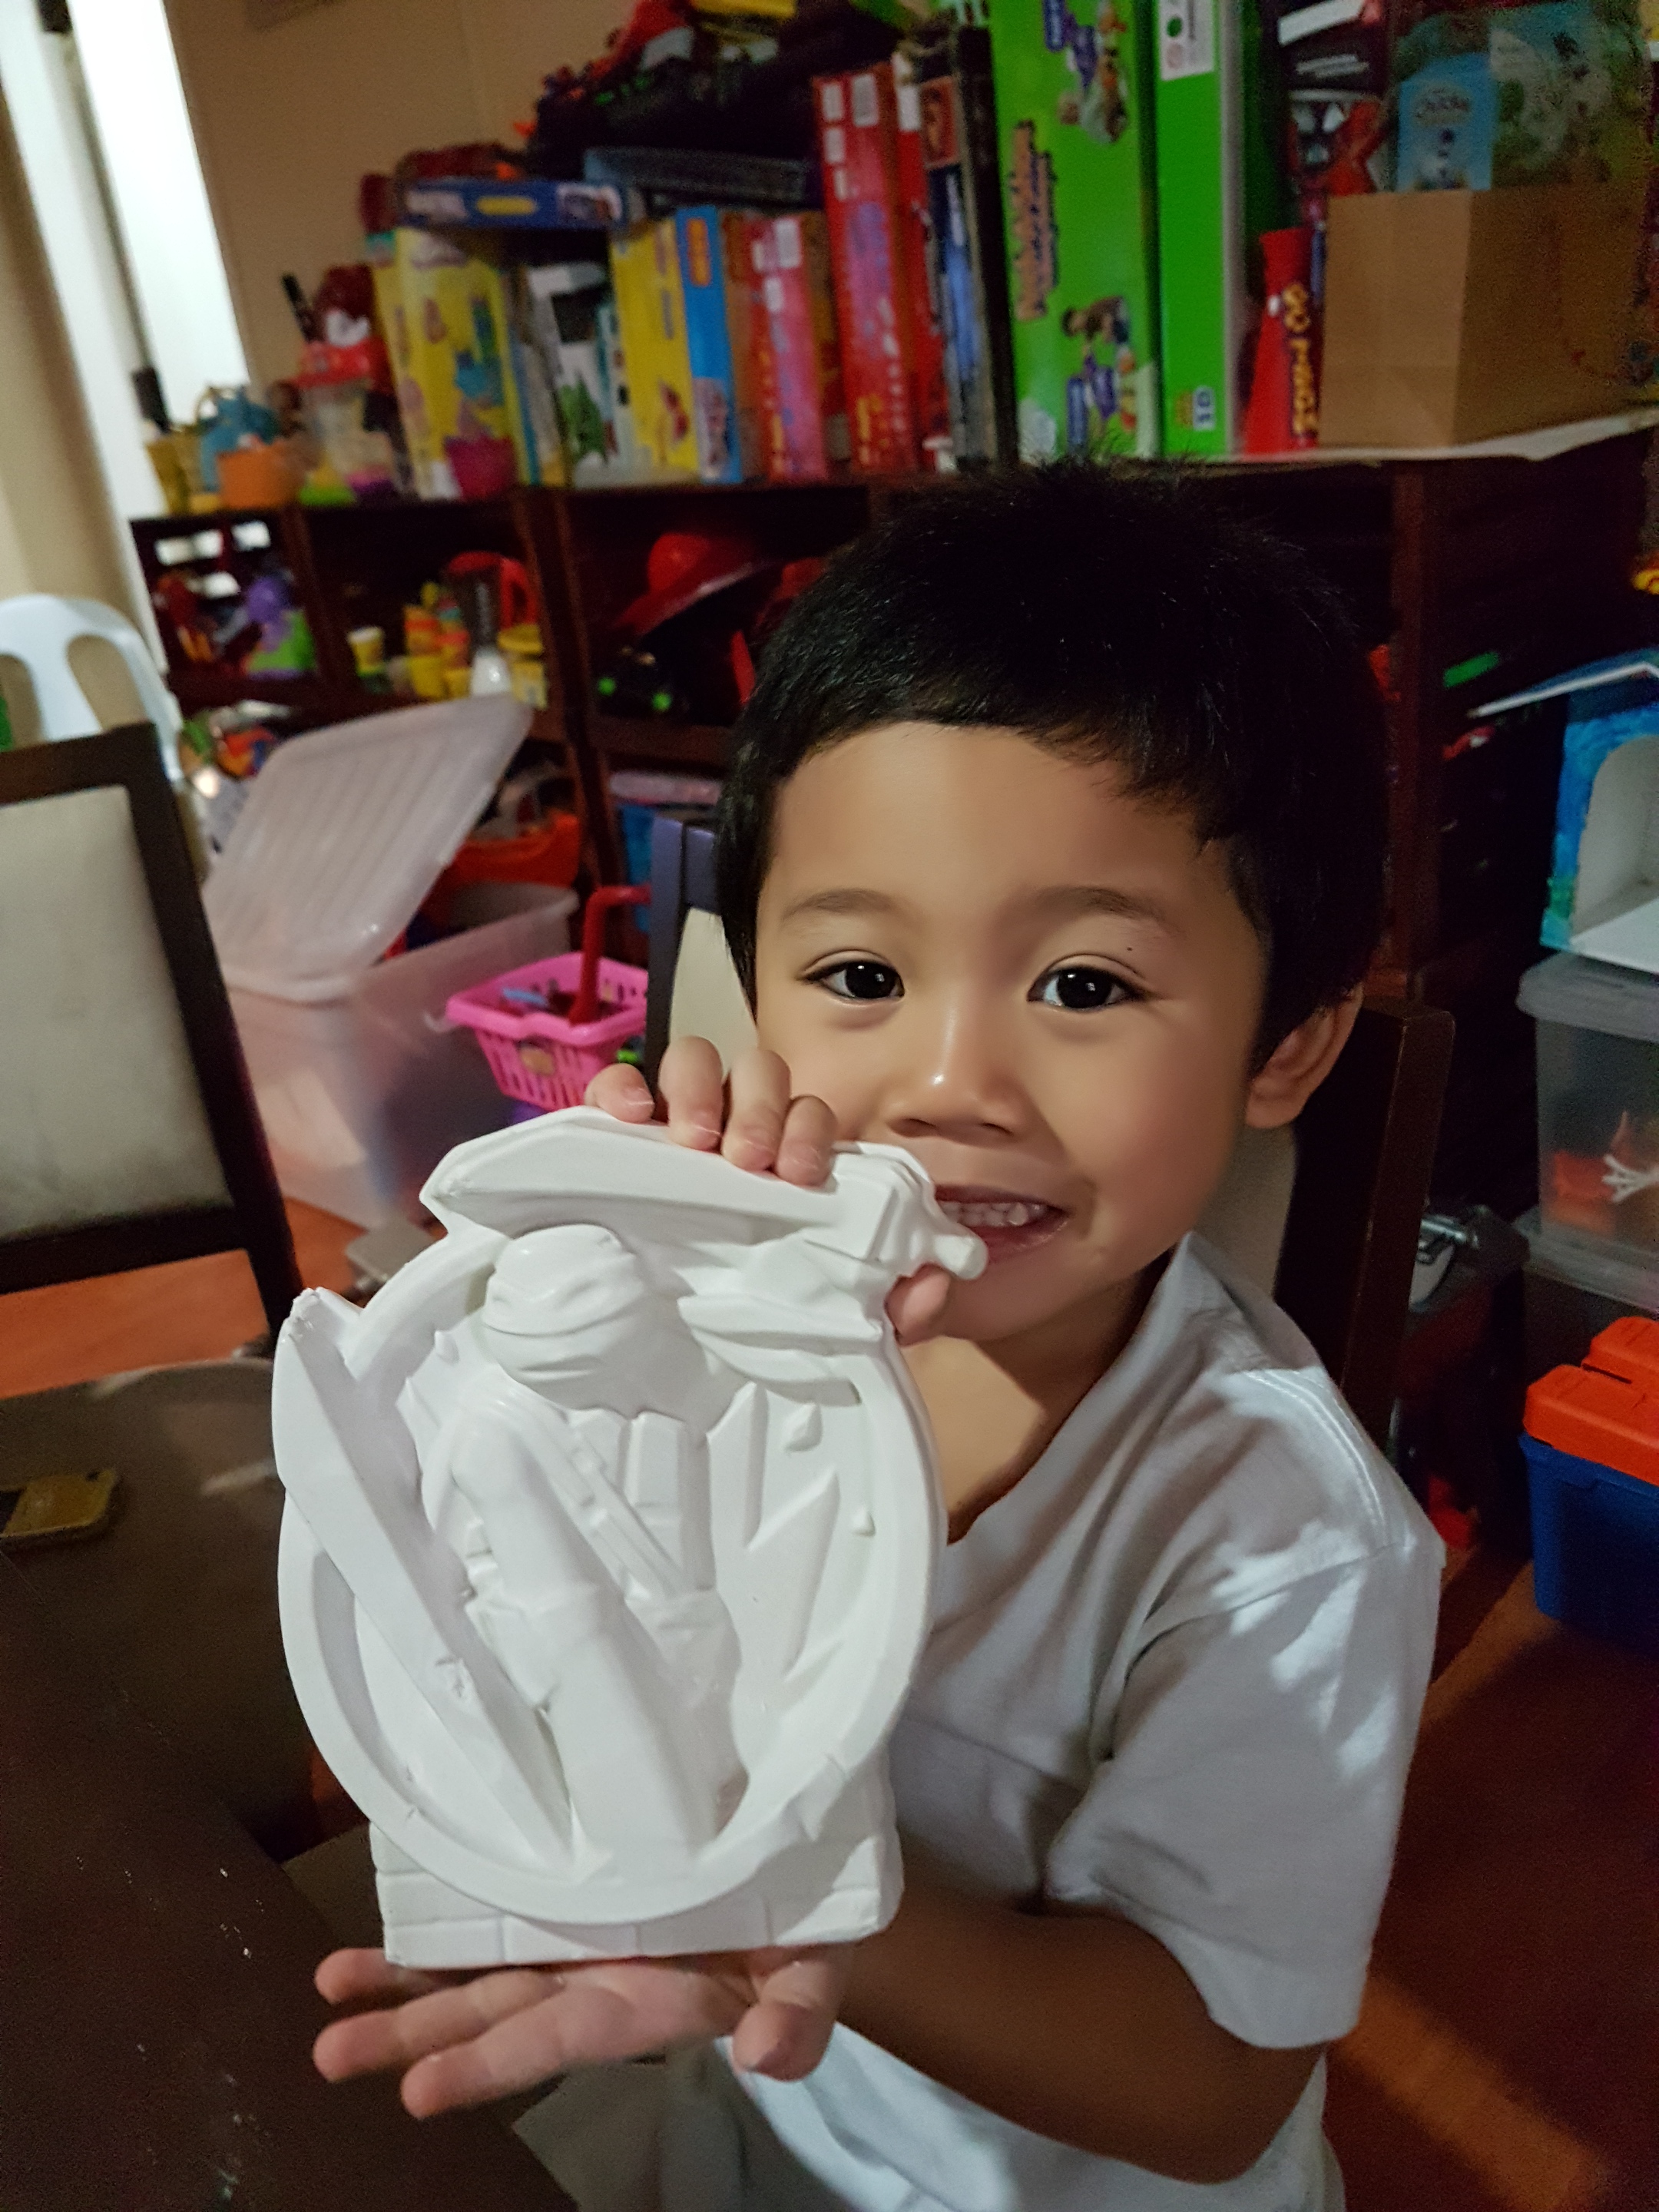
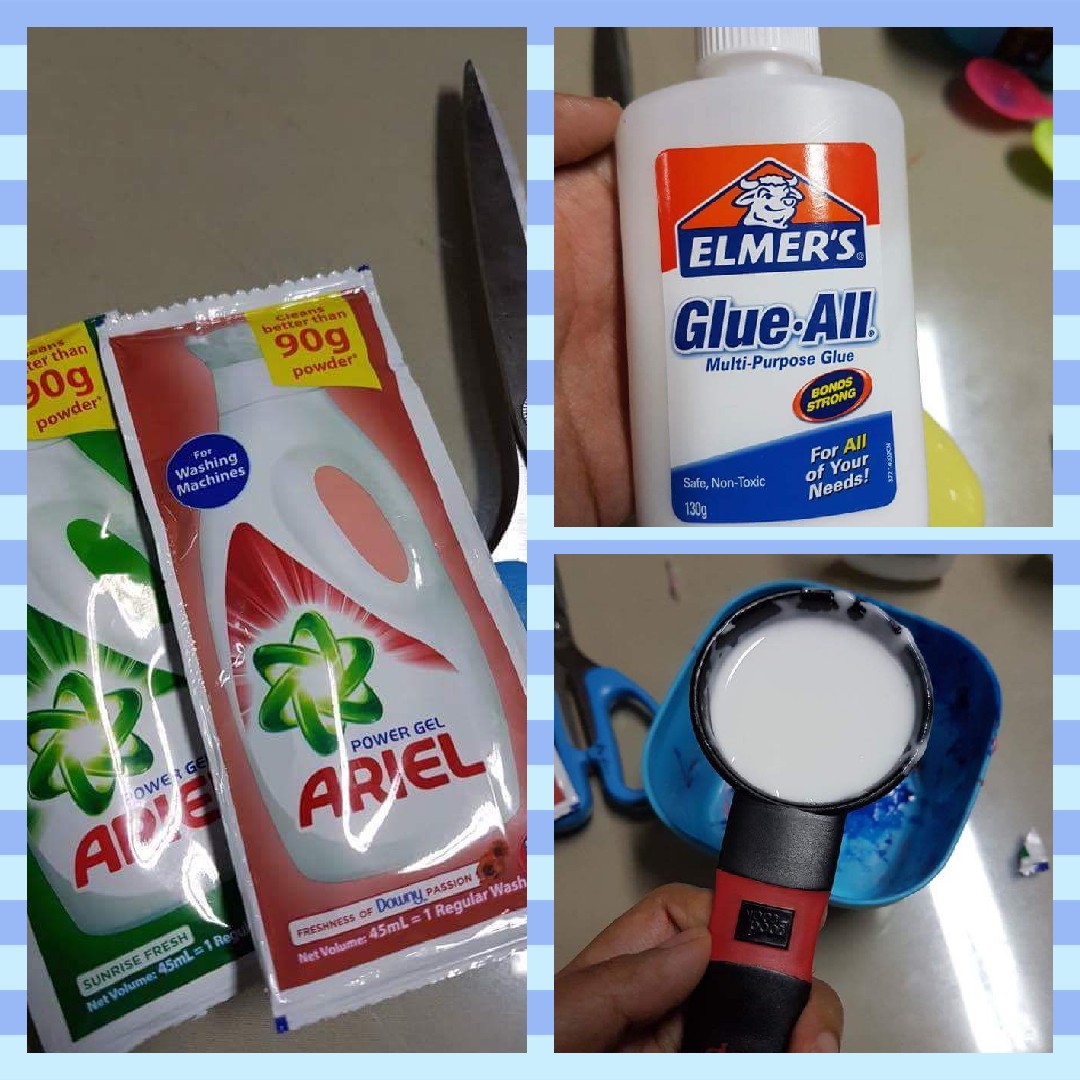
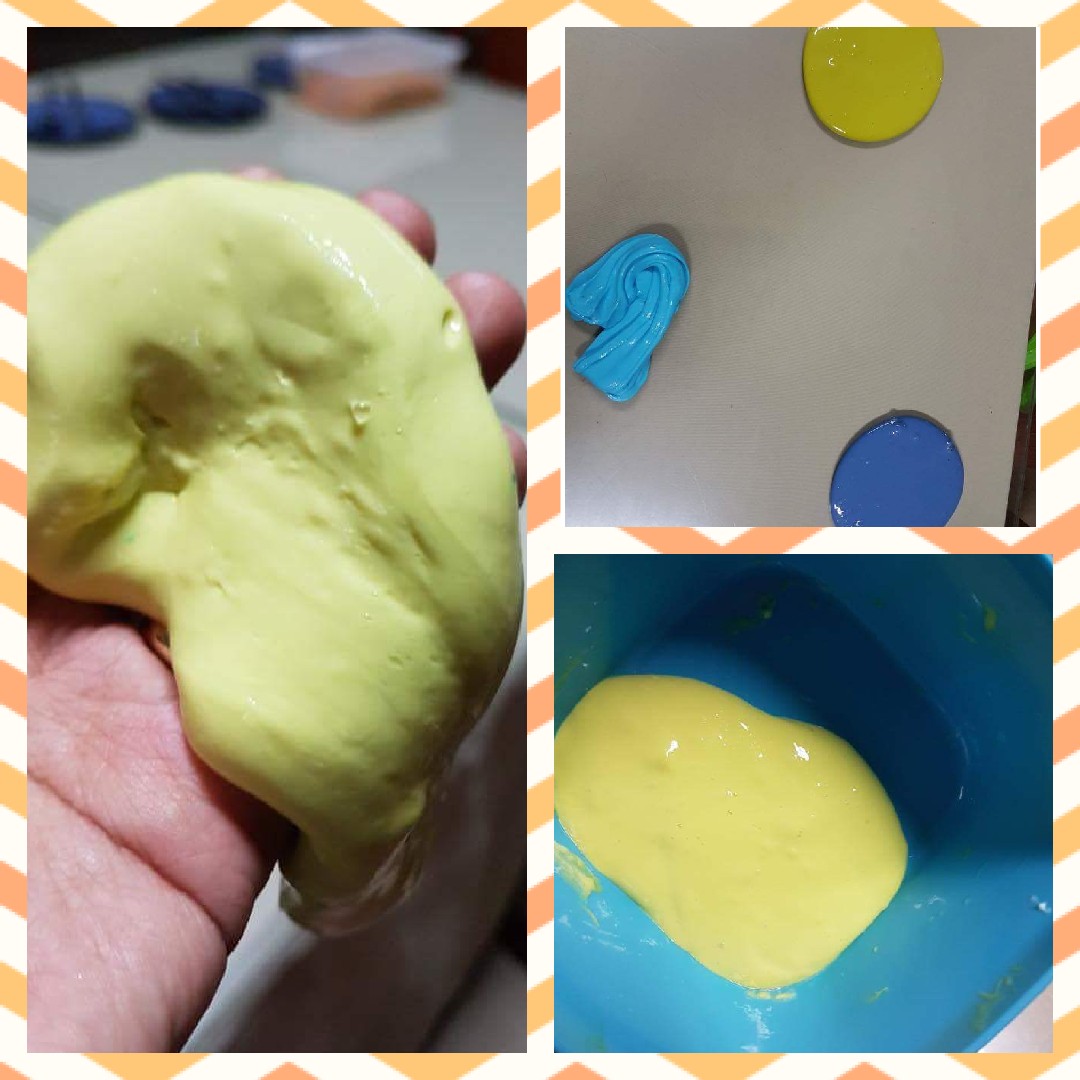
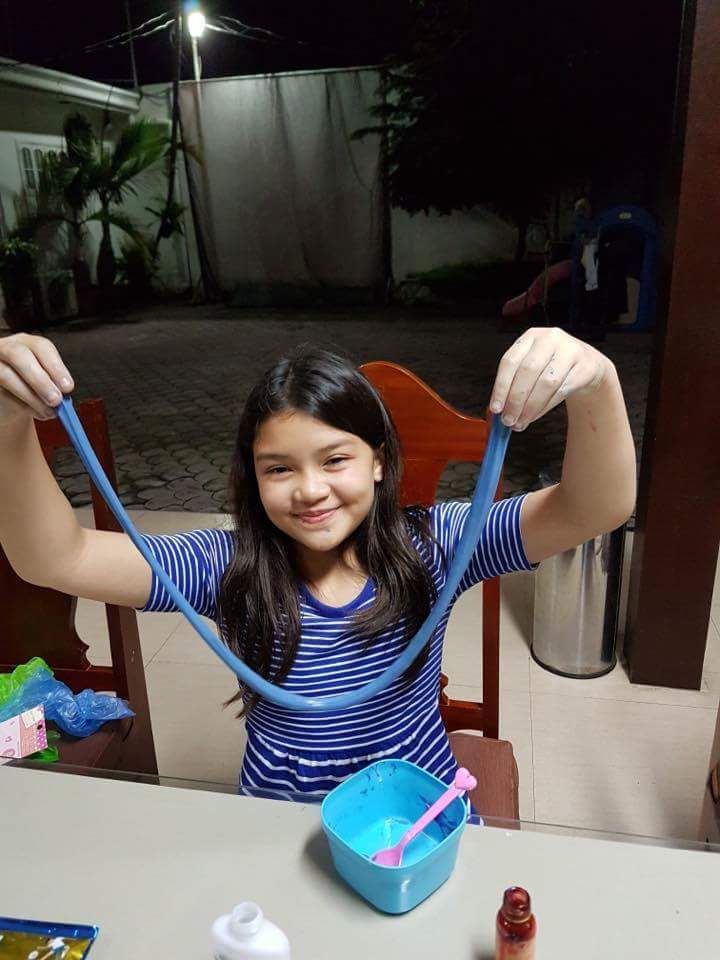
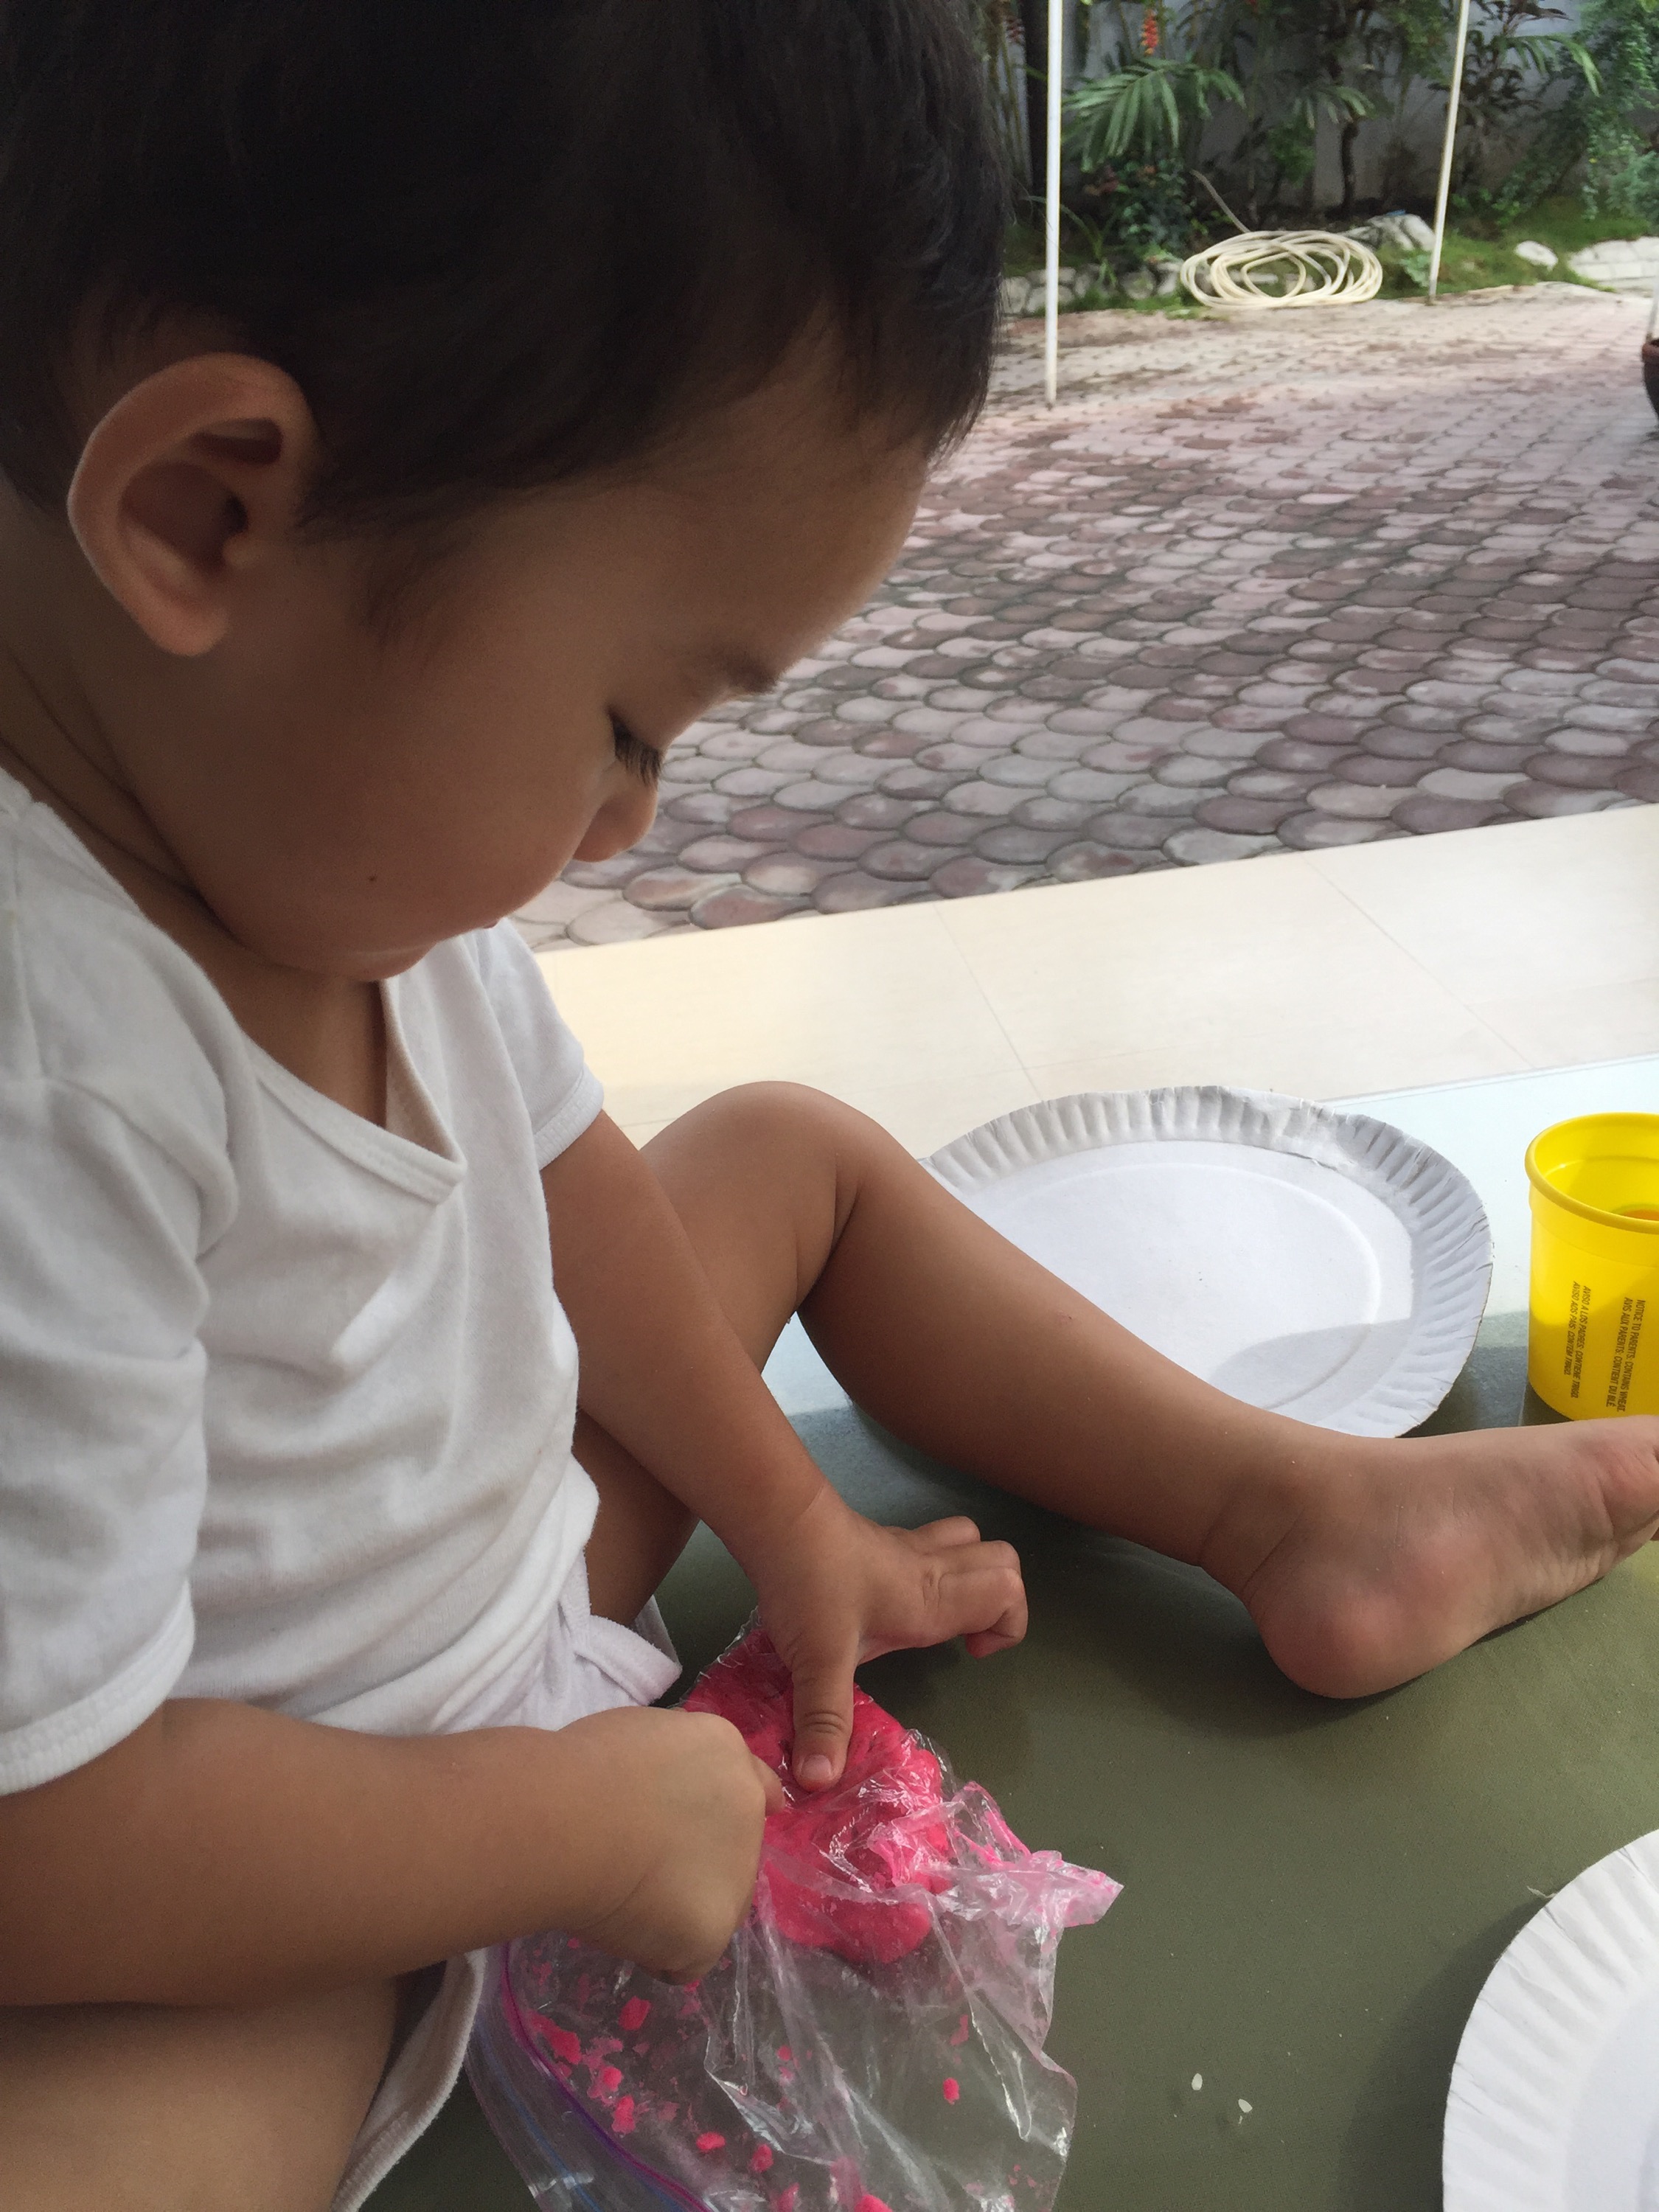
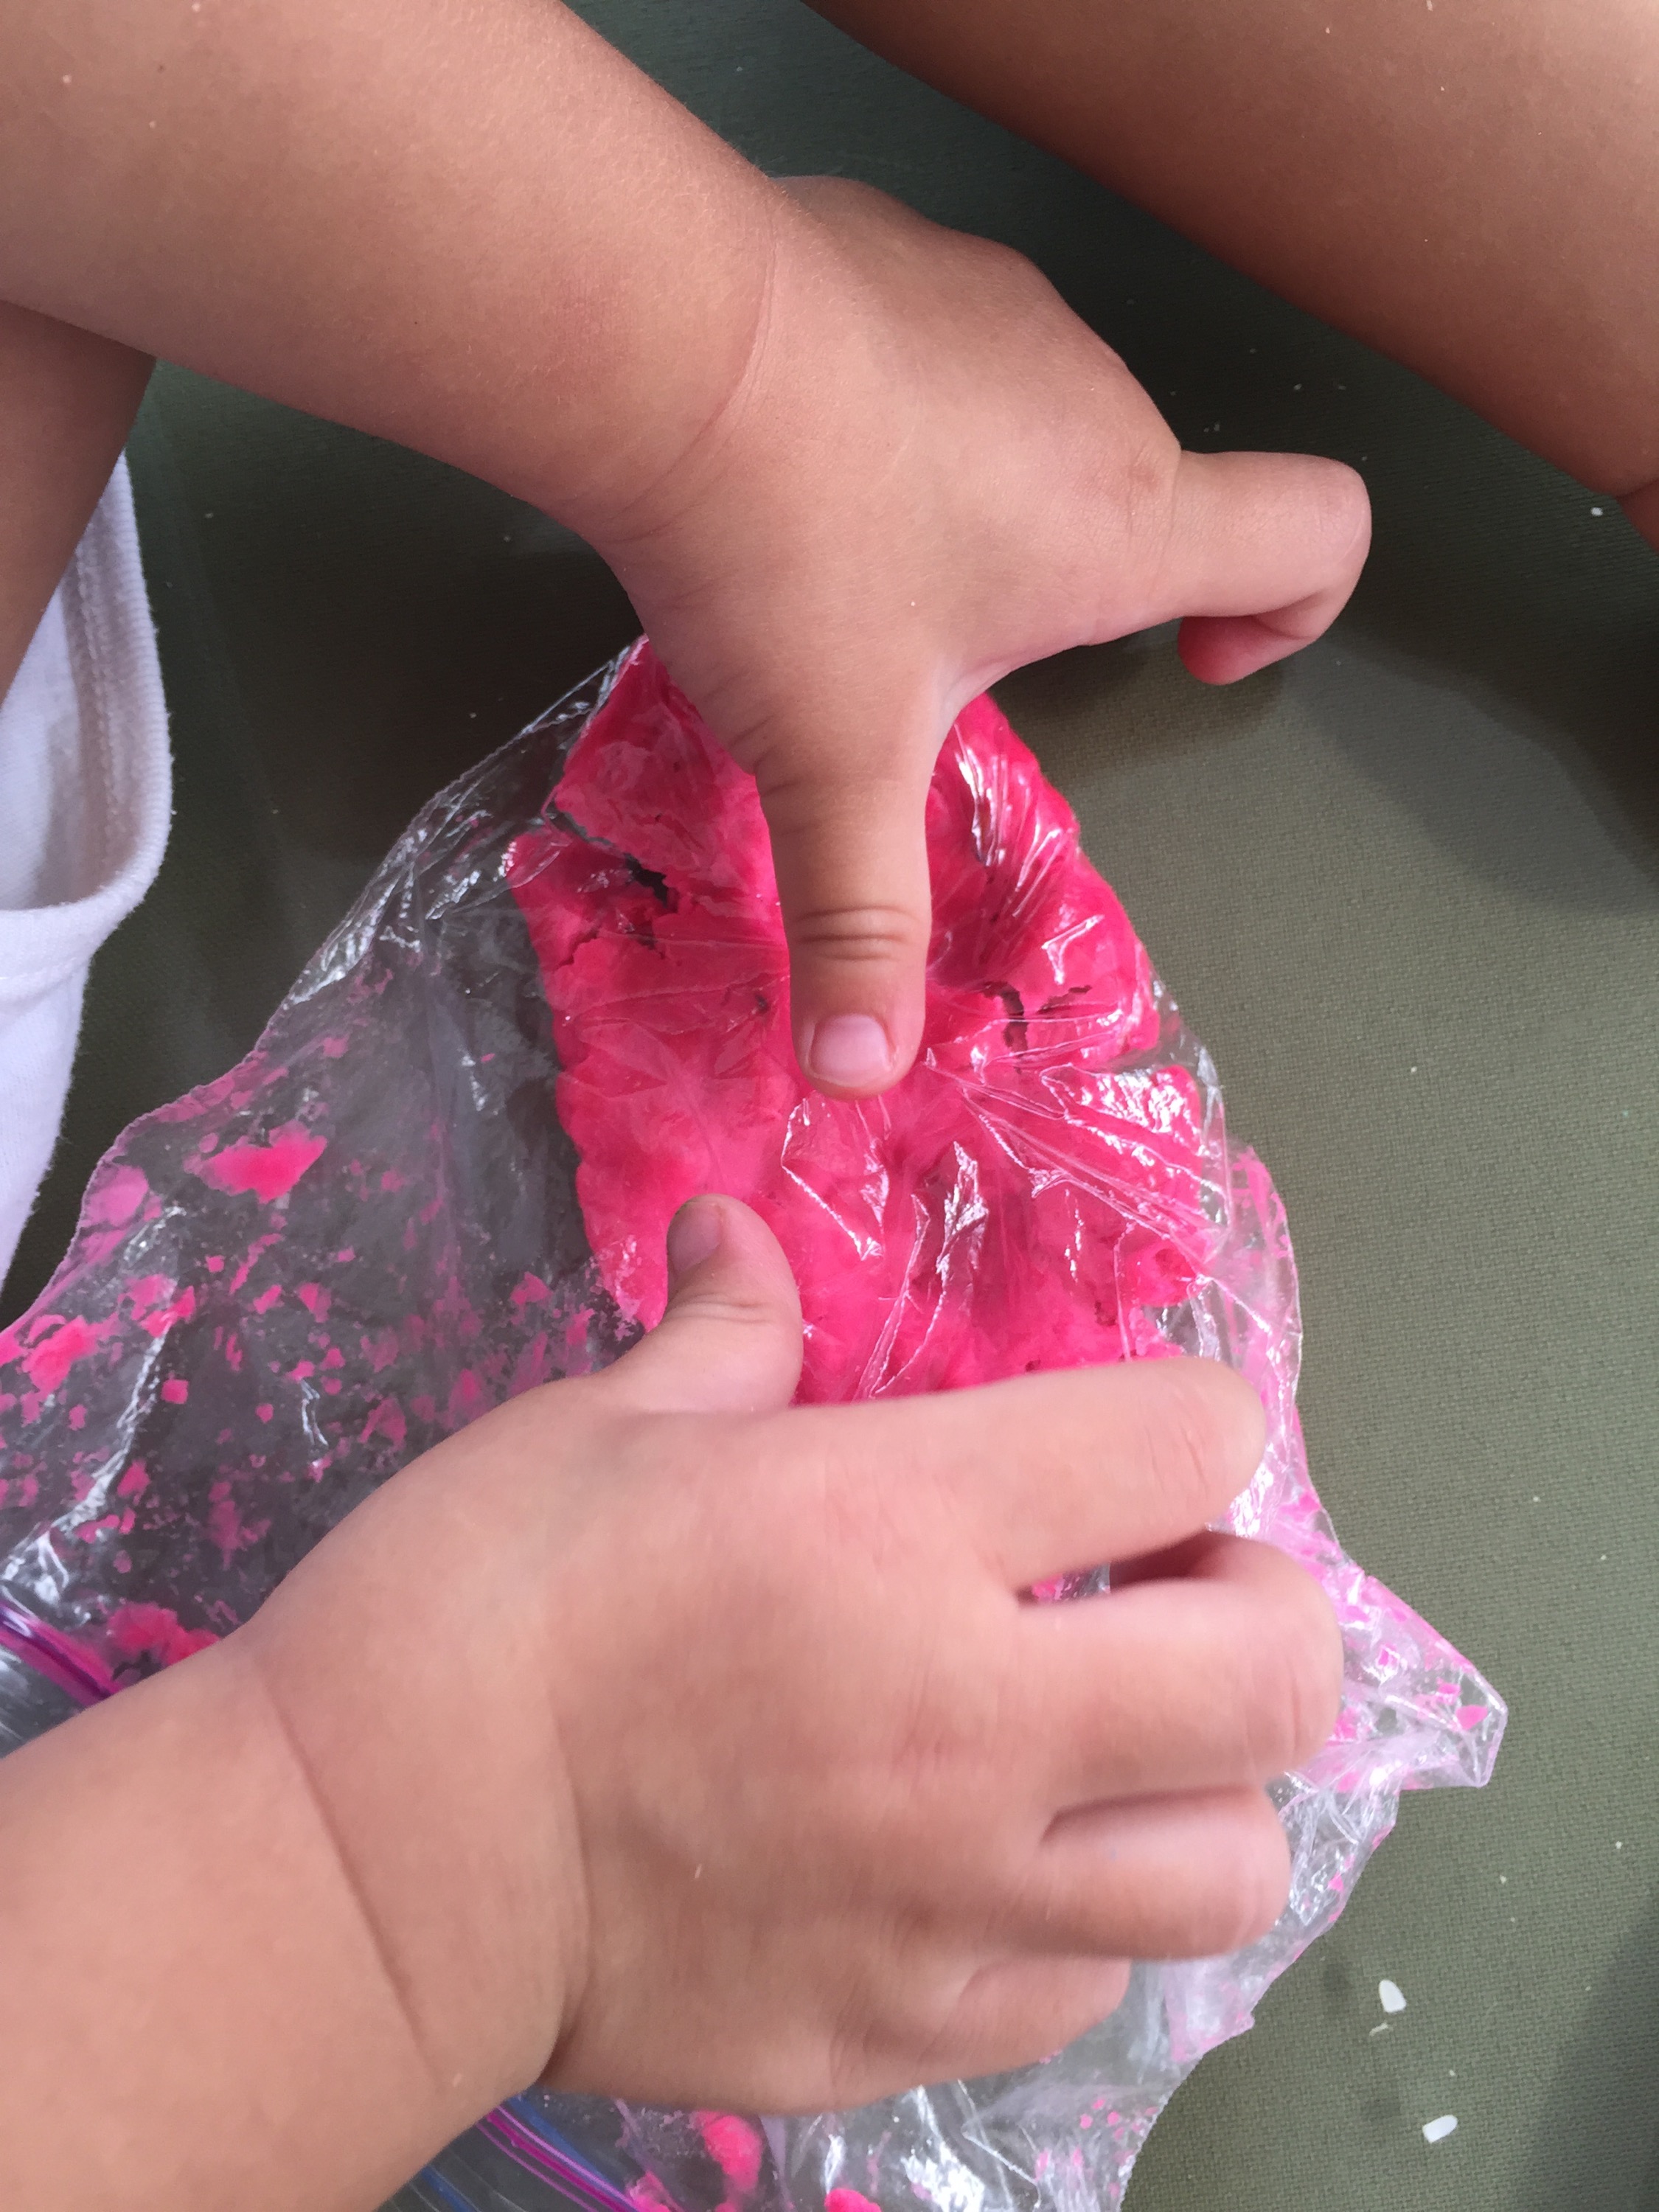
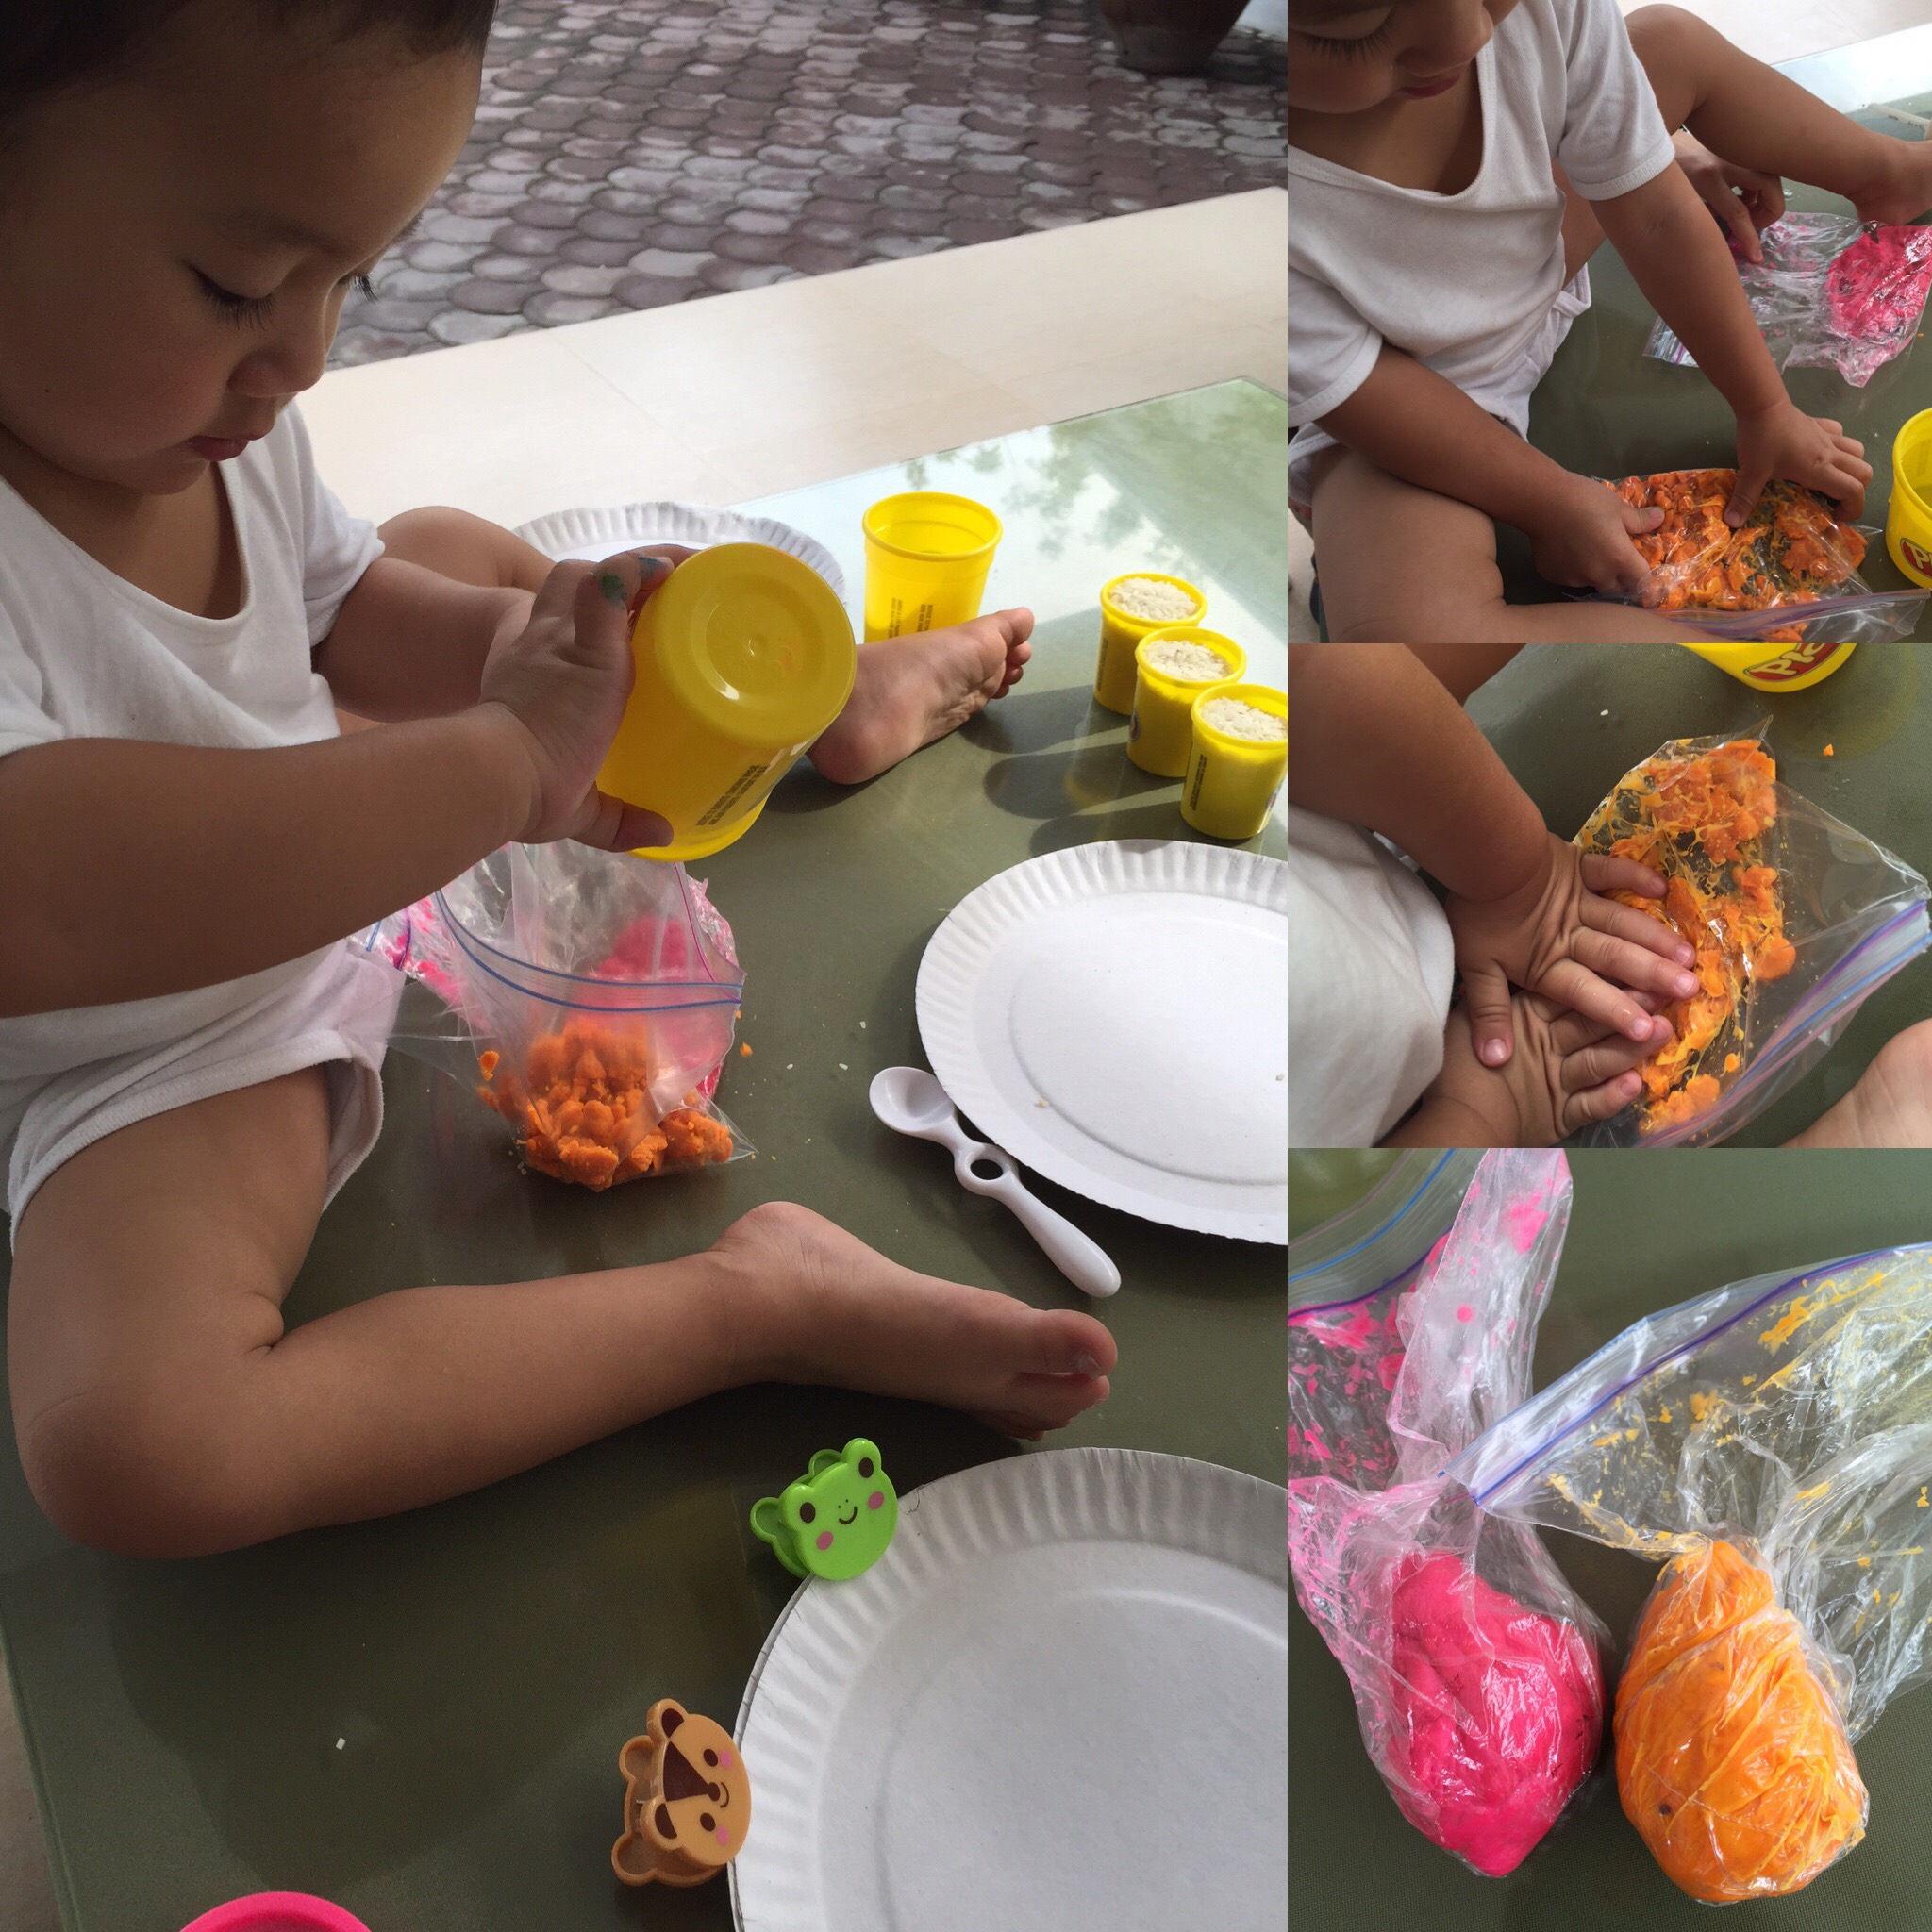
What Joshua has a lot of is play. He plays blocks, he plays with clay, he plays with toys and his sister. They watch their favourite movies, they sing and dance…. they fight, they make up, they laugh and play some more.

I am not strict on my son or on myself. We are enjoying the journey of discovery and learning together. Sometimes, I don’t follow my schedule and it is okay. Our pace sometimes is fast, sometimes it’s slow. We go on my child’s pace. As a homeschooling mom it is a discipline not to look at what others are doing and comparing my child with theirs. As a parent-teacher my goal is for my child to learn and enjoy learning.

So far by God’s sustaining grace, we are doing okay.

Making Slime

This idea came when our 12 year old cousin, Alexa mentioned that her classmate was selling slime in school. My kids have been bugging me that they do want to play with slime. So, it was a great idea to start researching how to make our own home made slime!

The ingredients are simple:

1. ELMER’S GLUE

2. LIQUID DETERGENT

3. FOOD COLORING

You will also need 1/4 cup and spoons and a small container where you can mix it all together. 

You put the ELMER’S Glue on 1/4 cup and place it in a mixing container. We suggest you put in the drops of food coloring. Then, place 2- 3 spoons of liquid detergent on the mixture. Using a spoon, mix in circular motion the ingredients.

You will keep mixing until you notice the mixture sticking together. If it’s not sticking as a slimy dough you can opt to add half a spoon of liquid detergent.

It was so much fun preparing it… but it was more fun playing with it for hours! My son just did not stop creating stuff with the slime and each one was just amused with their creation.

In case your kids place the slime on their clothes and you cannot remove it, don’t worry! Remove the affected clothes and soak it with detergent ( I used the Calla brand) overnight. The next day, you will find the slime removed or removable from the fabric.

Hope you can make use of this activity as a bonding and creative activity with your kids at home!

Paper Plates are fun! 

You know one of my passions is being my child’s teacher. Mothers are the best first teachers of our children… So here are some fun ideas to explore with your toddlers at home.

I have loved paper plates and have stock up on those for fun activities to do with my child at home! Pinterest has a lot of ideas on what arts and crafts you can do with paper plates. 

For now, we have done some pretty fun stuff with them and let me show you ideas that can be done! 

NINJA TURTLE

Just cut some green colored paper and paste it on the paper plate. Cut the ribbed edge of the upper half of the plate. Then make eyes on paper and cut it out. After, make the eye bandana with an orange play doh. Place the eyes in position and a mouth. And our Ninja Turtle is done! 


FISH

Cut a triangle on the paper plate. That triangle will become the tail of the fish so paste it at the opposite side from where you cut it.  As good exercise for the fingers of Josh, I let him cut on colored Japanese paper or tissue which will be like the scales of the fish. His job is to cut and glue these paper on the paper plate. Once completed we put an eye so you can see the fish! 


SEA TURTLE

Using a recycled paper plate, I  used the backside of the plate. We cut out the legs and head of the turtle from a green colored paper. To make the turtle’s back, josh uses water color and sponge to complete the look of his sea turtle.


These are easy activities that help grow our child’s imagination and artistry.


Foam Cut Out Art

I love National bookstore and Japan Stores because they have a lot of materials for art. It is always good to start buying basic stuff  for activities at home. This would include Crayons, papers and colored paper, scissors, glue and stick glue.  

I like doing activities with Josh that requires him to use his hands and avoid getting entertained by TV and the tablet. I bought some foam cut outs that had animals and shapes. Those were available in Japan Store for P88. Then with colored paper and stick glue we got ready to create our artwork!  

   
As Joshua chooses his cut out, we would imagine that he is pretending to create a jungle with all these animals. When we tell stories, it helps Josh also with his imagination. I love listening to his version of the story telling too! 


At the end, you can see how accomplished he feels with his work. And I feel the same! 

How to save your play doh! 

Eversince my son got introduced to play doh (which was when he was about 20months old), it has become part of our daily playtime routine. We have successfully taught Josh not to mix colors so that he can enjoy his play doh for a longer time. We have also emphasized the importance of him putting the play doh back in the canisters so it won’t dry up.

But as much as we try, this play doh dries up… So what I do is, I budget to buy about 4 new colors every month. Thats about P175 a month! I’m thinking, this is too much buying. There must be a way to extend it.  So I tried putting water while in the faucet and squeezed the dough. It felt gross and yucky! I think I placed too much water. But as of recent we found a much better way of saving the play doh with my  toddler to assist me.

 1. First get the dry or semi-dry play doh and pinch it into small pieces. Put it all inside a plastic bag or better if you have a zip-closable plastic bag.
2. Use a dropper (I got mine from used medicines) and then prepare some water in a container. Get some water using the dropper and place just enough to wet the dough. Why a dropper? You may wonder. It is to control the water you put in so it won’t be too wet.

  
3. Close the bag and start kneading it from the outside. Keep patting, squeezing, and kneading until you feel the dough softening. 


Once it is back to the original play doh consistency, you can leave the dough in the bag for at least  half a day before transferring to the canister. Then you can use it again for play! 

This is a great bonding activity with your toddler. Plus, the dropper is a good motor skill activity. The kneading is good sensory activity. And getting the play doh back from its dryness is such a reward for any little kid!