Paper Plates are fun! 

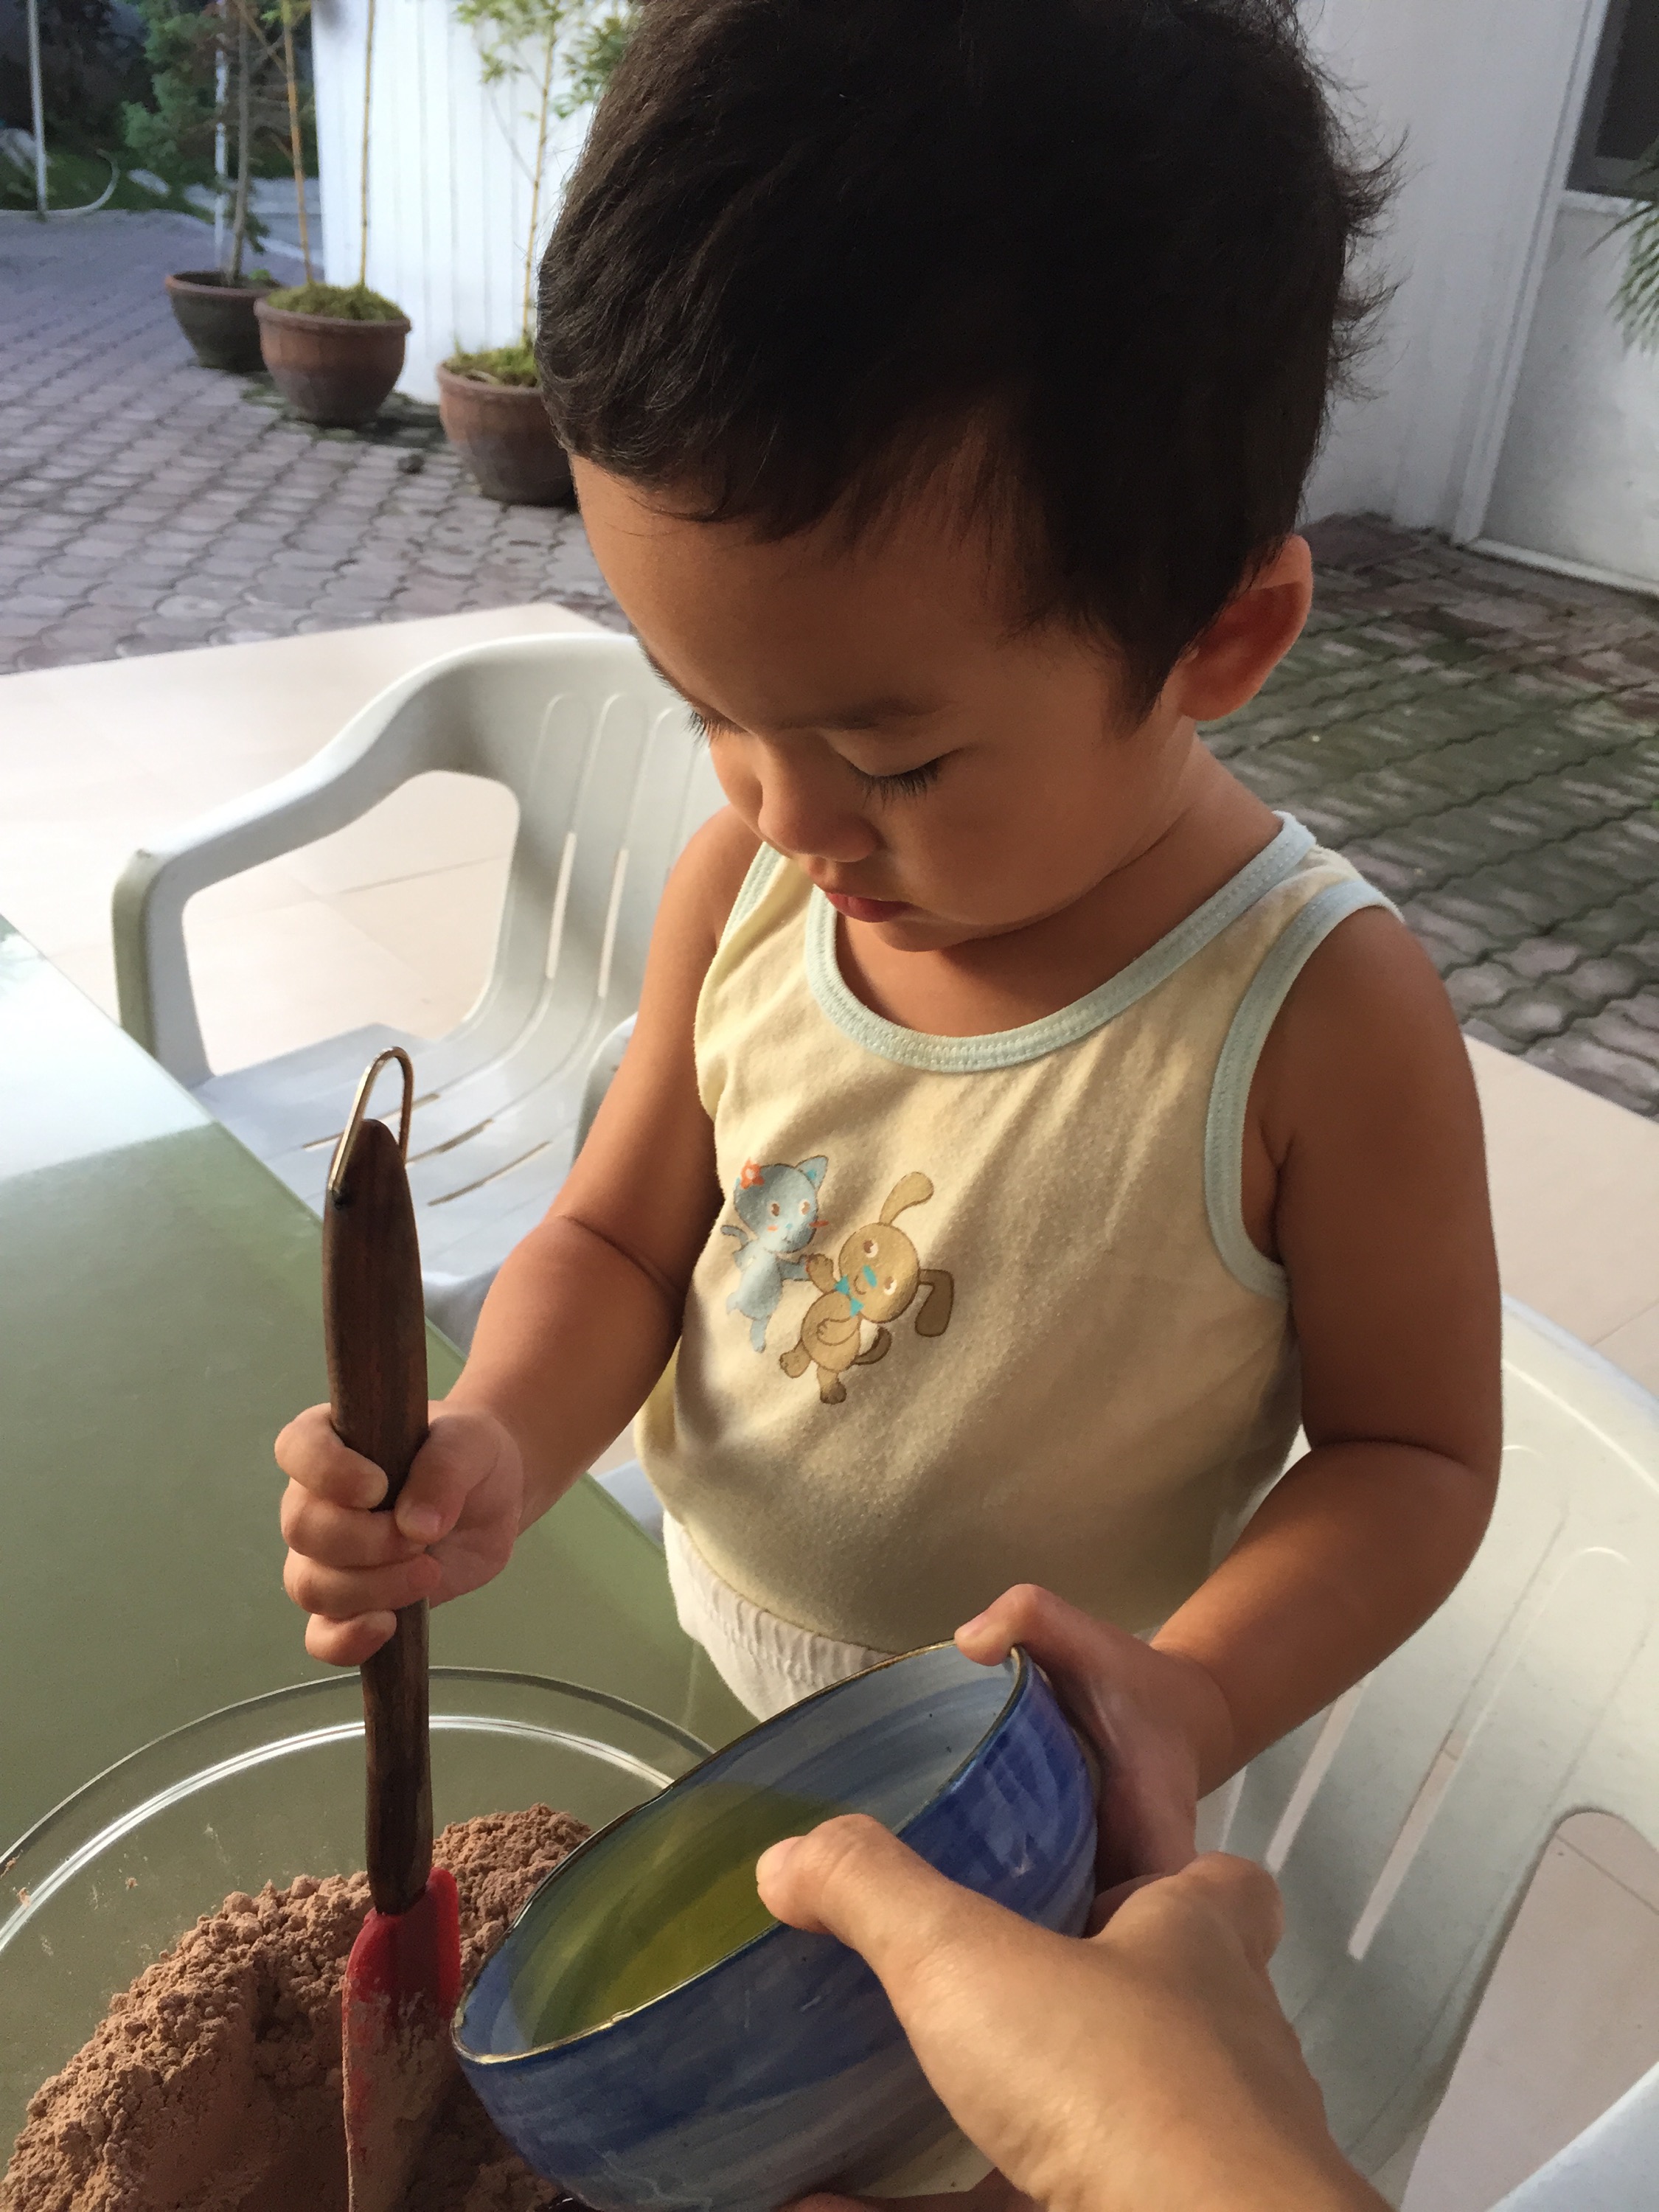
You know one of my passions is being my child’s teacher. Mothers are the best first teachers of our children… So here are some fun ideas to explore with your toddlers at home.

I have loved paper plates and have stock up on those for fun activities to do with my child at home! Pinterest has a lot of ideas on what arts and crafts you can do with paper plates. 

For now, we have done some pretty fun stuff with them and let me show you ideas that can be done! 
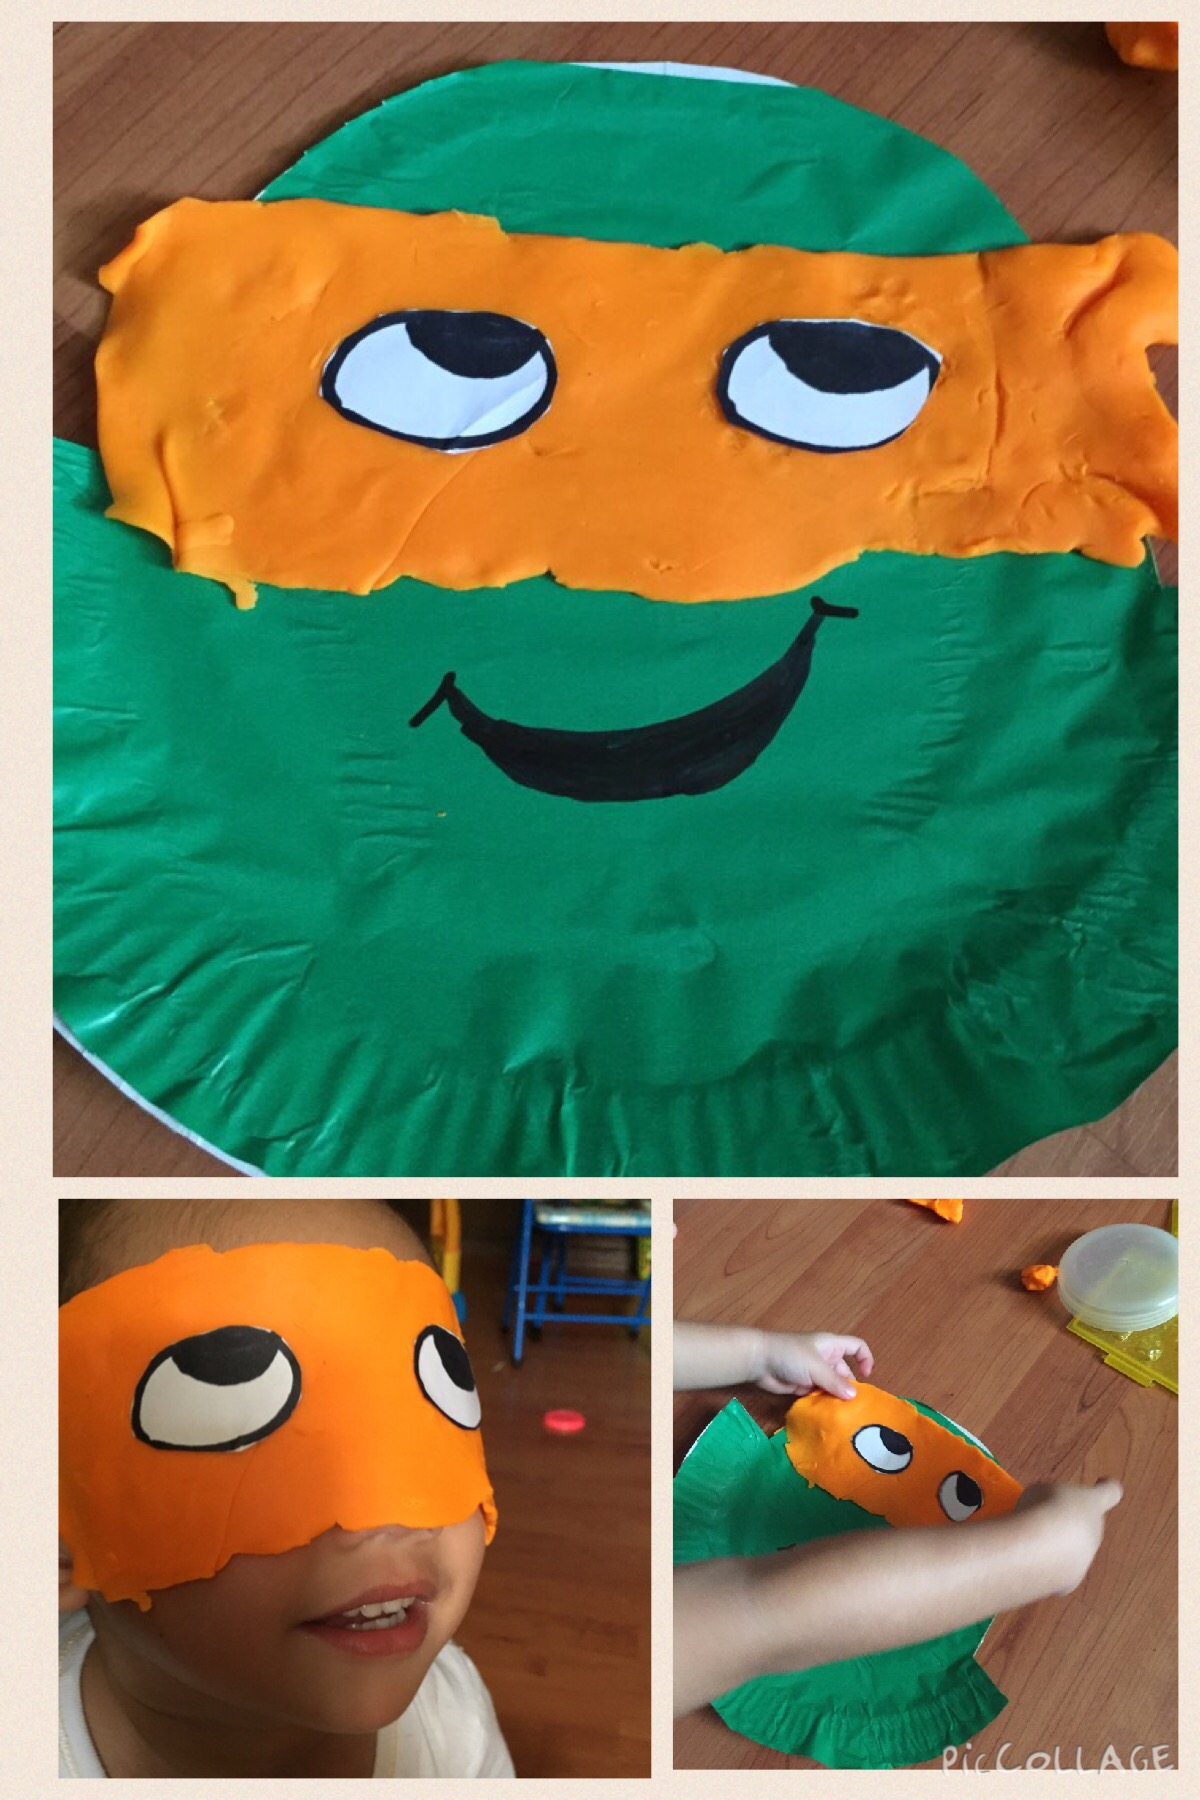
NINJA TURTLE

Just cut some green colored paper and paste it on the paper plate. Cut the ribbed edge of the upper half of the plate. Then make eyes on paper and cut it out. After, make the eye bandana with an orange play doh. Place the eyes in position and a mouth. And our Ninja Turtle is done! 
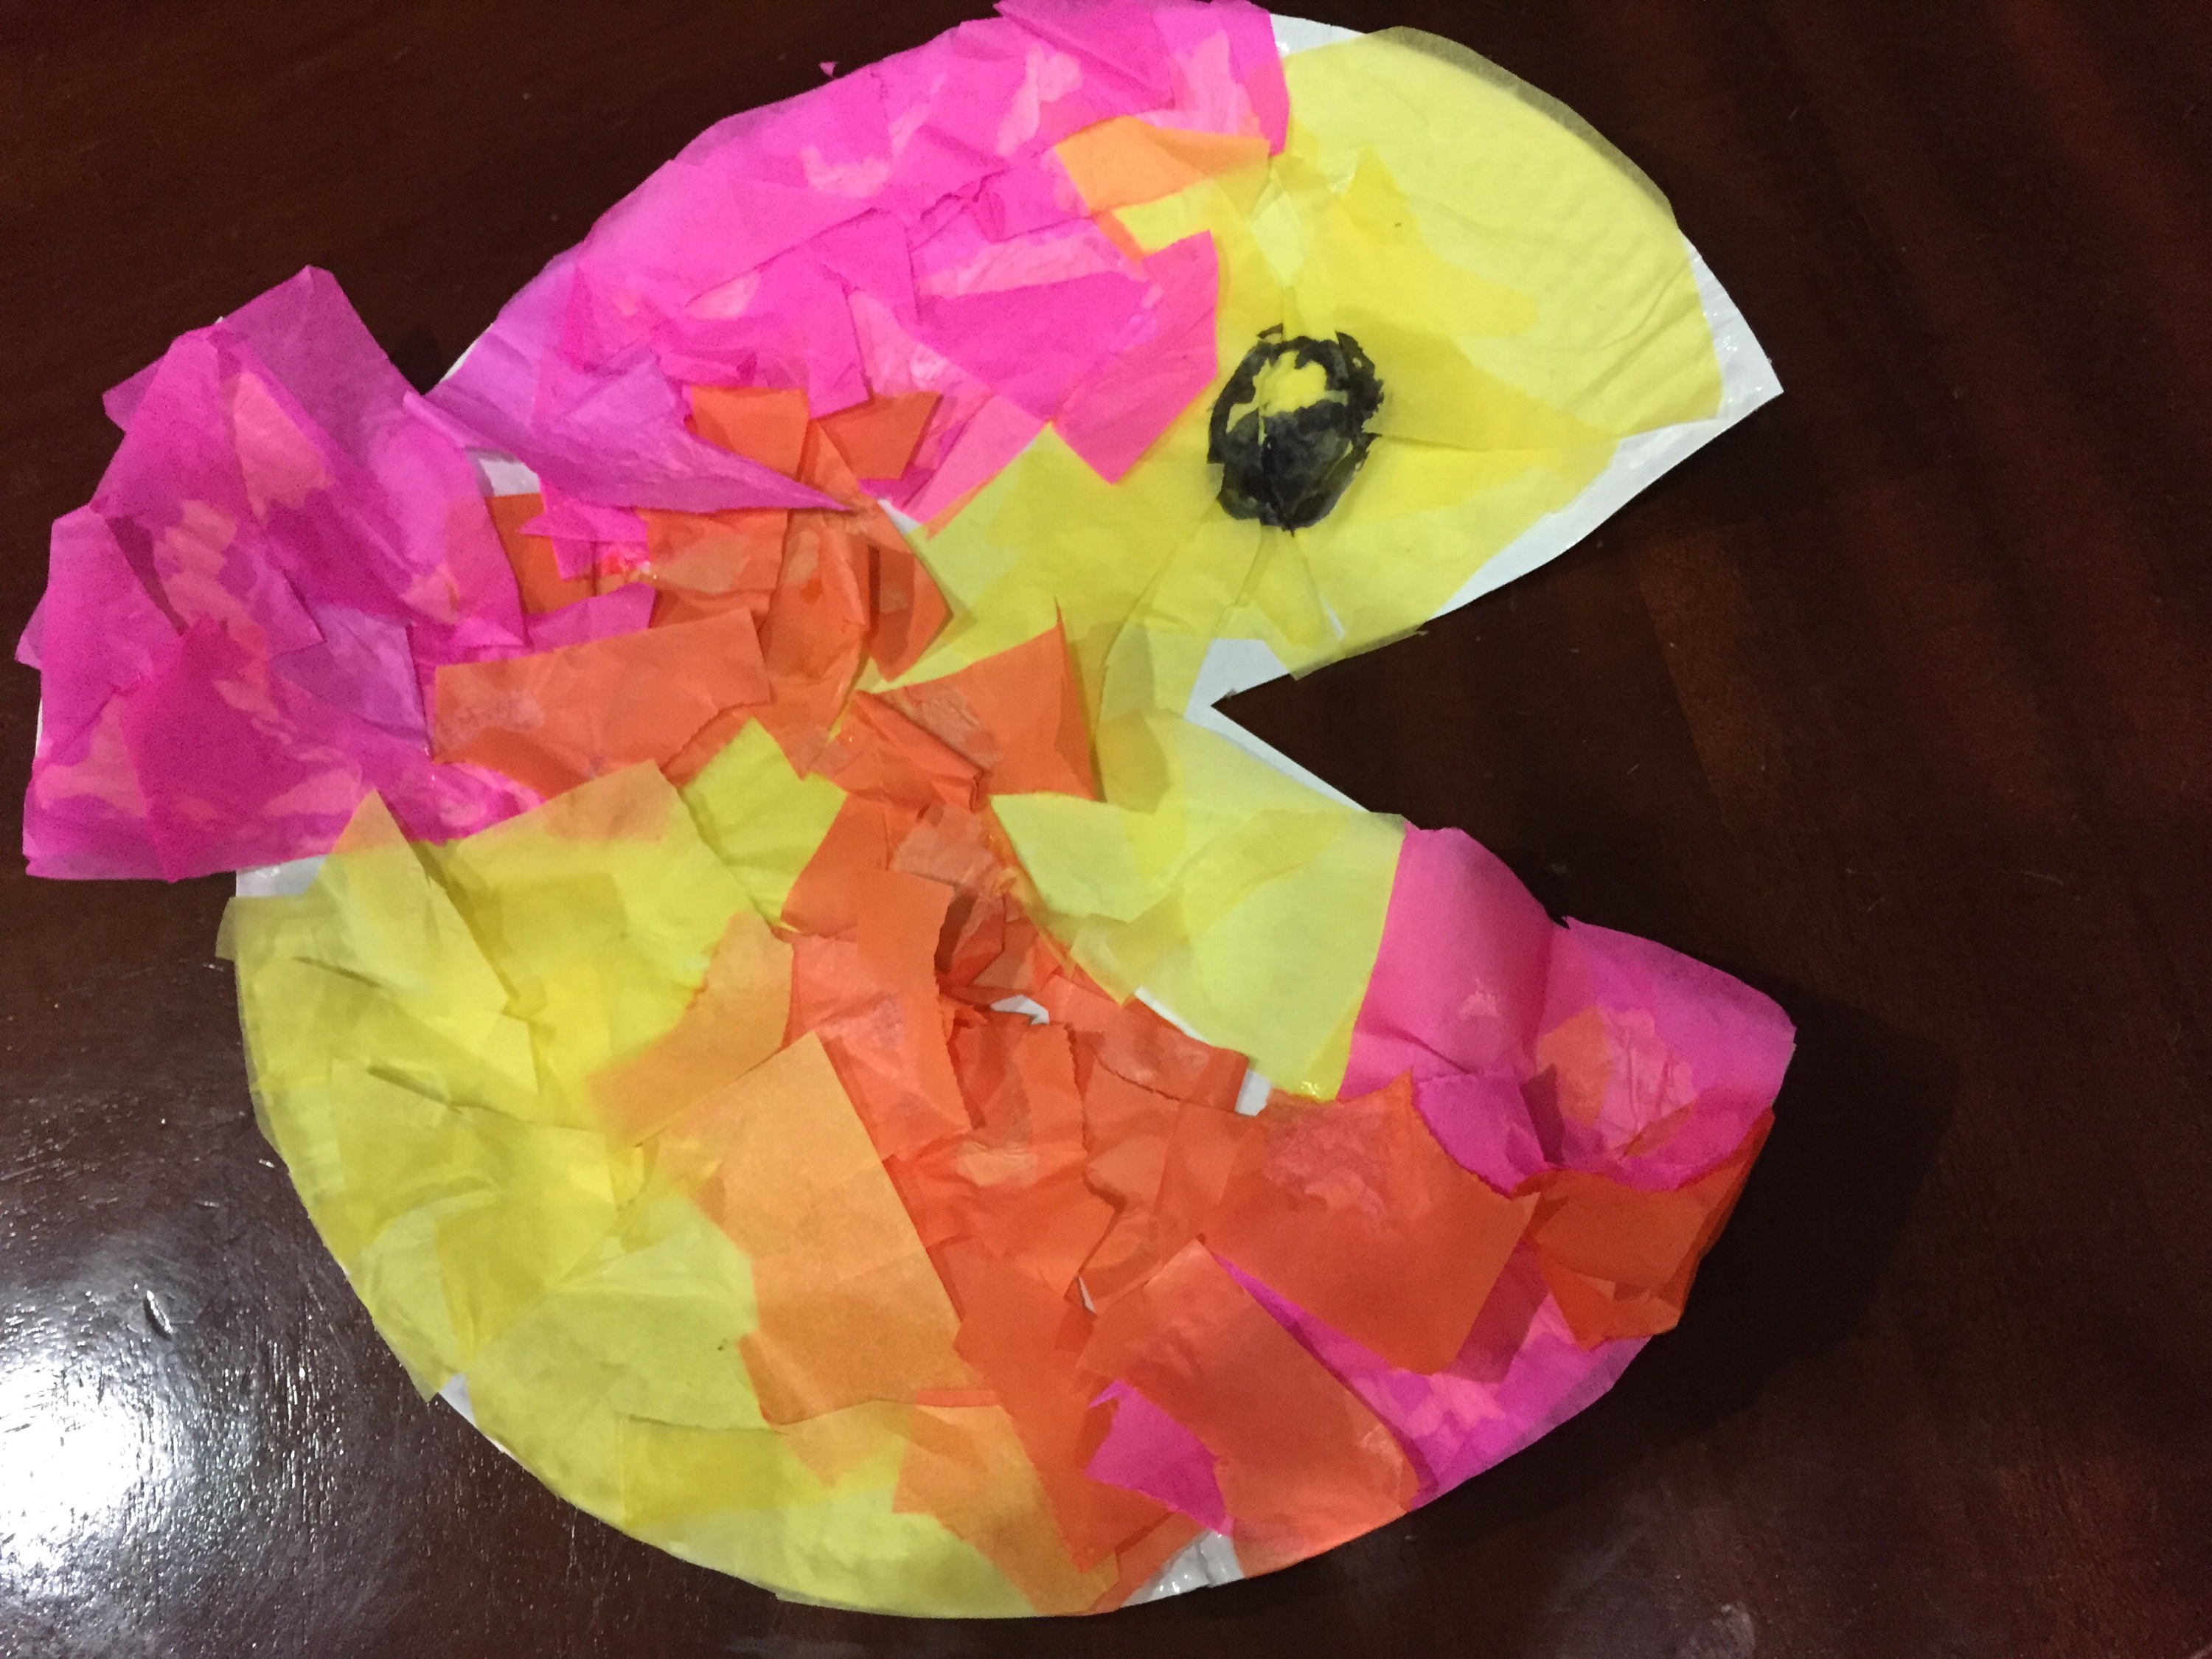
 

FISH

Cut a triangle on the paper plate. That triangle will become the tail of the fish so paste it at the opposite side from where you cut it.  As good exercise for the fingers of Josh, I let him cut on colored Japanese paper or tissue which will be like the scales of the fish. His job is to cut and glue these paper on the paper plate. Once completed we put an eye so you can see the fish! 


SEA TURTLE

Using a recycled paper plate, I  used the backside of the plate. We cut out the legs and head of the turtle from a green colored paper. To make the turtle’s back, josh uses water color and sponge to complete the look of his sea turtle.


These are easy activities that help grow our child’s imagination and artistry.


Colored Ice! 

Thinking of painting in a different style, I tried to follow other moms who use food coloring and water. The new idea is to put them in a ice cube tray and freeze them!

  
I placed Popsicle sticks a little early, so my ice cube tray looks like this. It still was as good because it still was able to pull out the colored ice cube. My son was excited with his new medium for art! 

  
What we used was a cartolina paper. I also recently ordered some tables and chairs from a dear designer friend, Rain Ramas. This is where Joshua can do his activities. I find it so important that Joshua will be able to reach and do things in his level and height.

  
Okay, my son started to talk about what he was doing and he has some application from our recent visit to Mind Museum. He said that he was making planet earth with the stars! A little bit of science input there. He is beginning to understand that we live in planet earth and that there is a sun and moon, with other stars and planets. The movie “Home” also made it clear that there is a big universe or space out there where the stars are, and that we live on planet earth. 

  
I am seriously amazed at my son’s growing knowledge and imagination. This was the first work he did on ice cube paint! It was so fun we ended up having to do another cartolina paper. But Joshua ended up letting our dog eat the remaining ice and he enjoyed eating this edible colored ice too!

  
This is really one fun, fun, fun activity for 2-3 year olds. But I say, even a 38 year old mom like me, enjoyed it too! 😄😄😄

Letter Activity H,I,J,K

I try to introduce one letter a week to my two year old. I try to make it as creative as possible so that it retains well in his mind. I also search the net to find ideas and inspiration on what activities to do. So these are a few we have done.

The Letter H

Using a paper puncher, I punched the colored paper and made holes that would make an H. Then I stuck this colored paper on a paper plate. The idea is for Josh to use paint and a sponge and smudge a color on the holes. Once he is done, we take the colored paper and see the H impressed on the paper plate! 


Letter I

With the letter I, the activity encouraged Josh to write the ” I ” with a pencil. Then introduce him to objects starting with the letter I. To add more activity, the cotton he glued unto the paper to pretend it to be the ice cream on a cone. (Please excuse this reverse view because photo was taken from the point of view of the teacher.)


Letter J

For this Letter it was easy for my son to remember because Joshua now knows that it’s the first letter of his name. We did a fine motor skill activity where he inserts a noodle over his straw. At the end of this we curve the straw to make it look like the letter J. 


Letter K

I love paper plates! It’s cheap and can be used for many activities. So to introduce Joshua to K, I drew a big K in the middle of the paper plate. I then placed examples of what objects were starting with K. Still with a bit of fun, I asked Josh to use his play dough to follow the Letter K. I had to help him here, but he succeeded in putting the play doh on the paper plate. 


As I go along from time to time, I check if Josh remembers randomly the letters individually. I realized some he would, but others he won’t. So in that part, I am learning to just relax about it. He is only 2 years old and 8 months! As a mom teaching at home, I must make Joshua enjoy and play and he will naturally absorb these fun learning. These activities help him familiarize with the individual letters and their sound. 


Foam Cut Out Art

I love National bookstore and Japan Stores because they have a lot of materials for art. It is always good to start buying basic stuff  for activities at home. This would include Crayons, papers and colored paper, scissors, glue and stick glue.  

I like doing activities with Josh that requires him to use his hands and avoid getting entertained by TV and the tablet. I bought some foam cut outs that had animals and shapes. Those were available in Japan Store for P88. Then with colored paper and stick glue we got ready to create our artwork!  

   
As Joshua chooses his cut out, we would imagine that he is pretending to create a jungle with all these animals. When we tell stories, it helps Josh also with his imagination. I love listening to his version of the story telling too! 


At the end, you can see how accomplished he feels with his work. And I feel the same! 

Creative Math for Toddlers

Since I want Josh to practice the concepts of numbers I prepared another activity just by using simple materials. The objective is for Josh to really count and understand what the number means.

What I used are the following:

1. cardboard from a used folder

2. Colored paper

3. Play dough

4. Marker Pen

I cut out into similar rectangular shape the old folder. Then I cut circles in different colors from the colored paper. Those circles I would paste at the top part of the rectangular board.  Below the circle, I would put the number. 

With the play dough I made small round circles.  There should be enough to be placed for all the card board numbers that the child will complete. 

  
It is a guided play. I tell Joshua he has to help the circle get their seeds. The seed should be the same as the number. Oh he enjoyed the challenge! But of course, you have to help him count and understand that those “seeds” have to be inside the circle.

  
This was Josh doing number 8. When I presented the card board it was one at a time and in random order.  This way he won’t be so overwhelmed and just feel like he is playing a game. 

  
Here are some of his completed work. The plus part was he enjoyed this activity he kept asking to do it again and again. Of course, that brought a huge smile on my face 🙂

Teaching this math concept will lead him to understand later the concepts of addition and subtraction soon! 

Glittery Sensory Bottle

Thinking of ideas you can do with your toddler today?

Here is another fun and creative way of making something new with your bottled water container — A sensory bottle!

All you need are the following:

1. Small objects you can put in the bottle such as trinkets, buttons, dice, little foam

2. Glitters

3. Used plastic bottle with a cover

4. A sense of fun!


I coached Joshua in putting in the stuff. First, fill the bottle in half with water. Then I let my toddler put those little items in one by one. Then we pour in the blue glitters and continue putting more small items inside.


Once you have put enough fill the bottle with more water and close the tip with the bottle cover. Try putting upside down and downside up! See the items inside move from one end to another. The glitters under the light has that nice glittered touch!

It reminds me of those glittered ballpens I had in my grade school. I loved those water pens with glitters and little cute stuff floating back and forth!

Actually the one who enjoyed this the most after was my 7 month old Anna. Joshua continued with making a second bottle! It’s a great activity with wonderful creative sensory bottle!


Of Banana and sticks

Fine Motor skills are important to our toddlers. It just helps them strengthen those hand and arm muscles. It also practices hand and eye coordination. 

I find myself musing on what activity Joshua should do so he can practice his fingers and also get an experiential learning experience. So I started with the banana. Using a table knife, I would ask Joshua to slice into smaller pieces the banana and of course he has to eat these small pieces. 


These activity teaches him to control his hand muscle and also to accurately slice without touching his little fingers. He loved slicing, that he felt like he wanted more than just banana to slice.

Another activity for fine motor is getting those pick up sticks for practice.  I get a paper cup and mark the bottom with black dots. From the black dots, I create holes at the top with a safety pin or needle.  Then I get a pick up stick and make the holes big enough to slide the stick through.  Draw a little face of the cup and you will see that as your child places a stick on each hole, he adds colored hair to the face! 


Another home made innovation I did was with a box of Joshua’s toys. It was meant to be thrown but instead I decided to cover it with colored paper. At the top lid of the box I  drew a face of a little bear. I made horizontal slit as the mouth so that the Popsicle stick can fit. 


In this game, I make Josh feed the bear with Popsicle sticks. He would slip the sticks through the mouth of the bear. He was so happy he could actually feed the bear. He continued playing “feed this bear” game for hours and even days! By doing so, he actually does fine motor skills.

  
I thank God because these activities are all done at home and are very simple. No need of elaborate materials — I honestly just recycle and upcycle stuff I see at home. These activities are so fun and easy but have great benefits for those little fingers of our 2 year olds! 

Home made and Edible finger paint!

I love activities that are home made! First you know the ingredients and make sure they are safe for kids. Second, home-made activities can be a bonding time for you and your child. Third, when it’s made at home… It’s made with extra effort and lots of love!!! 

Here is how to make home-made and edible finger paint. You will need these:

  • Flour
  • Filtered water
  • Food coloring
  • Bowls and plastic cups
  • Optional: flavoring (e.g. Vanilla, banana etc)

So the ratio is 1 cup flour to 2 cups water. If you add or lessen the recipe just follow the ratio –1 flour : 2 water.

  
It will look like a bowl of soup. I let Josh help me mix all the ingredients together and let him make this batter. From here we will now need a saucepan and spoon to mix this over heat. 

  
This batter will thicken in a few minutes so pay attention because you cannot over cook this one. When it starts to lump, put off the stove and mix it as it cools.

  
Now we start coloring. I would place in smaller bowls and decide to teach Joshua how colors are made. You really just need yellow, red and blue. From there you can make orange (yellow+red), green (blue+yellow), and purple (red+blue). My son enjoys mixing the colors! You can add drops of flavoring here too — in case they eat it. Hahahha! Then we put them in separate plastic cup containers.

  
Once the friends came over, each one had to bring their own Cartolina paper to work on. It was time to explore this paint with their hands and even their feet! It was sooo fun! 


Baking fun! 

Having children brings me back to days when I was a child baking. My grand mother, Lola Baby, taught me how to bake her coconut macaroons. That ignited my entrepreneurial spirit early on. When I was grade 6, she made me consign these macaroons at a favorite palabok restaurant in Iloilo. From there, I got my allowance. I was taught early to bake, earn, and save. 

Joshua has interest in cooking. As early as 1 year old we would play cooking and pretend to eat his imaginary dish. But now at 2 and a half, he is more excited to do the real thing! 

I am baking in the simplest form with my toddler. So I just bought a box of White King ultimate brownie mix. You just add egg and vegetable oil and mix.


Joshua helps in mixing the ingredients and also sees that there are changes in the composition from powder to a chocolate batter. It makes him realize that it takes a bit of work and some time to bake his goodies. It makes him patient and excited to try his hard work. After about 30 minutes in the turbo oven (yup, you can use a turbo oven),  Joshua gets to see and eat the baked brownie he worked hard for!  


On another occasion,  Joshua was throwing a bit of a tantrum.  I did not know what to do to distract him from his foul mood. So I started to cut bananas and mash them. It was not long, he asked if he could be the one to mash the bananas. I of course said “yes”. Soon I had a bowl with 2 cups of oatmeal, a bit of oil, honey, and chocolate bits. We started to mix them all and made teaspoonful balls of this batter. Placing them in a baking pans and putting them in the turbo oven for 15-20 minutes.

Oh did I tell you, that this changed the entire mood of Joshua? He was no longer crying but was superbly excited to see his cookie snack. Yes! It was a successful distraction and one healthy snack! 


I am so happy that there are lots of options today for children to do activities at home!  Baking is a great bonding experience and a good source of learning, and a great distraction activity for tantrums!!! 
 

Math concepts for 2 year olds

I have been contemplating about teaching the concept of Math to Josh. He can already tell numbers 1-10 and he is exploring 11-20.  Looking at numbers helps memorizing the look and shape of the number. But how about the concept of the number?  He sort of understands because we count the picture items on number books. 

 
I am praying I will be able to teach him addition and subtraction soon. But first, I must establish his understanding of what the number means.  We try to count things like his cheese and pomelo.

So I decided to do a game with Josh. I will put a number card and an empty container beside the number and a bucket filled with blue bead balls. The game works like this… I must put a number card and then he must put the corresponding balls by counting. Then if he correctly gets it, he gets pieces of his favorite snack. (Ok, it’s chips and I know some moms will debate how bad this is for my son. I agree with you… But for example sake, please bear with the illustration).

 
When he answers correctly he gets a reward! 


Of course, in the beginning I needed to coach him how to do it.  I did it about twice until he did it himself. The trick here was to just let him do it himself.  When he holds the balls and gets to count them, it helps in grasping the concept. We have to keep practicing so that he would get better and better. If we keep at it we can start doing math concepts such as addition and subtraction soon. I am looking forward to that day!